Backpack Drawing Tutorial - How to draw Backpack step by step

Backpack Drawing

You can choose your favorite images to see detail drawing instructions:

1. Instructions on how to draw a simple and cute school backpack for kids

Hello!

Today, drawing123.com will teach you how to draw a simple and beautiful Backpack
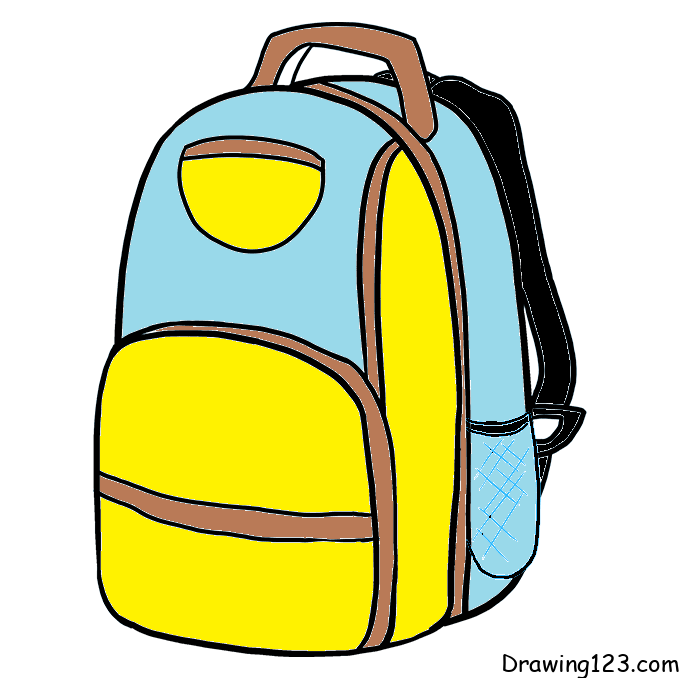
how to draw a backpack

Let’s start!

Step 1:

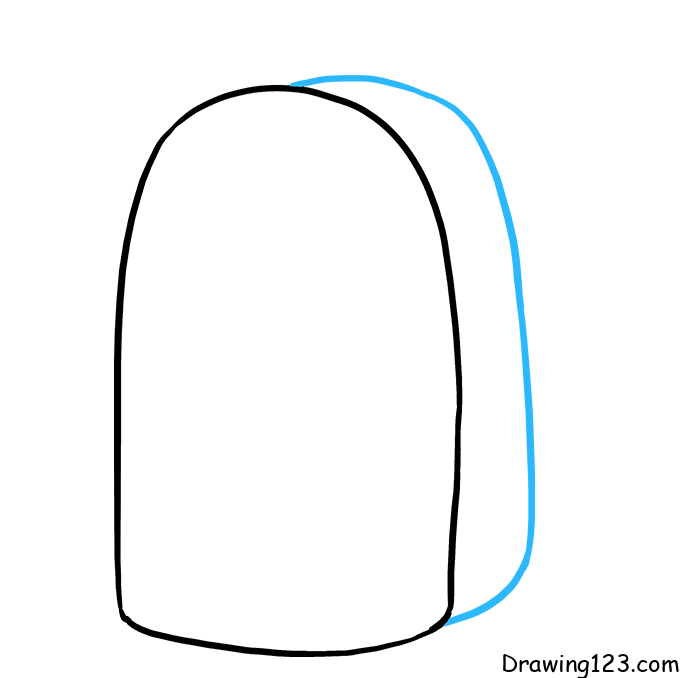
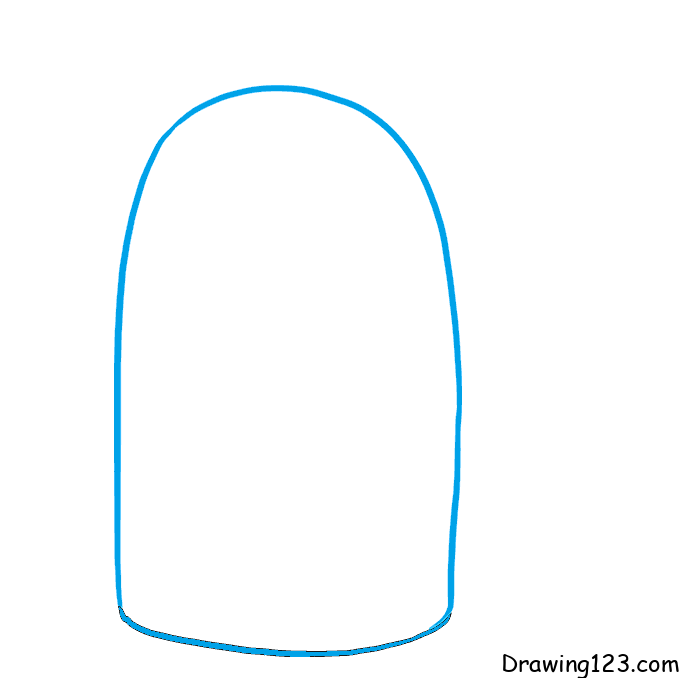
First, draw a shape like a nail
Step 2:

Next, you draw the compartments of the backpack
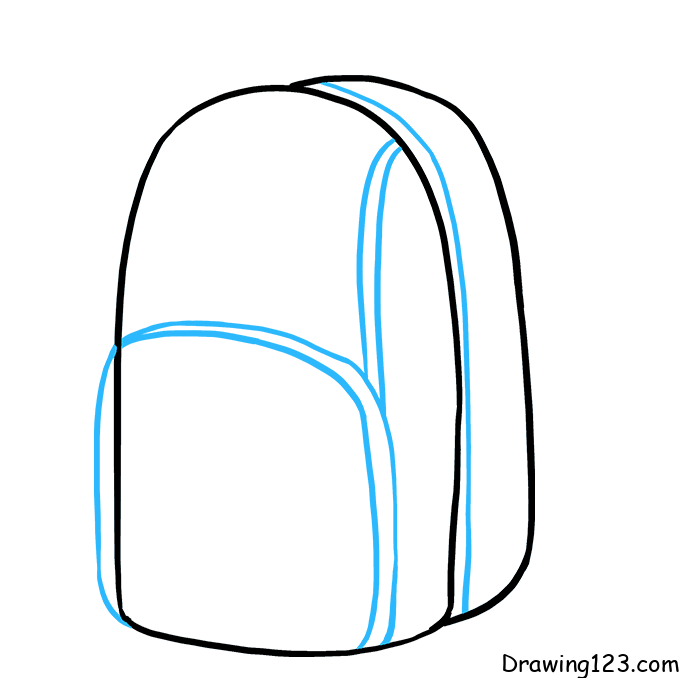
Step 3:

Please draw some details on your backpack
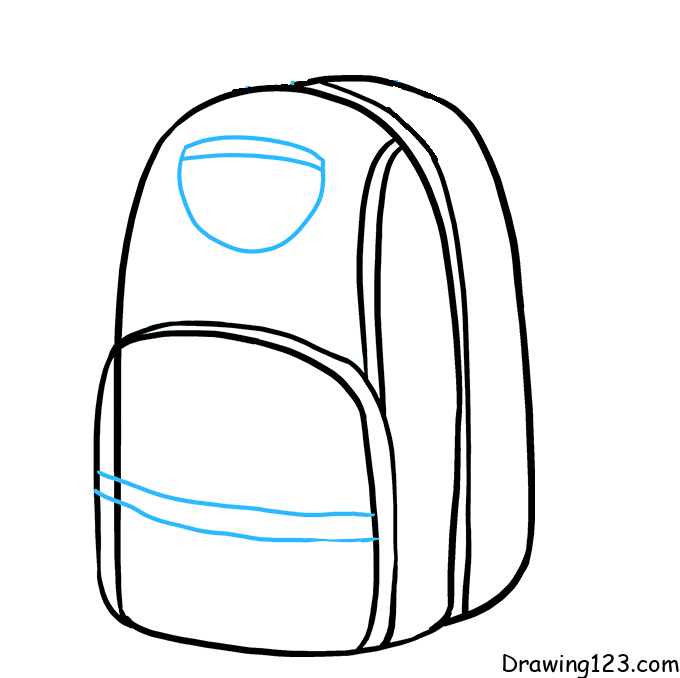
Step 4:

Next, draw your backpack straps
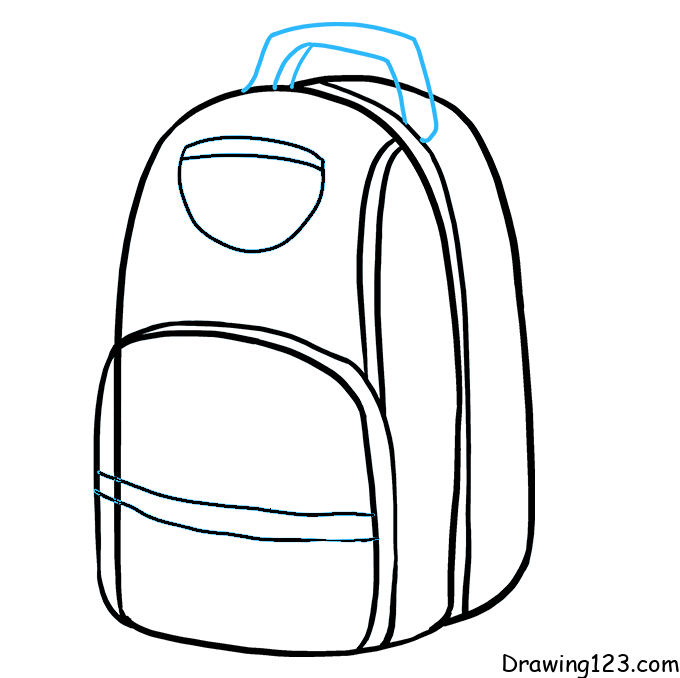
Step 5:

Use an eraser to erase the excess lines
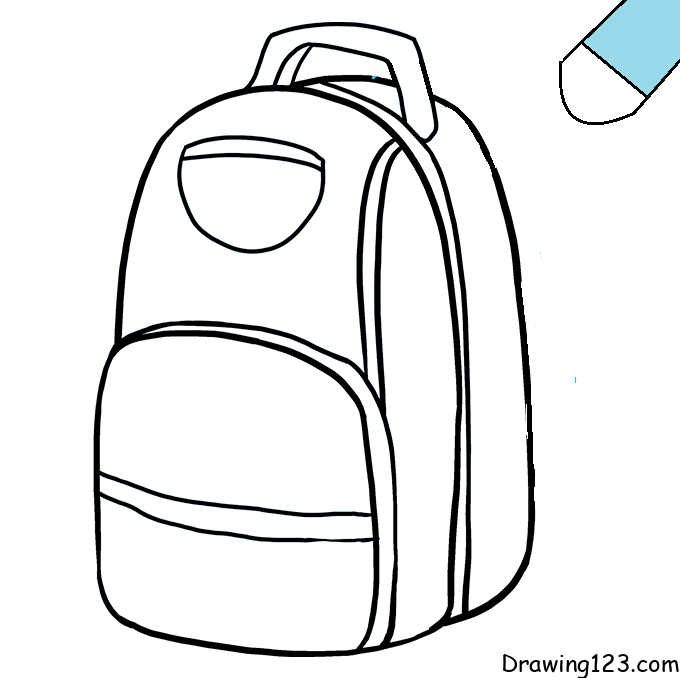
Step 6:

Don’t forget to draw backpack straps
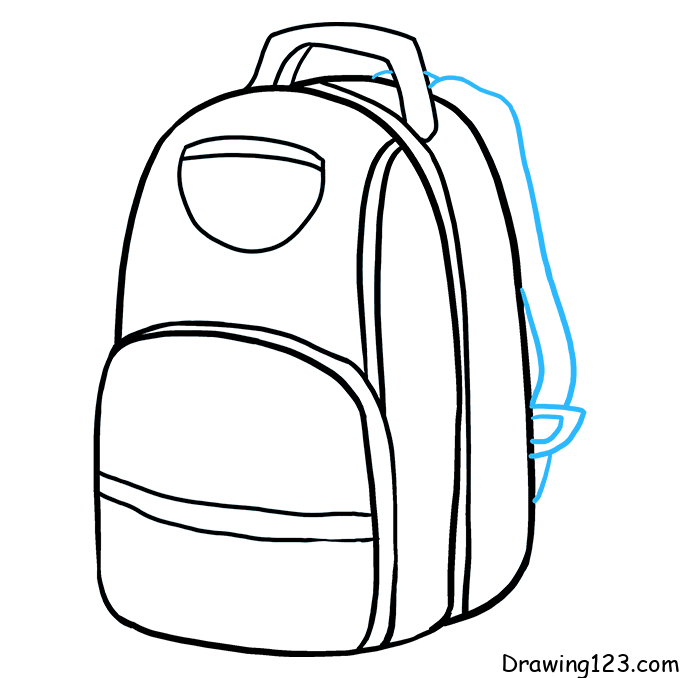
Step 7:

On the side of the backpack, draw a small bag
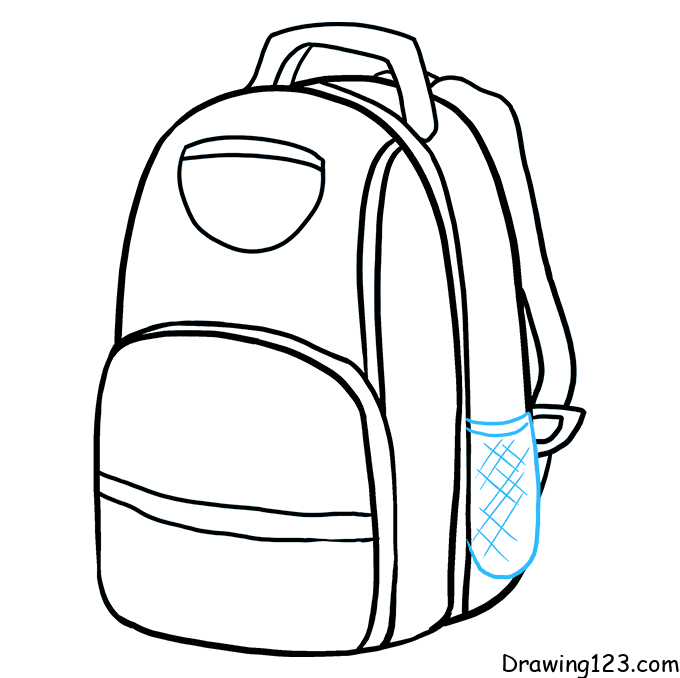
Step 8:

Finally, color to complete the picture

2. Instructions for drawing a modern Backpack.

2

Step 1:

Draw the main frame of the backpack by creating a rounded rectangle, representing the body of the backpack.

Step 2:

Add a handle to the top of the backpack by drawing a small curve that connects to the top of the main frame.

Step 3:

Draw two straps on the back of the backpack. Add two symmetrical curves to the straps on either side of the top of the main frame.

Step 4:

Draw the front flap of the backpack with a horizontal curve near the top of the frame, creating the shape of the bag’s flap.

Step 5:

Add details to the zippers on the front of the backpack by drawing two vertical lines down the bottom, parallel and even.

Step 6:

Draw a pocket below the backpack.

Step 7:

Draw two pockets on both sides of the Backpack.

Step 8:

Color the drawing.

2

3. Instructions for drawing a fashionable backpack.

3

Step 1:

Draw the basic shape of the backpack, starting with a rounded rectangle, creating the main frame and lid of the backpack.

Step 2:

Add small details on the backpack lid like the buckles, represented by small rectangles and curves that simulate the straps.

Step 3:

Draw the large front pocket of the backpack using a rounded rectangle at the bottom of the body, adding an inner outline.

Step 4:

Add details to the front pockets, including buttons and zips. The lines help divide the front pockets into smaller sections.

Step 5:

Draw additional side pockets on either side of the backpack, each pocket represented as a small rectangle.

Step 6:

Added zipper and zip details on body and side pockets.

Step 7:

Draw the back strap of the backpack by adding symmetrical curves on both sides, adding completeness and balance.

Step 8:

Color the drawing.

4. Instructions for drawing a cute cartoon backpack.

Step 1:

Draw two large eyes on the backpack. Each eye consists of two concentric circles, with the smaller circle representing the pupil.

Step 2:

Draw an arc on the backpack lid connecting the two eyes, and add a small mouth, creating a friendly face.

Step 3:

Draw the main frame of the backpack with a large curve, simulating the rounded shape of the backpack below the face.

Step 4:

Add zipper details to the backpack lid by drawing two small rectangles with outlines to create a zipper effect.

Step 5:

Draw the front pocket of the backpack by adding a rounded rectangle at the bottom of the main frame. Decorate the pocket with a small border and a zipper detail.

Step 6:

Add the top handle between the eyes with a small curve.

Step 7:

Draw the side straps using curved lines extending from the top down the sides of the backpack.

Step 8:

Color the drawing.

5. Instructions for drawing a simple Backpack.

Step 1 :

Draw the top of the backpack. Start with a curve to form the top flap, then add a small circle in the middle to form the button.

Step 2 :

Draw the bottom of the backpack. Use continuous curves to create the shape of the backpack body underneath the flap, making sure it looks balanced.

Step 3 :

Add some basic details to the backpack. Draw the sides of the backpack using curved lines along the sides, creating a sense of depth.

Step 4 :

Draw more side pockets. Add a horizontal curve on the side of the backpack to create a secondary pocket.

Step 5 :

Add zipper and handle on top of backpack.

Step 6 :

Draw the backpack straps. Use curved lines extending from the top of the backpack down the sides, creating a balanced strap shape.

Step 7 :

Color the drawing.

6. Instructions for drawing a beautiful Backpack.

Step 1 :

Draw the front pocket of the backpack. Start with a rectangle with curved corners to create the pocket shape, then add a horizontal line in the middle to create the flap.

Step 2 :

Draw the main body of the backpack. Use curved lines that continue from the top of the front pocket to create the overall shape of the backpack.

Step 3 :

Add the zipper. Draw a curve at the top of the backpack to create the zipper, then add small details like the teeth and zipper head.

Step 4 :

Draw the straps and handles. Add a small handle on the top of the backpack and curves on the sides to form the straps.

Step 5 :

Decorate your backpack. Paint designs like a small heart on the upper body and a larger heart on the front pocket for emphasis.

Step 6 :

Color the drawing.

Hopefully, through the tutorial on how to draw a simple backpack for kids, it will help you have a beautiful picture.