You can choose your favorite images to see detail drawing instructions:
You can choose your favorite images to see detail drawing instructions:

Hello!
Today drawing123.com will show you how to draw a browser
Step 1: First, draw your nose and mouth with sharp teeth
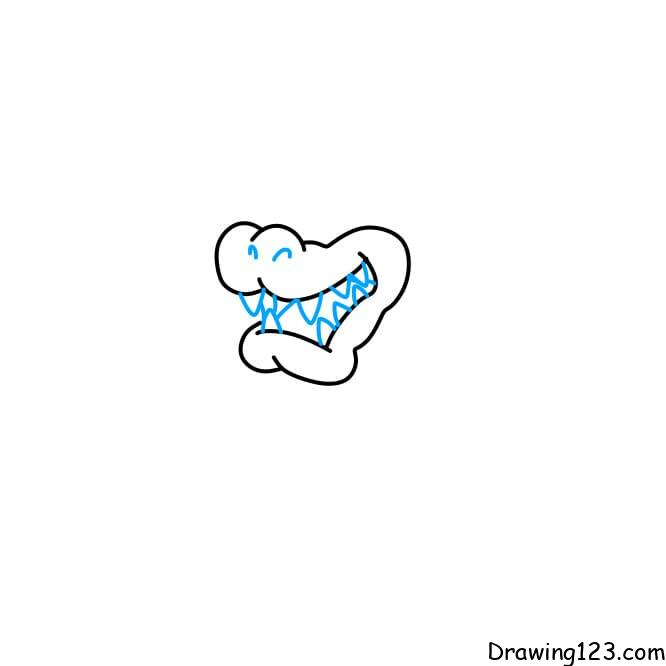
Step 2: Draw Angry Eyes for Browser

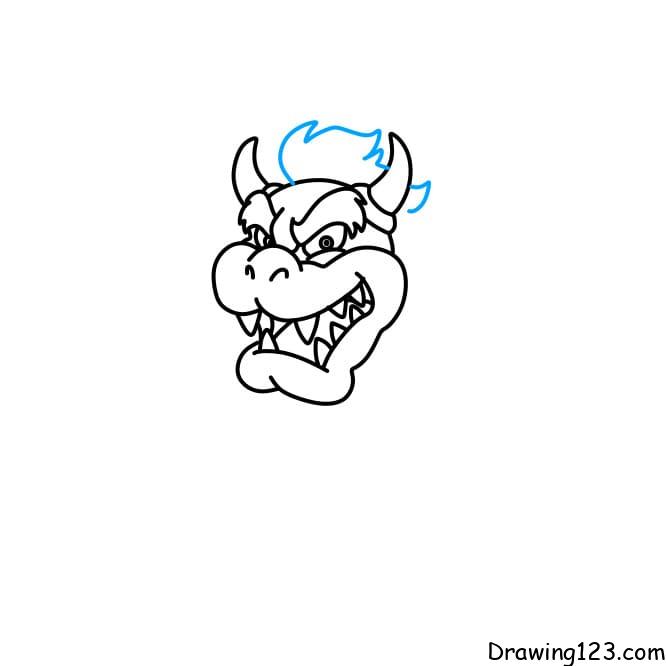
Step 3: Draw the Browser’s head and horns

Step 4: Draw more plumage on your head
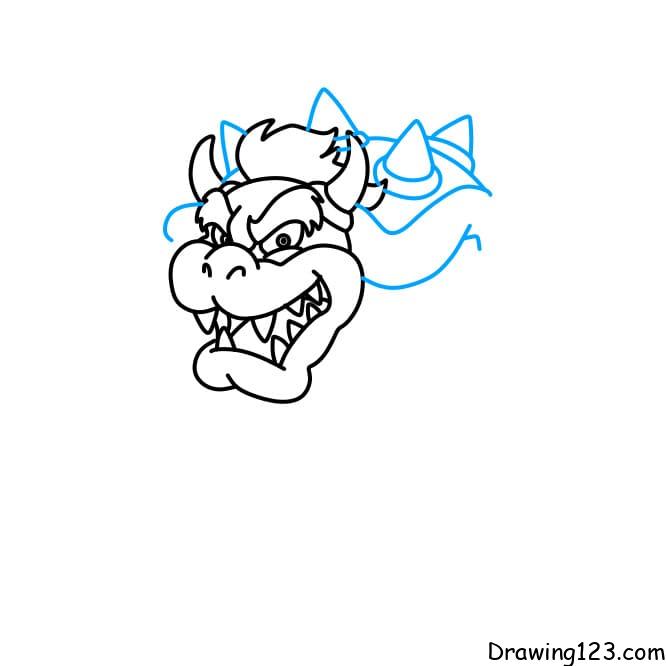
Step 5: Draw another tortoise shell and thorns on it
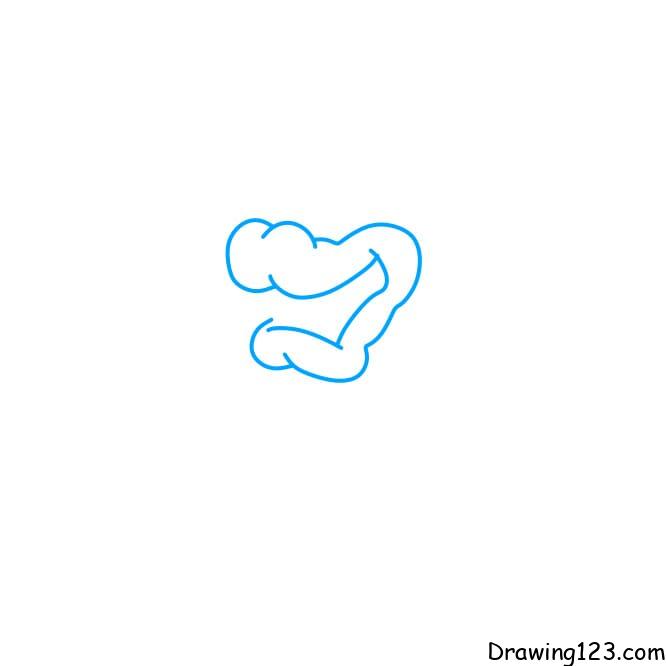
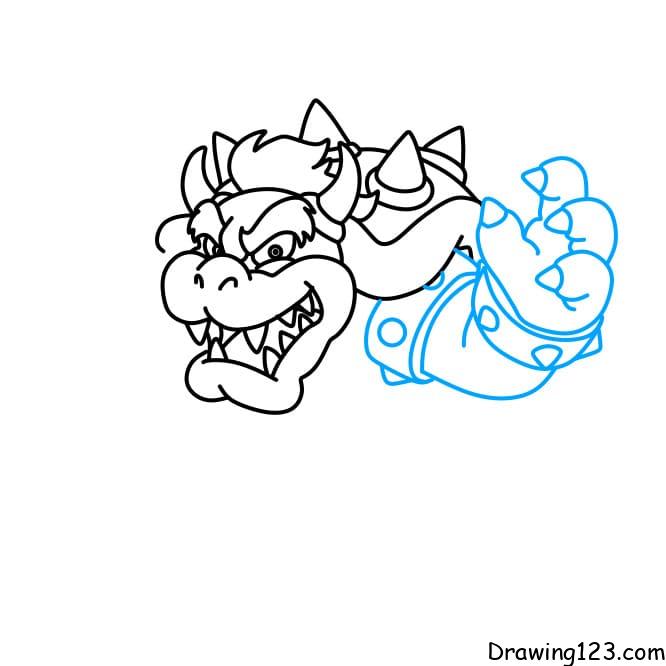
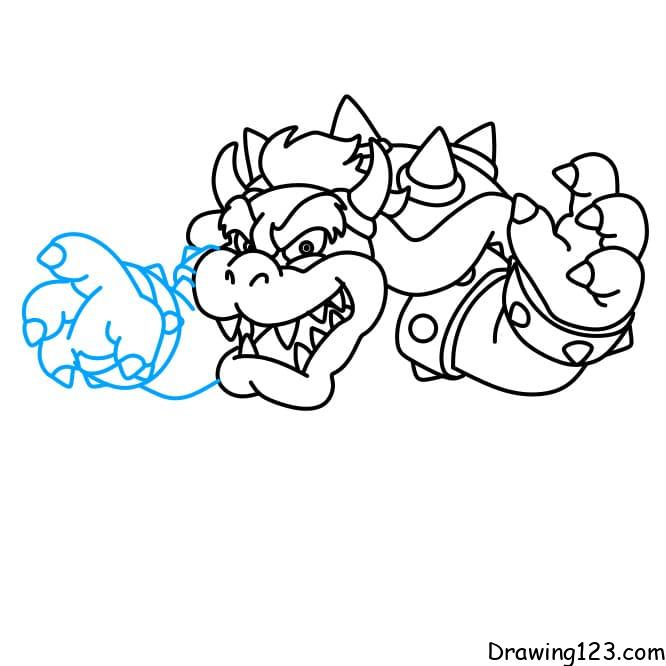
Step 6: Draw two more arms for the Browser
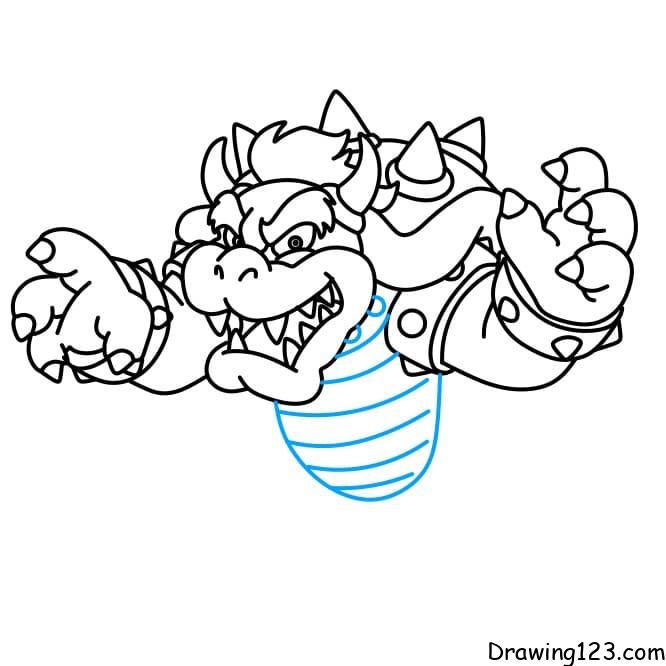
Step 7: Draw the shell above the Browser
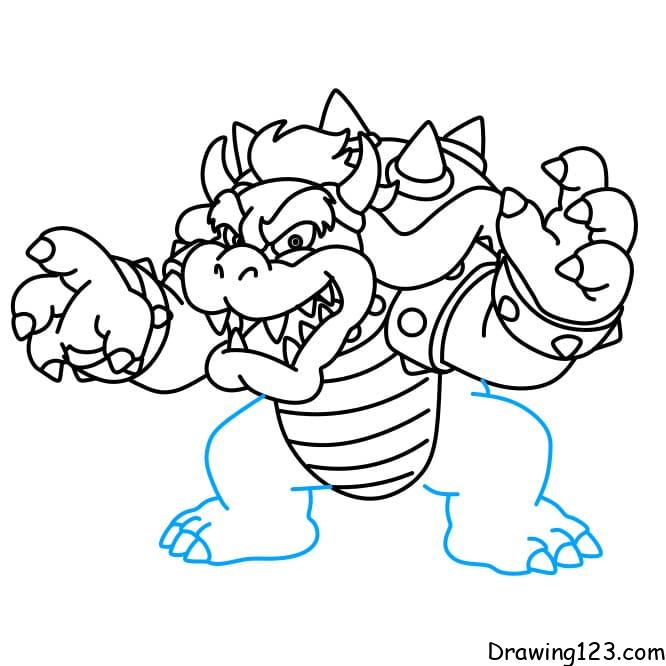
Step 8: Draw your legs
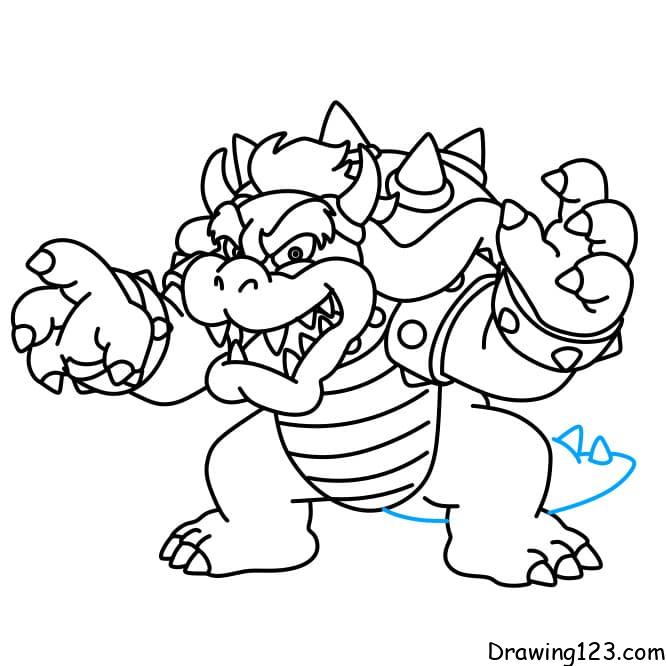
Step 9: Don’t forget to draw a tail for the Browser
Step 10 : Draw the scales on the body of the Browser and other small details
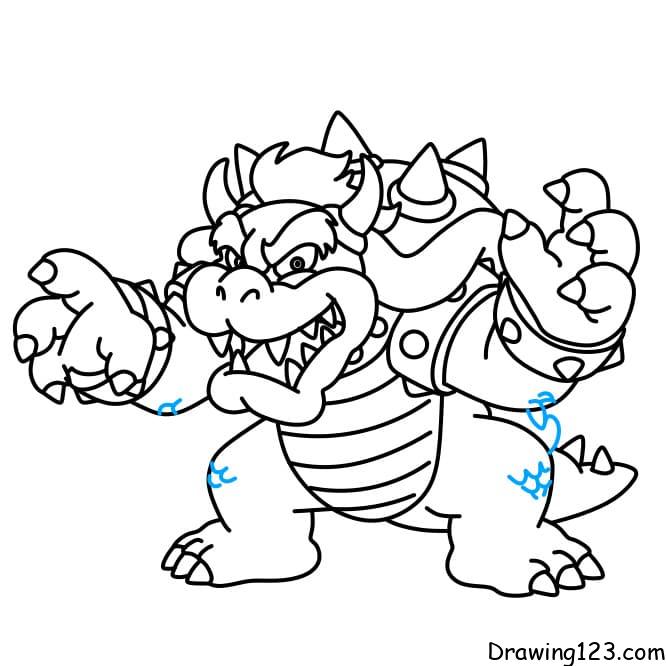
Step 11: Color to make the Browser monster more beautiful
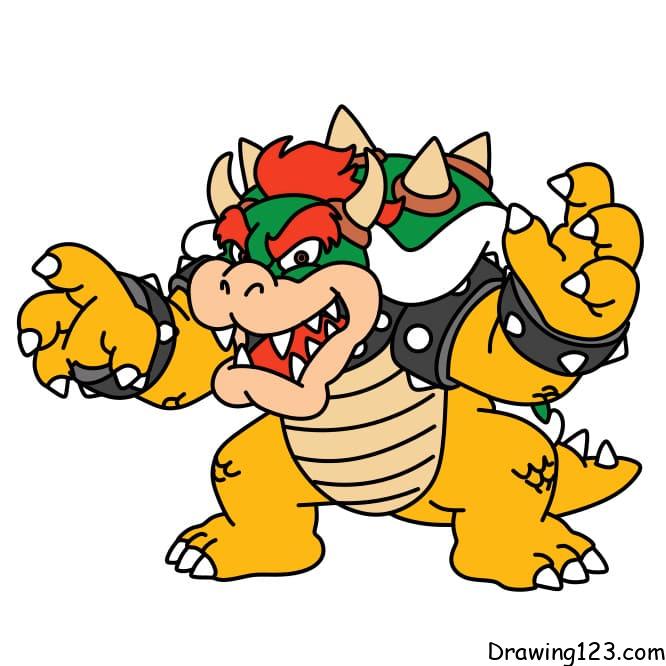
Hopefully, through the tutorial on how to draw Browser for children, it will help children get a picture!