Buzz Lightyear Drawing Tutorial - How to draw Buzz Lightyear step by step

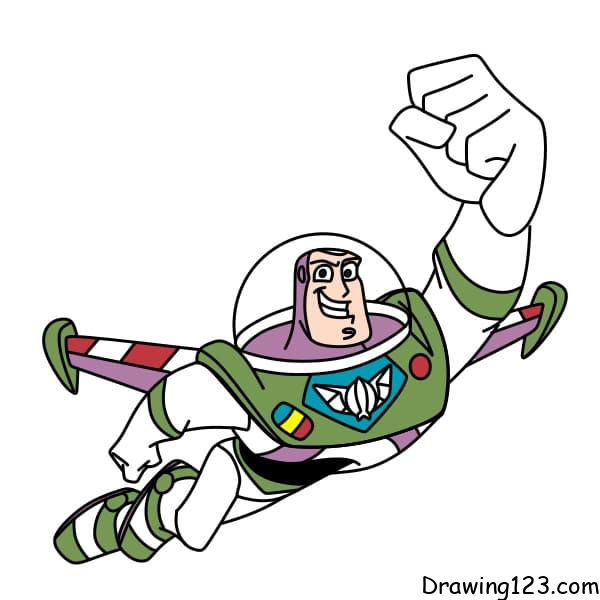
Buzz Lightyear Drawing

You can choose your favorite images to see detail drawing instructions:

1. Simple instructions for children to draw Buzz Lightyear (a character from the cartoon Toy Story)

Hello!

Today drawing123.com will show you how to draw Buzz Lightyear
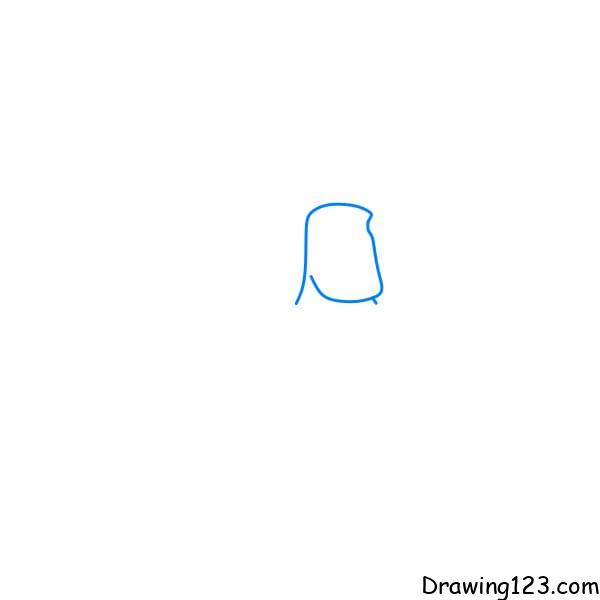
Step 1: Let’s draw the head for Buzz Lightyear
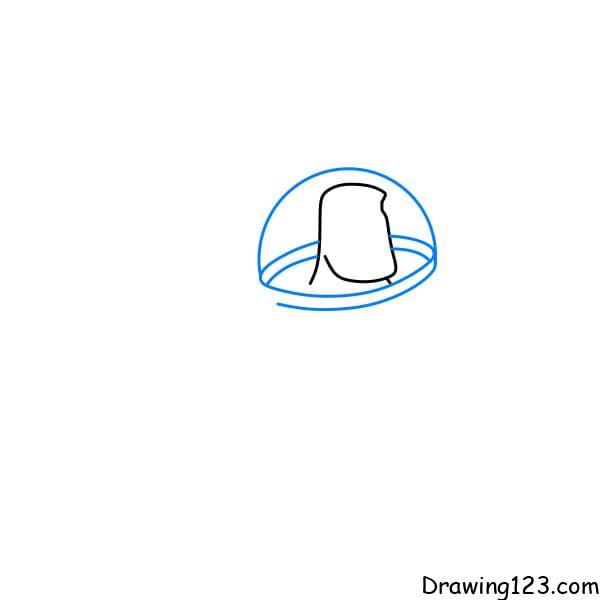
Step 2: Draw his glass hat
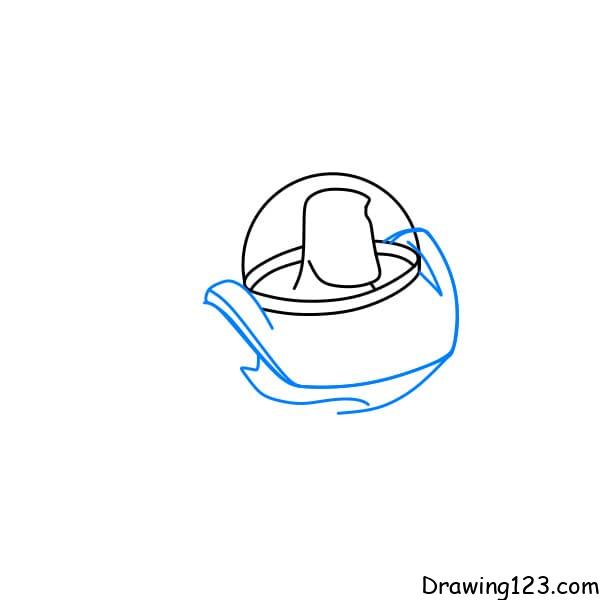
Step 3: Draw the astronaut suit he’s wearing
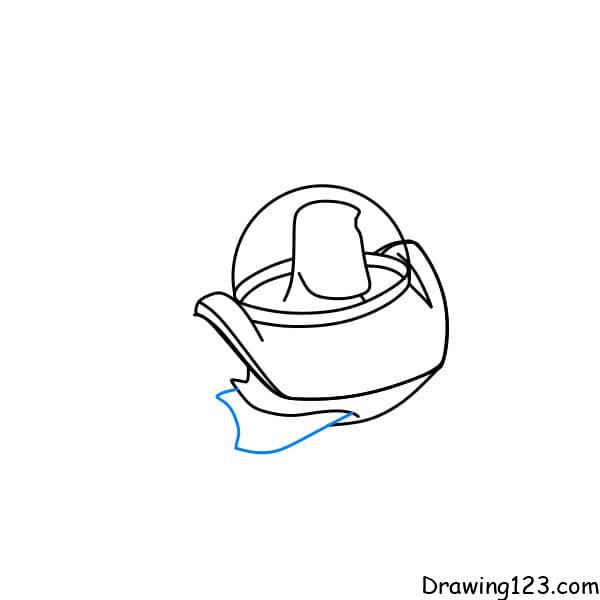
Step 4: Let’s draw the legs for Buzz Lightyear
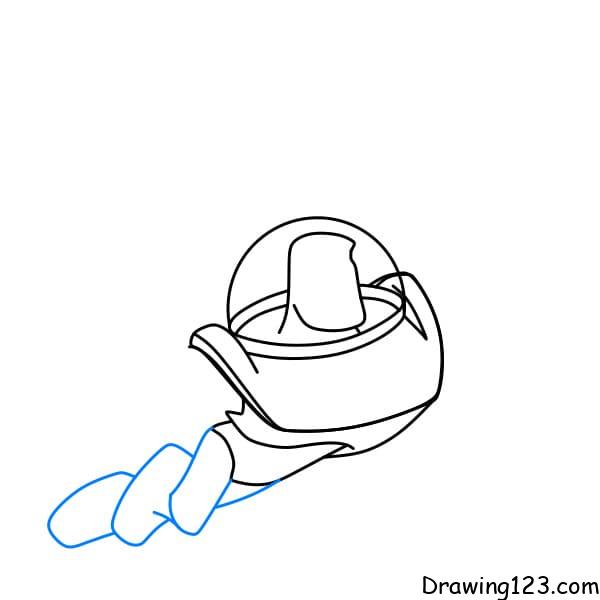
Step 5: Draw more hands
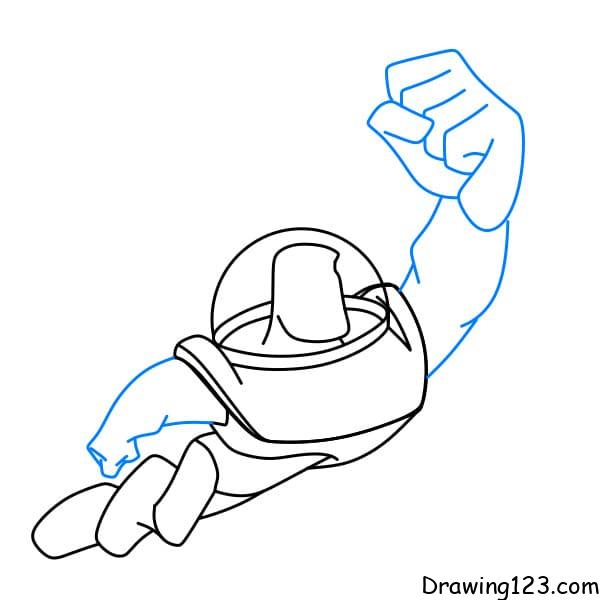
Step 6: Let’s draw wings on the sides for Buzz Lightyear
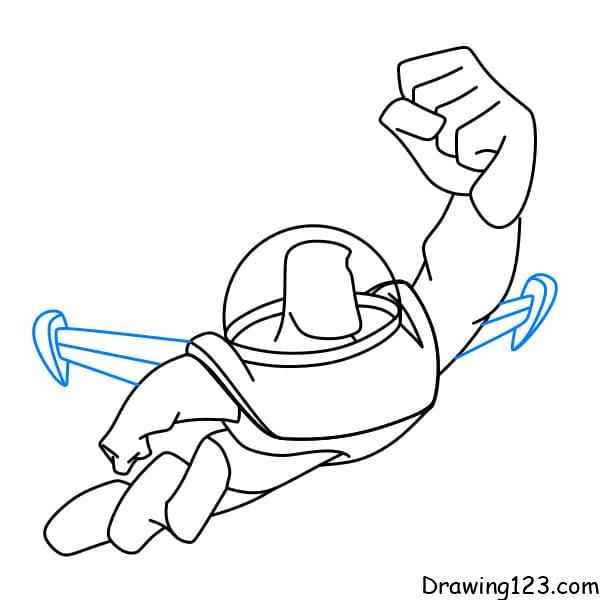
Step 7: Don’t forget to draw small details on the astronaut suit and wings
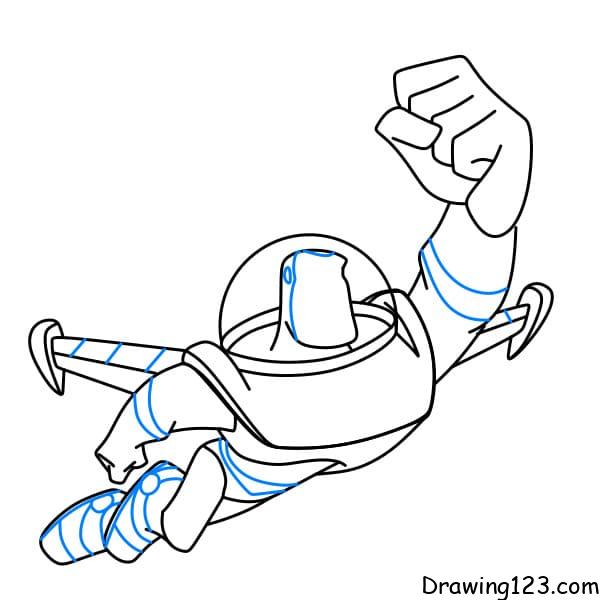
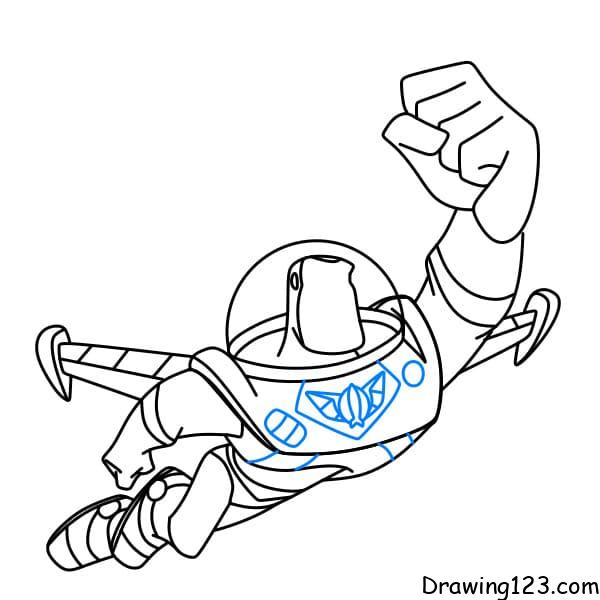
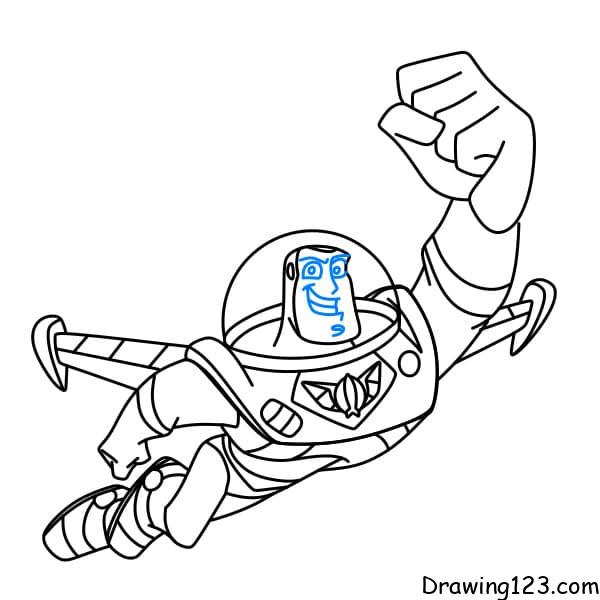
Step 8: Draw His Handsome Face
Step 9: Color to make the picture more beautiful
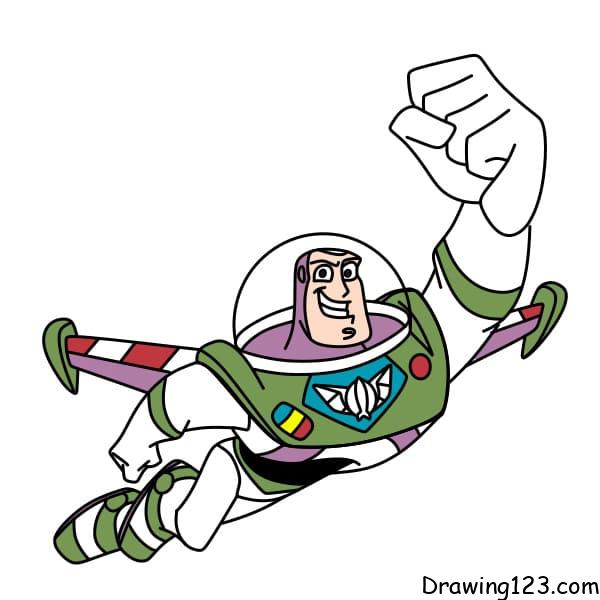
2. Instructions for drawing Buzz Lightyear in a combat flying pose.

Step 1:
Draw the character’s face.

Step 2:
Sketch the chin and neck.

Step 3:
Draw the shoulders and chest.

Step 4:
Complete the circular frame of the armor.

Step 5:
Add details to the chest armor.

Step 6:
Draw the left arm.

Step 7:
Draw the left fist raised.

Step 8:
Add details to the right arm.

Step 9:
Draw the legs.

Step 10:
Draw the left wing.

Step 11:
Draw the right wing.

Step 12:
Fully color the character.

3. Instructions for drawing Buzz Lightyear flying.

Step 1:
Sketch the outline of the head.

Step 2:
Add facial details with the character’s distinctive features.

Step 3:
Draw the transparent helmet.

Step 4:
Add the shoulders and armor collar.

Step 5:
Complete the details on the armor and add the logo on the chest.

Step 6:
Draw the left arm raised.

Step 7:
Add details to the right arm.

Step 8:
Draw details of the lower chest of the character.

Step 9:
Add details to the armor at the waist.

Step 10:
Draw the right leg details.

Step 11:
Draw more details of the armor on the left leg.

Step 12:
Draw the wings.

Step 13:
Fully color the character.

4. Instructions for drawing Buzz Lightyear standing and saluting.

Step 1:
Sketch the face.

Step 2:
Add facial details, including eyes, mouth, and expressions.

Step 3:
Draw the helmet around the head.

Step 4:
Sketch the upper body armor, including the chest logo.

Step 5:
Complete the chest logo details and other details on the armor.

Step 6:
Draw the right arm raised in salute.

Step 7:
Add the left arm placed at the waist.

Step 8:
Complete the details of the arms and shoulder armor.

Step 9:
Draw the lower body.

Step 10:
Draw the right leg and other details on the leg.

Step 11:
Continue drawing the left leg.

Step 12:
Fully color the character.

5. Instructions for drawing Buzz Lightyear’s head.

Step 1:
Draw an oval-shaped head.

Step 2:
Draw the eyes and eyebrows.

Step 3:
Draw the nose, mouth, and the swirl on the chin.

Step 4:
Draw the helmet covering the head.

Step 5:
Draw the protective gear around the neck.

Step 6:
Draw the base of the glass dome.

Step 7:
Draw the glass dome.

Step 8:
Fully color the character.

6. Instructions for drawing a cute Buzz Lightyear.

Step 1:
Sketch the face.

Step 2:
Add facial details, including eyes, mouth, and expressions.

Step 3:
Draw the frame around the shoulders.

Step 4:
Draw the neck and shoulders.

Step 5:
Draw the chest and detail the chest logo.

Step 6:
Draw the details below the chest.

Step 7:
Draw the waist.

Step 8:
Draw the left arm.

Step 9:
Draw the right arm.

Step 10:
Draw the left leg.

Step 11:
Draw the right leg.

Step 12:
Fully color the character.

Hopefully, through the tutorial on how to draw Buzz Lightyear for children, it will help children get a beautiful picture!