You can choose your favorite images to see detail drawing instructions:
You can choose your favorite images to see detail drawing instructions:


Hello!
Today, drawing123.com will show you how ti draw a simple cherry blossom
Let’s start!
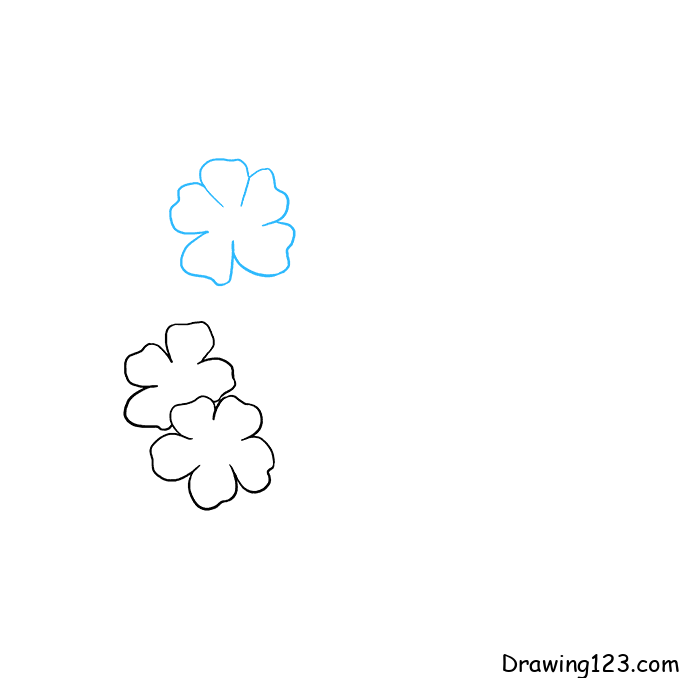
Step 1:
Start by drawing a single flower

Step 2:
Draw a second flower, part of which is hidden by the first one

Step 3:
Draw a third flower on top of the others
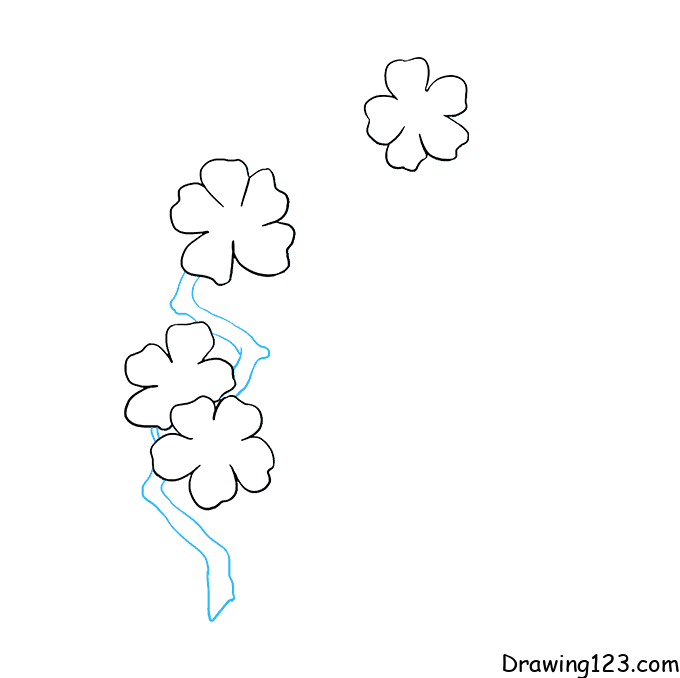
Step 4:
Similarly, draw the fourth flower

Step 5:
Next, you will start connecting the flowers to a cherry branch using straight lines
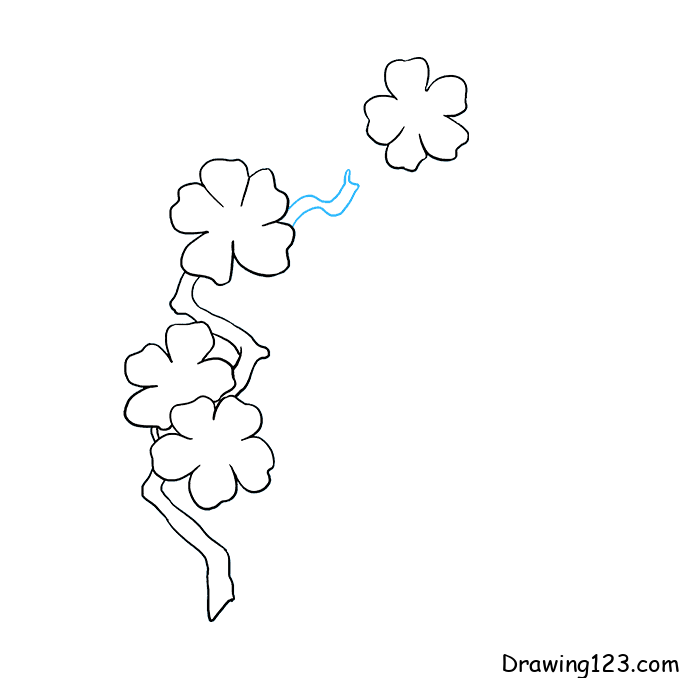
Step 6:
Extend a short branch between the top flowers using two curved “S.” Connect the lines using a short curved line.
Step 7:
Please draw more subtle details for the branch
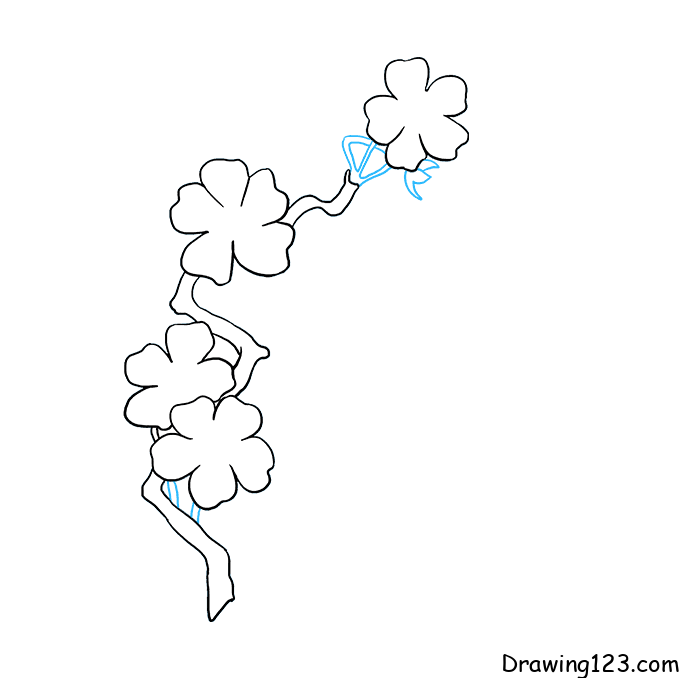
Step 8:
Using some curves, enclose the shape of the flower bud. Enclosed is an unusual teardrop shape underneath the flower, showing a falling petal
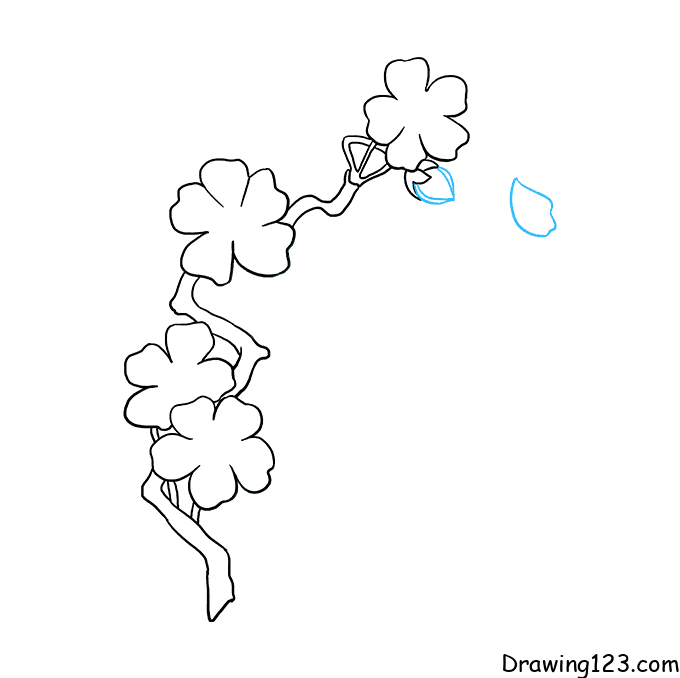
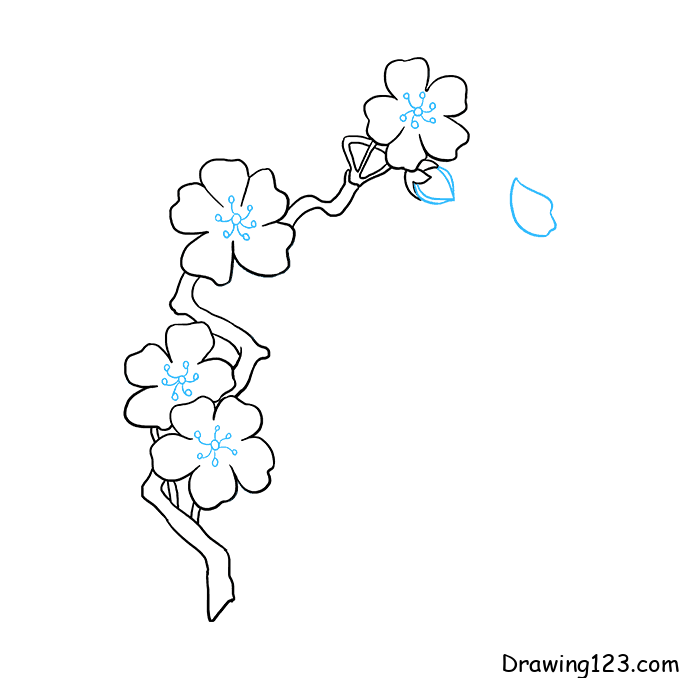
Step 9:
Draw a small circle in each flower. Extend six short, curved lines from each and end each with another small circle. This represents the anther and the stamen.
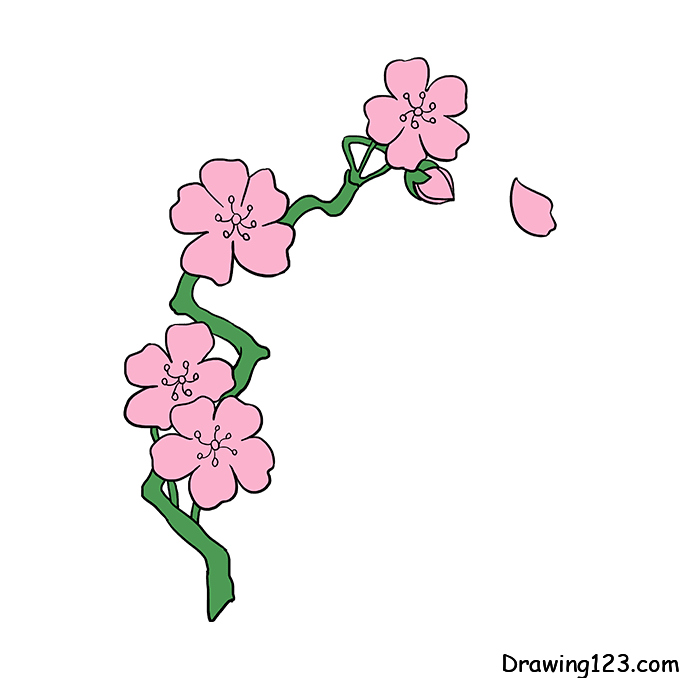
Step 10:
Finally, remember to color the picture
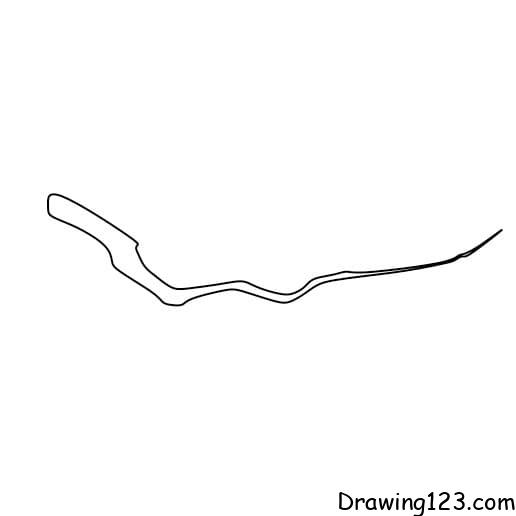
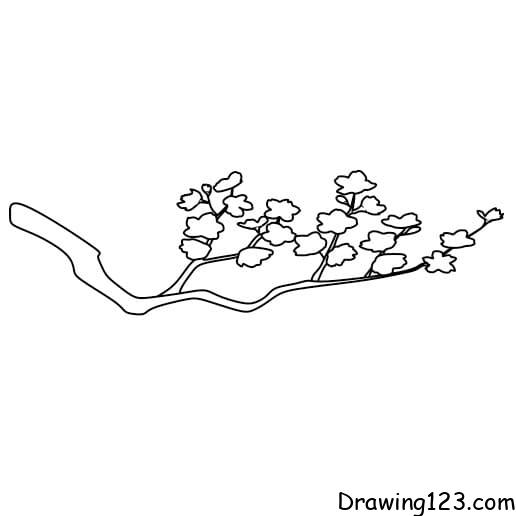
Step 1: Draw a long branch
Step 2: Draw a few more small branches

Step 3: Next we draw flowers on the branches
Step 4: What color to fill
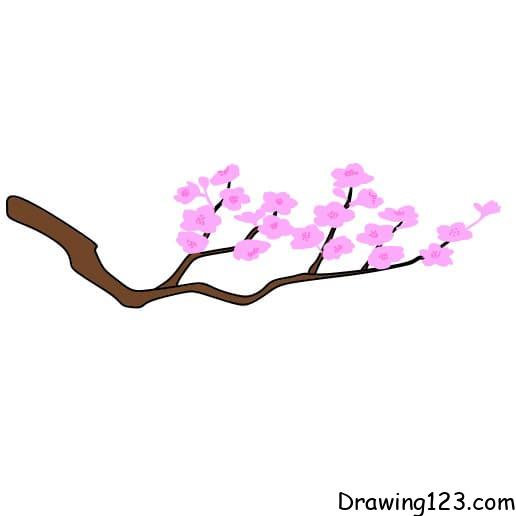
Hopefully, the above drawing guide to draw cherry blossom branches will help you have a beautiful cherry blossom picture.