You can choose your favorite images to see detail drawing instructions:
You can choose your favorite images to see detail drawing instructions:


Hello!
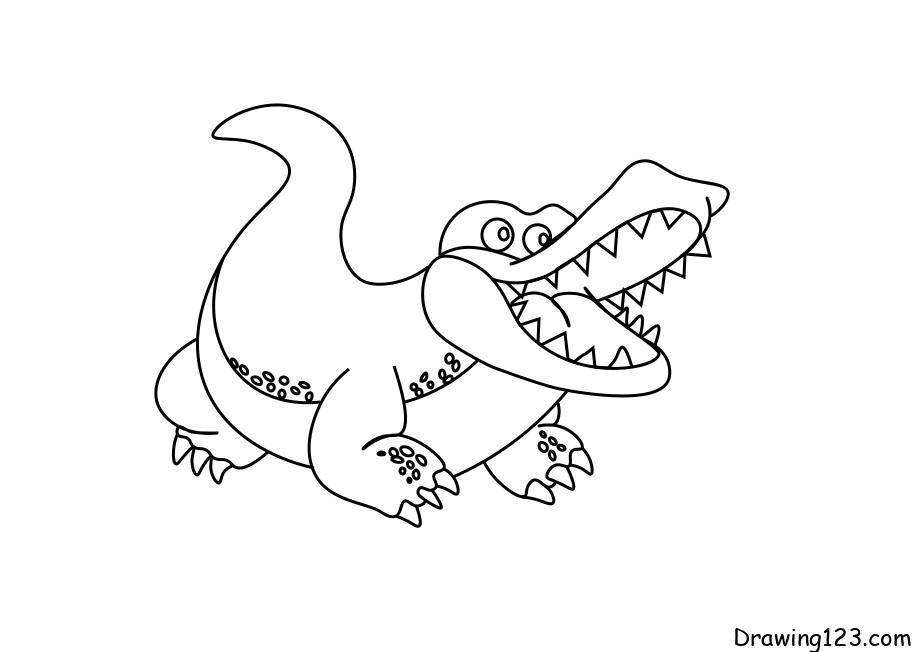
Today, drawing123.com will teach you how to draw Simple Crocodile
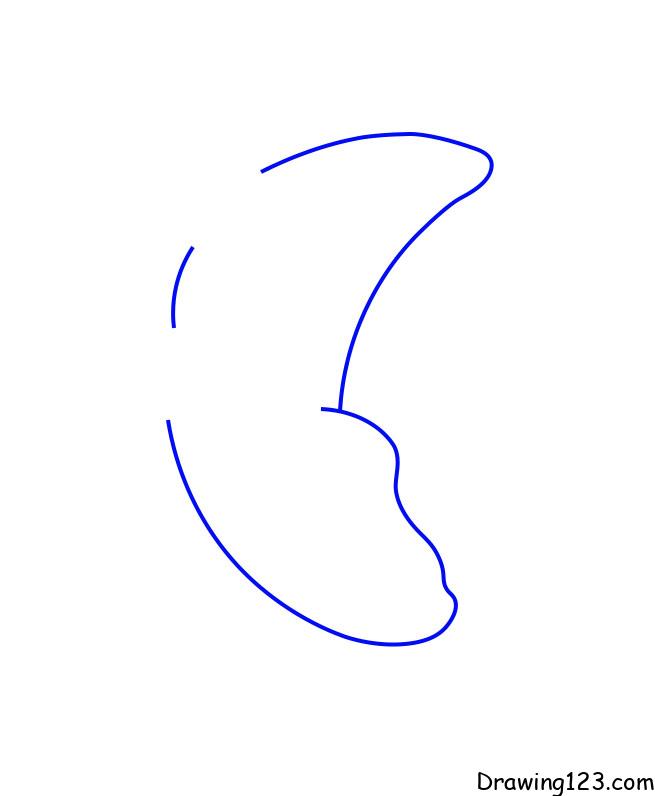
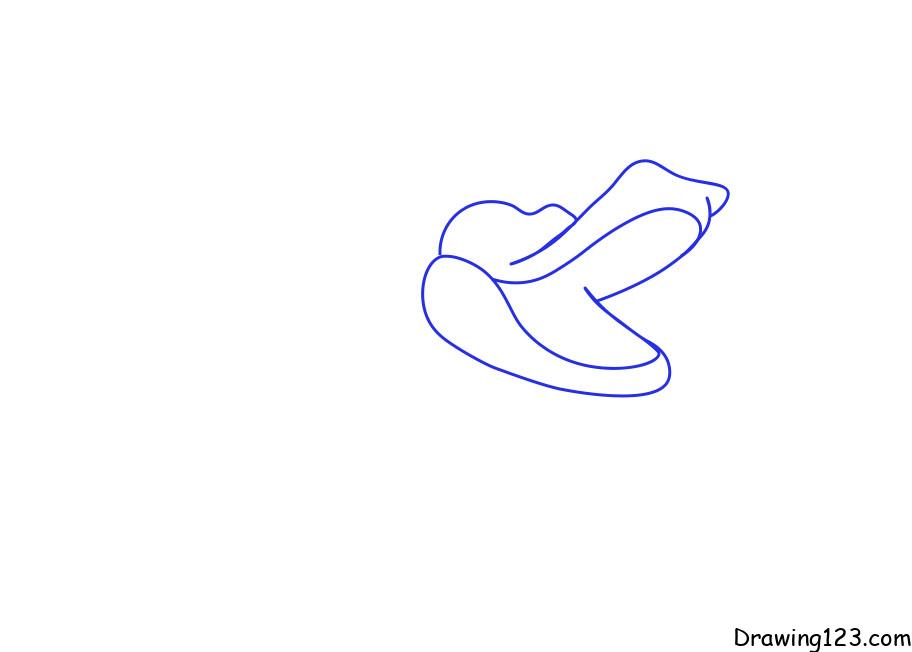
Step 1: draw the body for the Crocodile. similar to a banana.
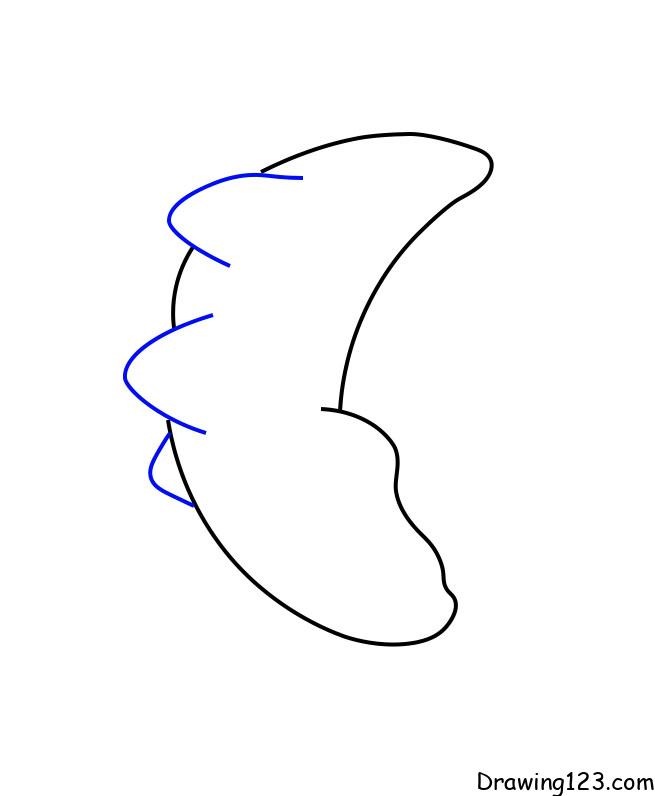
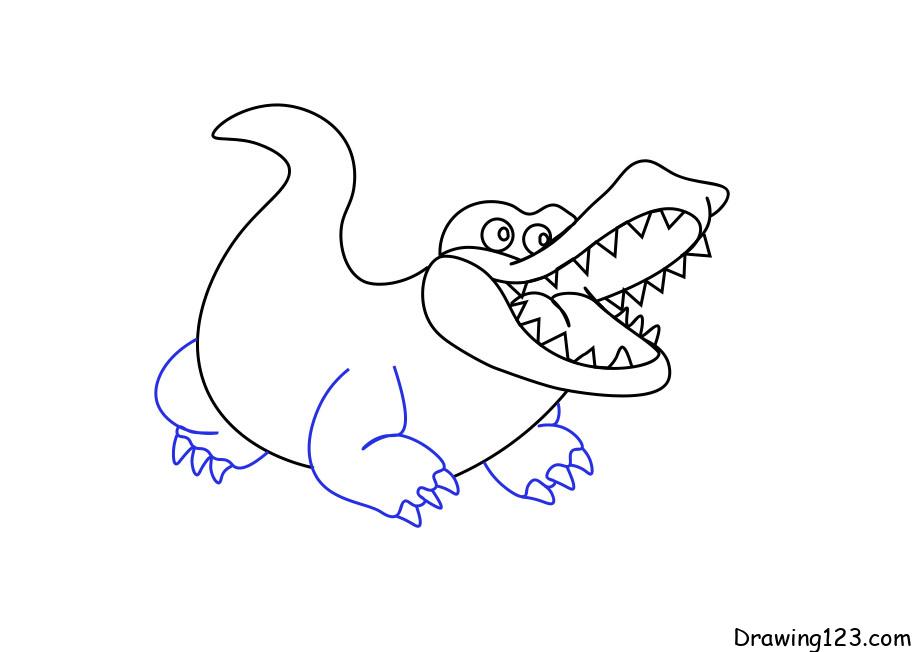
Step 2: draw for alligator legs too
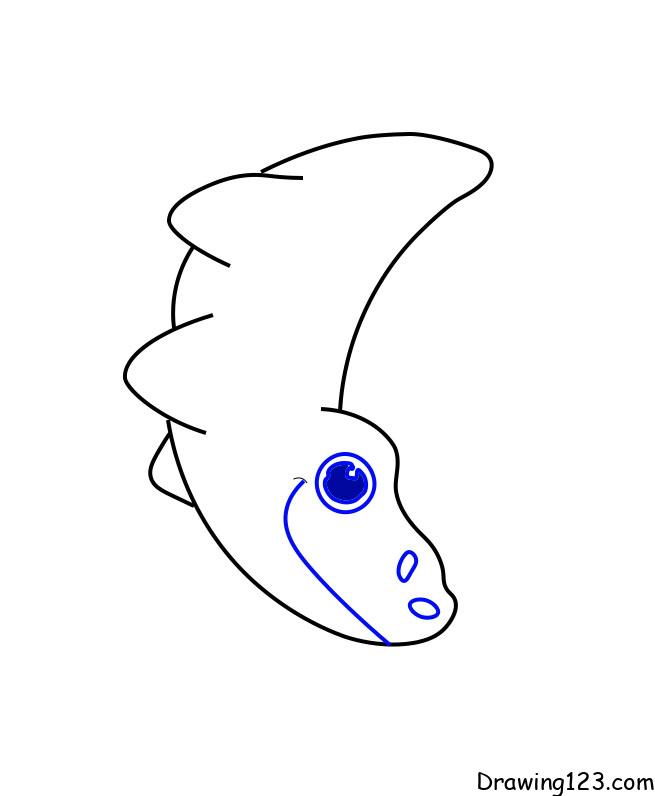
Step 3: next is to draw more eyes, nose and mouth
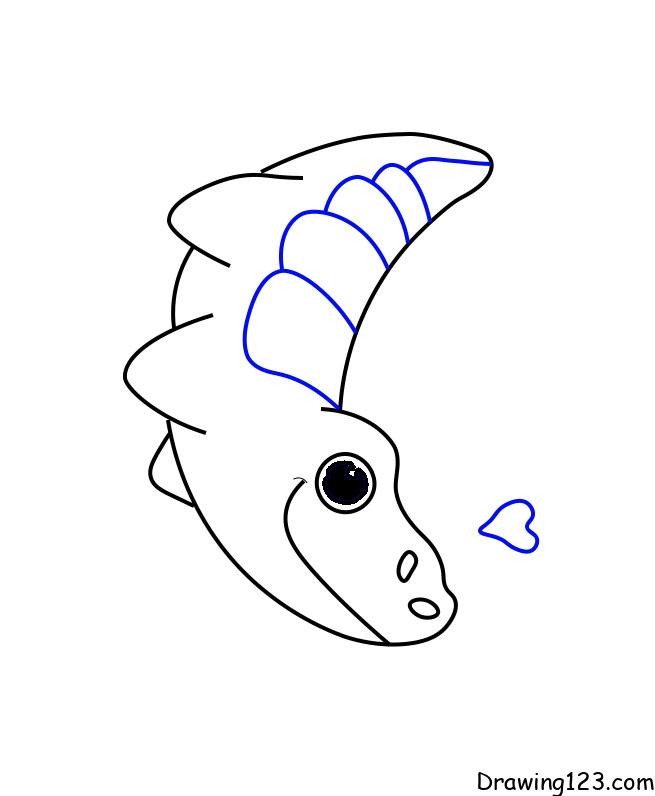
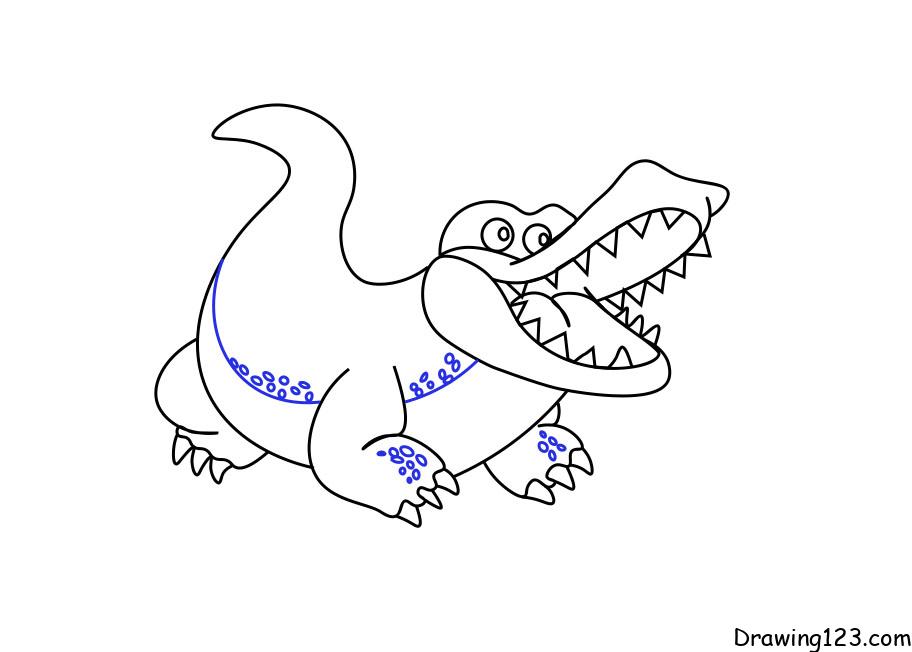
Step 4: Finally add the little details for you crocodile is complete
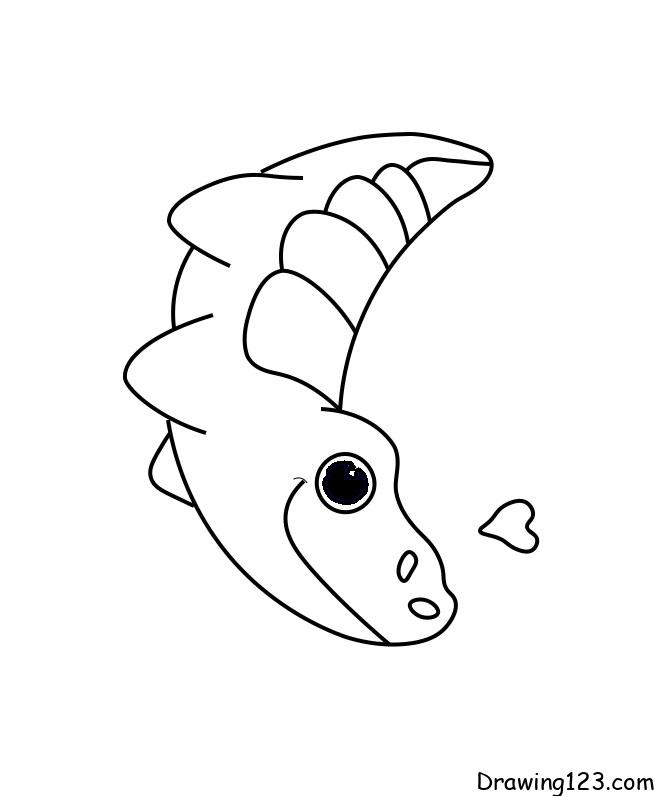
Step 1: first draw the eyes of any Crocodile baby.

Step 2: next draw the head for the crocodile.
Step 3: next is to draw the body with two hands.

Step 4: further drawing for the crocodile 2 hind legs.

Step 5: finally, don’t forget to draw the tail. So we’re done.

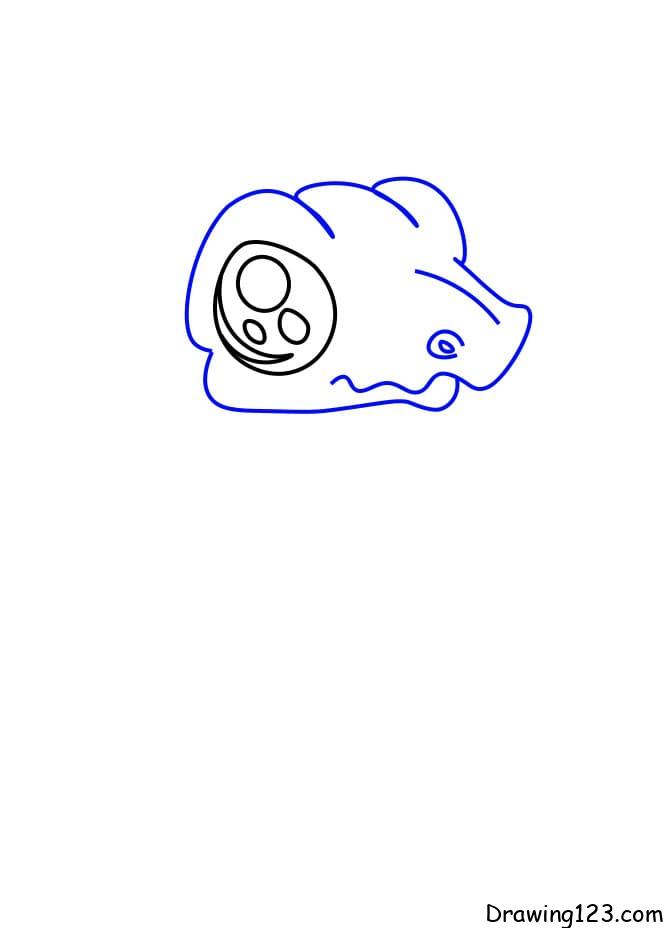
Step 1: draw the head for the crocodile as shown
Step 2: draw more eyes and teeth
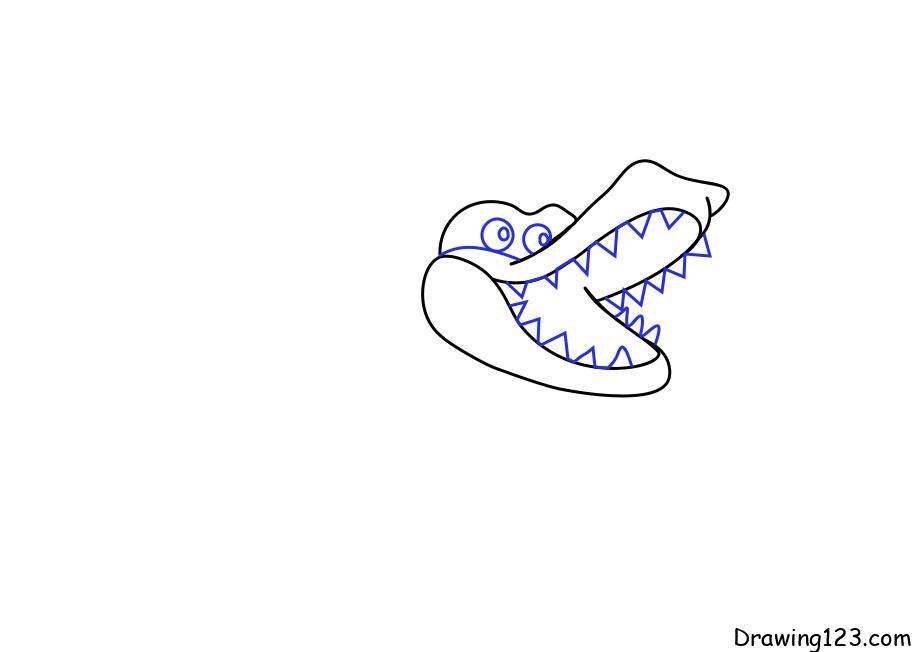
Step 3: next is which body to draw
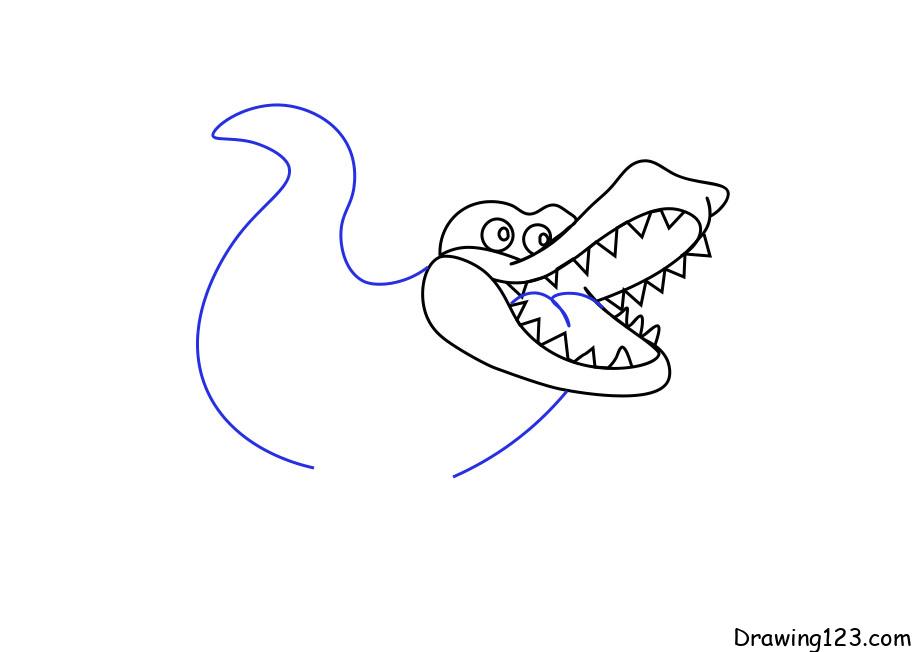
Step 4: draw more legs for crocodiles
Step 5: add a few small details to complete the picture

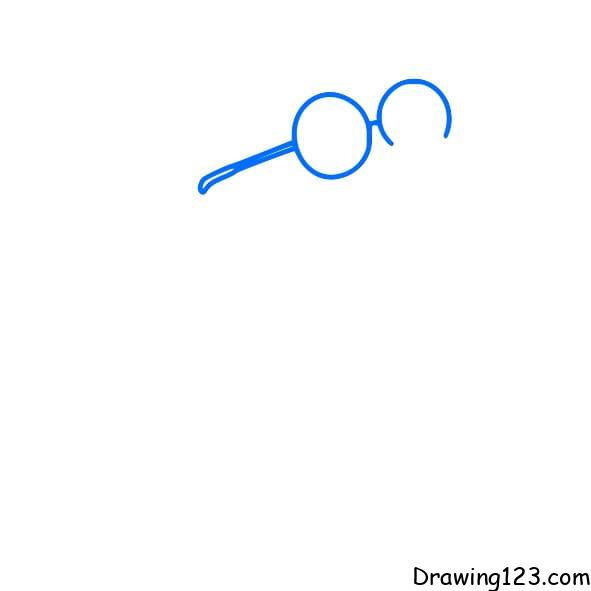
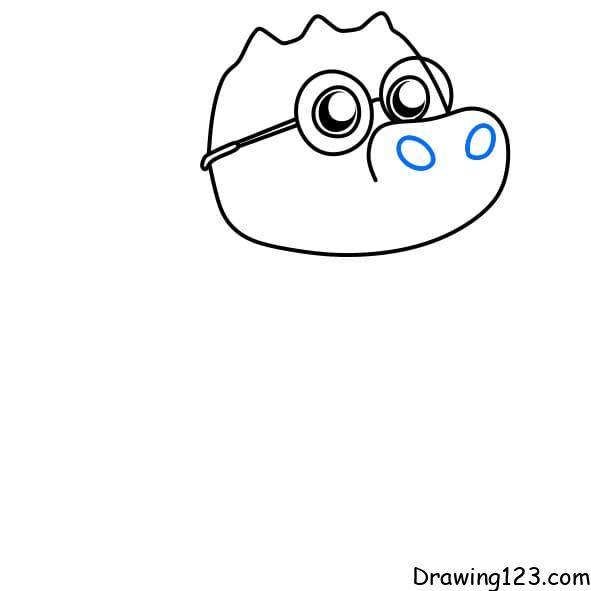
Step1: First, let’s draw the crocodile glasses
Step 2: Draw a face for the crocodile
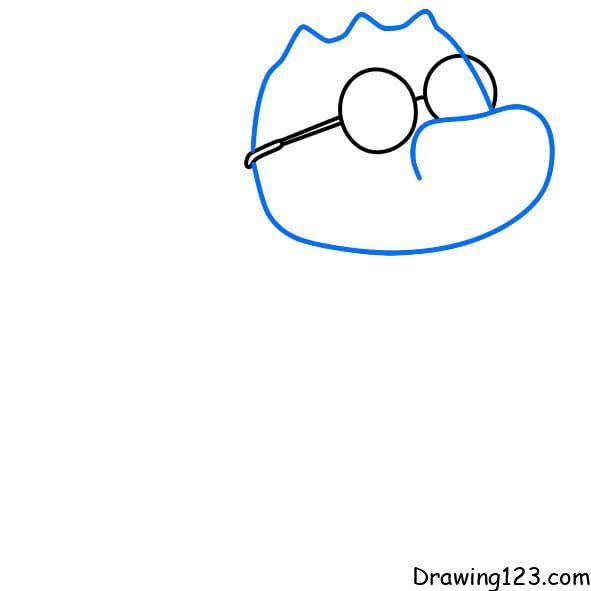
Step 3: Draw 2 more eyes

Step 4: Next let’s draw the nose for the crocodile
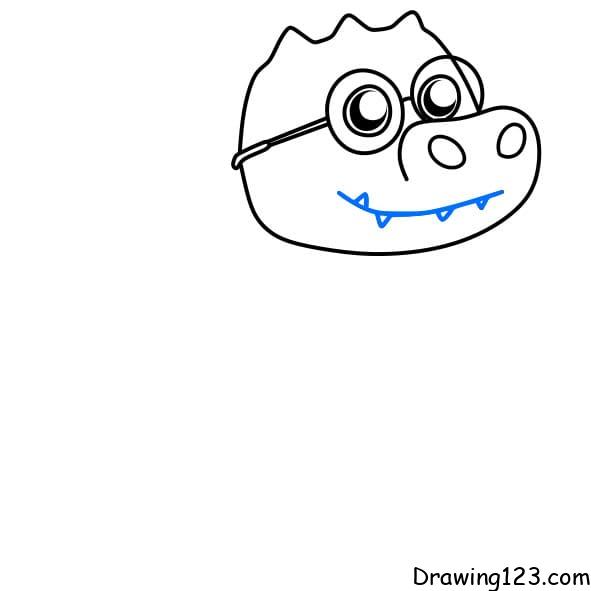
Step 5: Draw more mouth
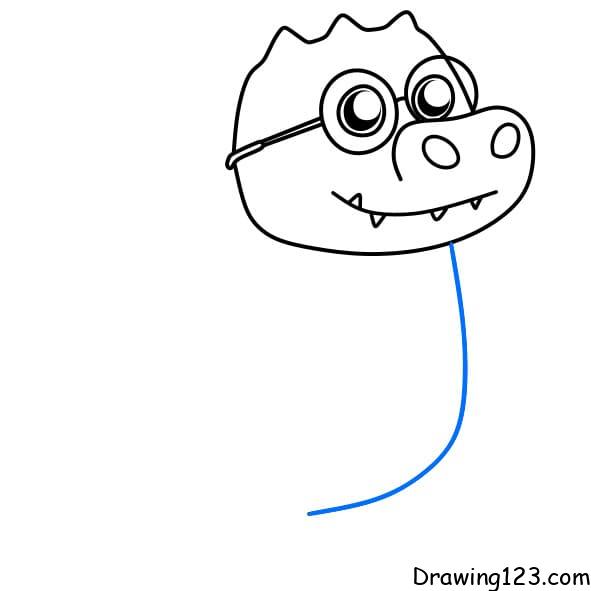
Step 6: Draw the belly according to the instructions below
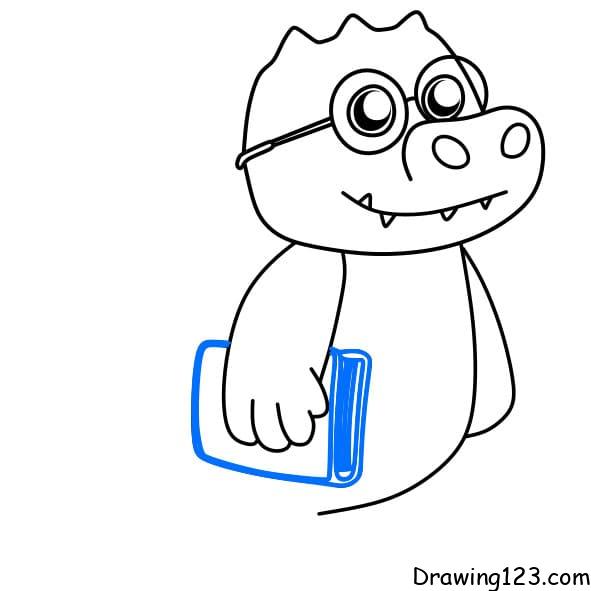
Step 7: Next will draw 2 more hands

Step 8: Draw the book the crocodile is holding
Step 9: Let’s draw more legs

Step 10: indispensable is the tail

Step 11: Decorate on the belly to make the crocodile more beautiful

Step 12: Don’t forget to color
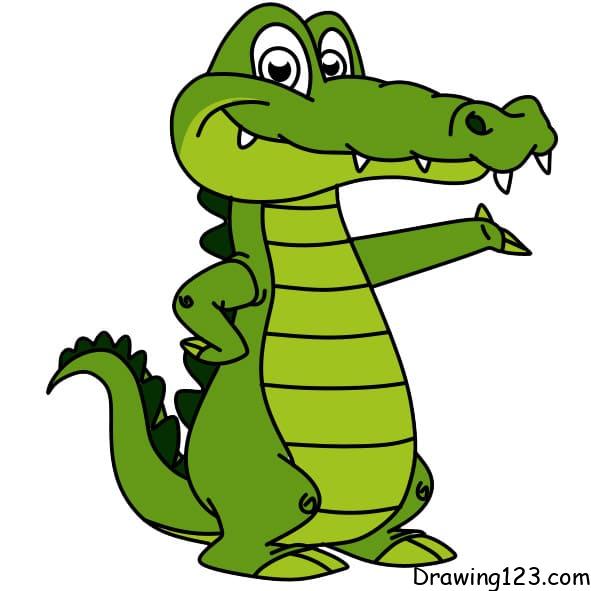
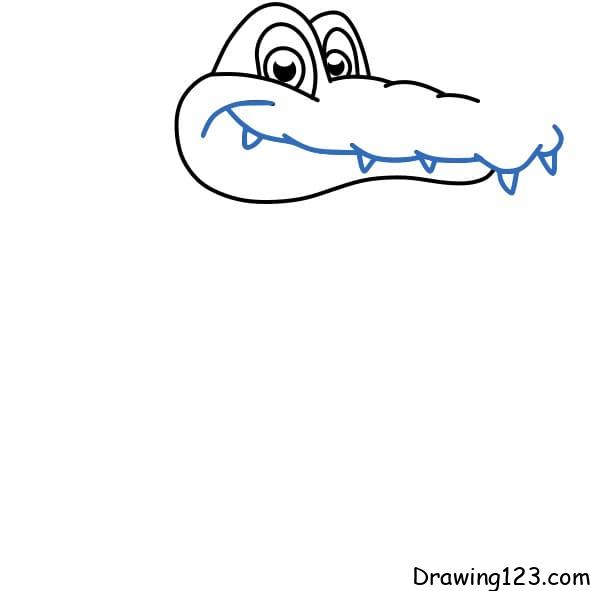
Step 1: First let’s draw the eyes for the crocodile

Step 2: Next, draw a face with a long snout

Step 3: Indispensable are teeth with many sharp teeth
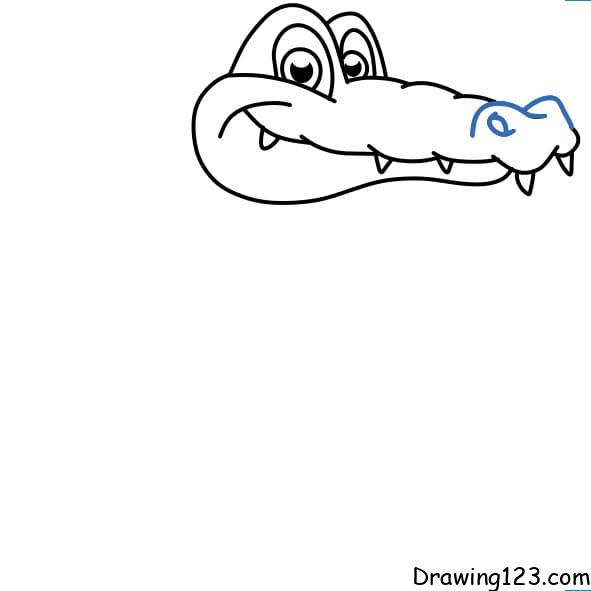
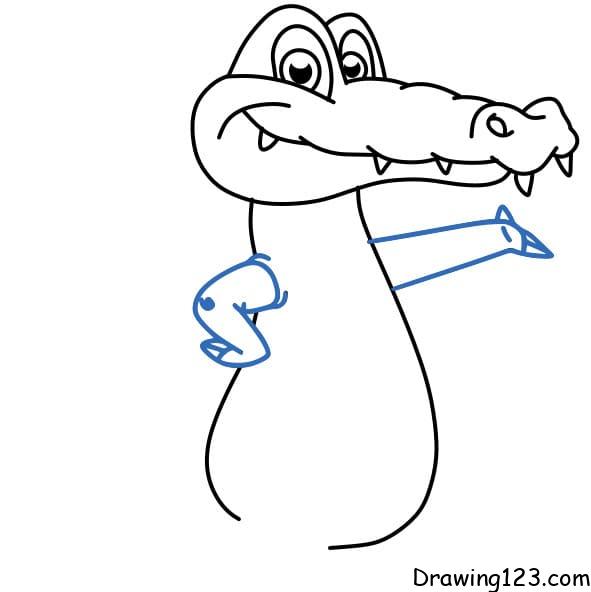
Step 4: Draw more arrows
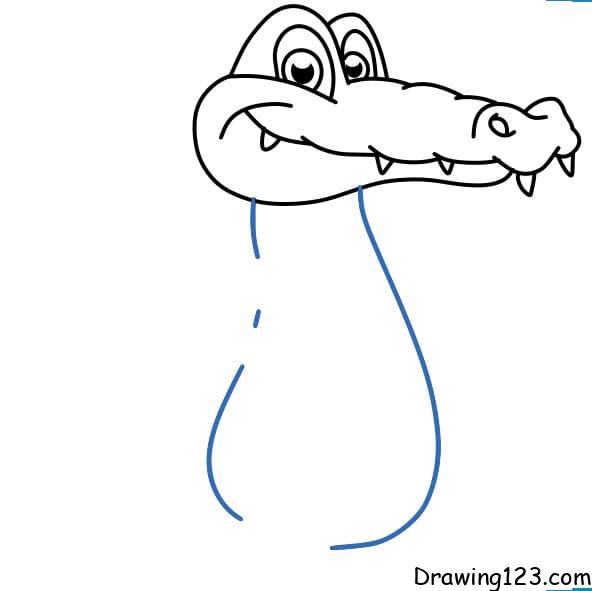
Step 5: Let’s draw the crocodile body
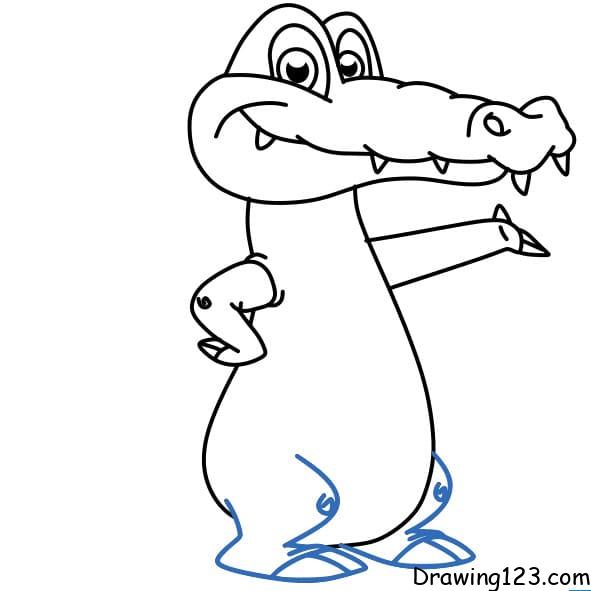
Step 6: Draw more arms and legs
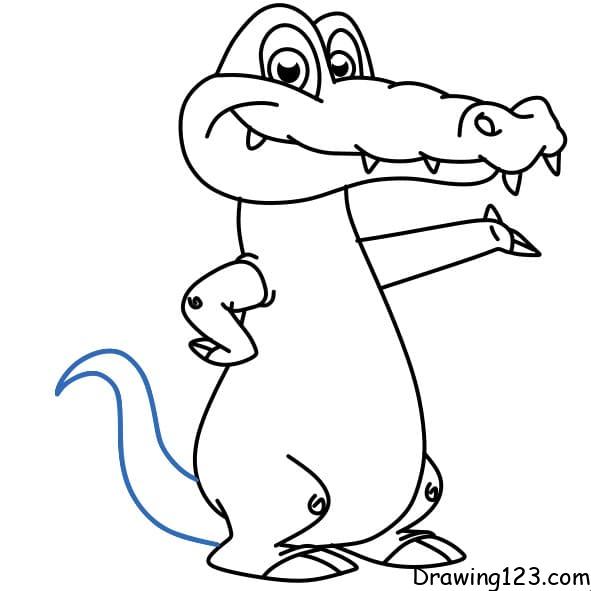
Step 7: Continue to draw the tail for the crocodile
Step 8: Draw the fin on the back like the picture below
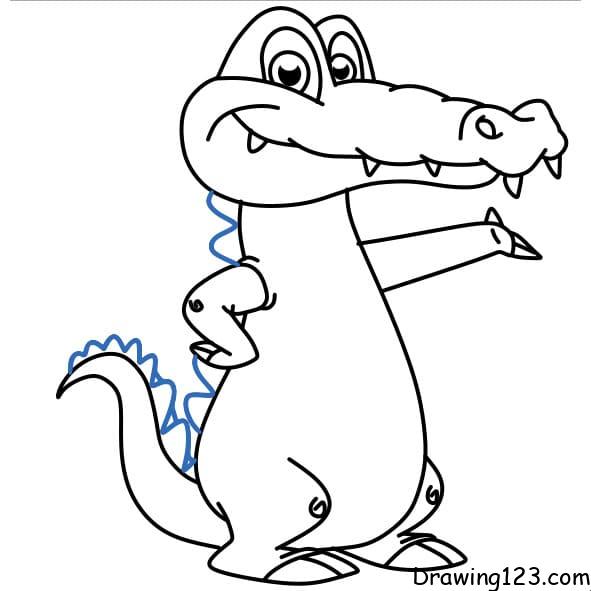
Step 9: Decorate the belly with horizontal lines
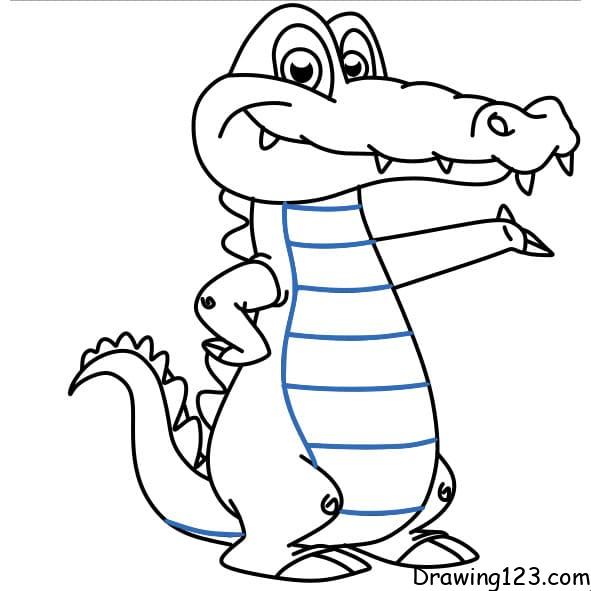
Step 10: Let’s color the picture beautifully