You can choose your favorite images to see detail drawing instructions:
Hello!
Today, drawing123.com will show you how to draw a simple, step-by-step demon for kids
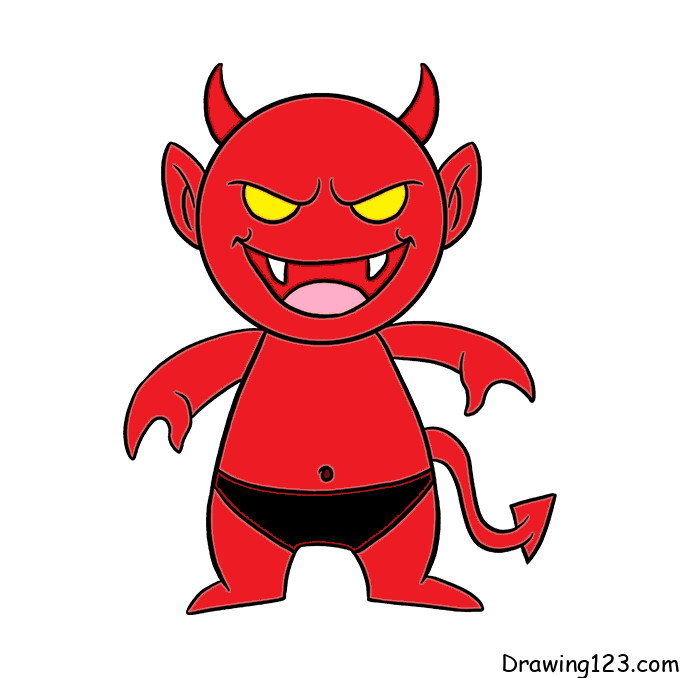
Let’s start!
Step 1:
First, draw a circle
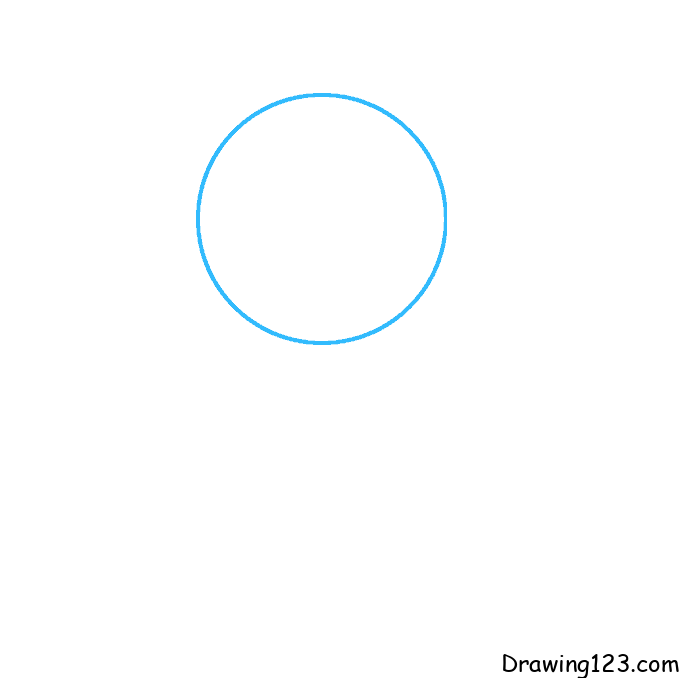
Step 2:
Next, you draw the demon’s body
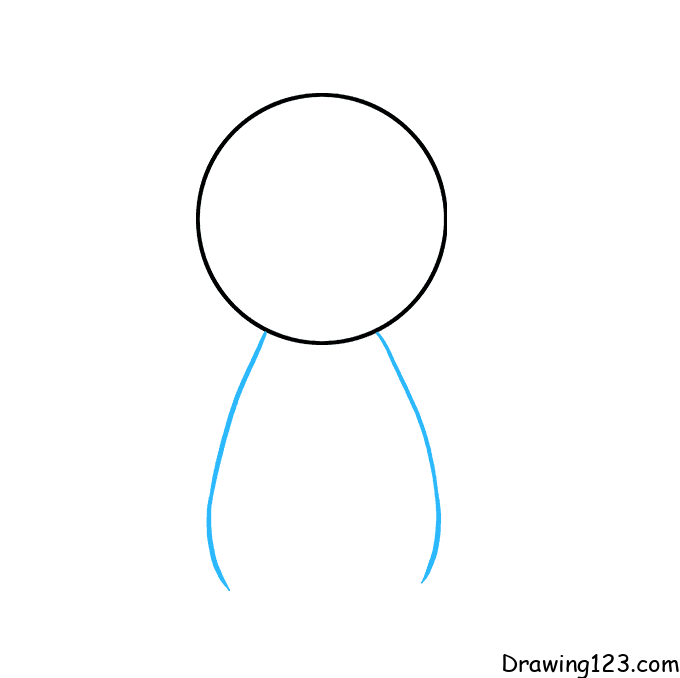
Step 3:
Please draw your legs
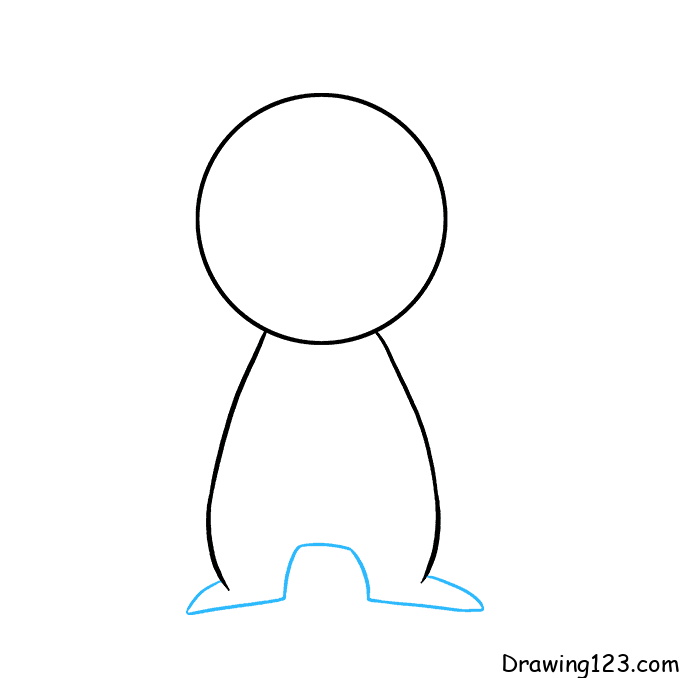
Step 4:
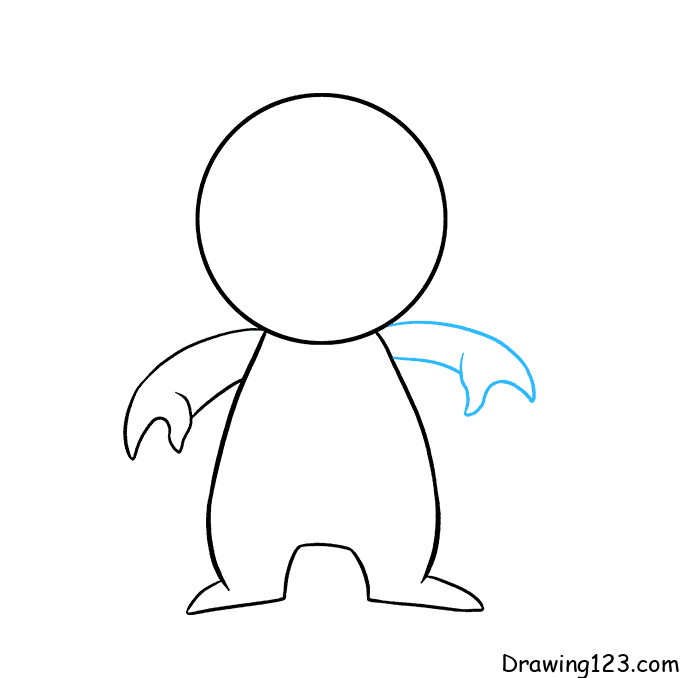
You draw your hands
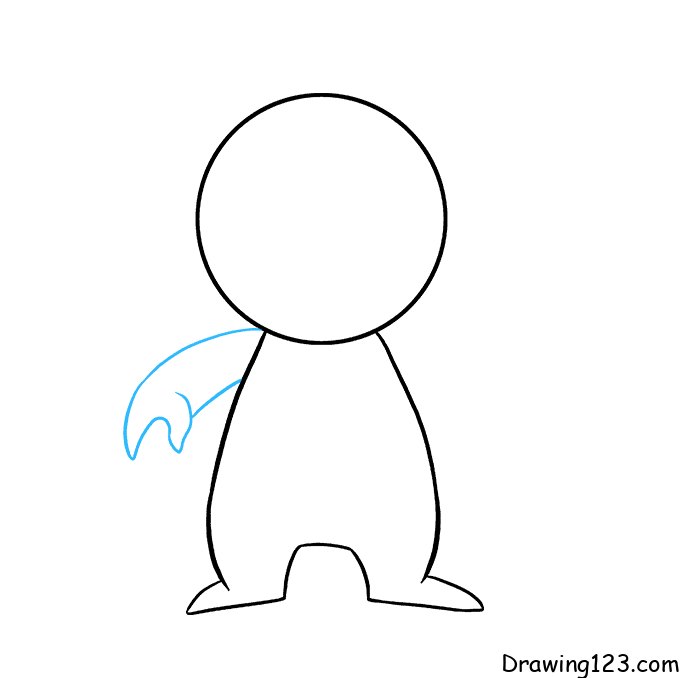
Step 5:
Next, draw the pants
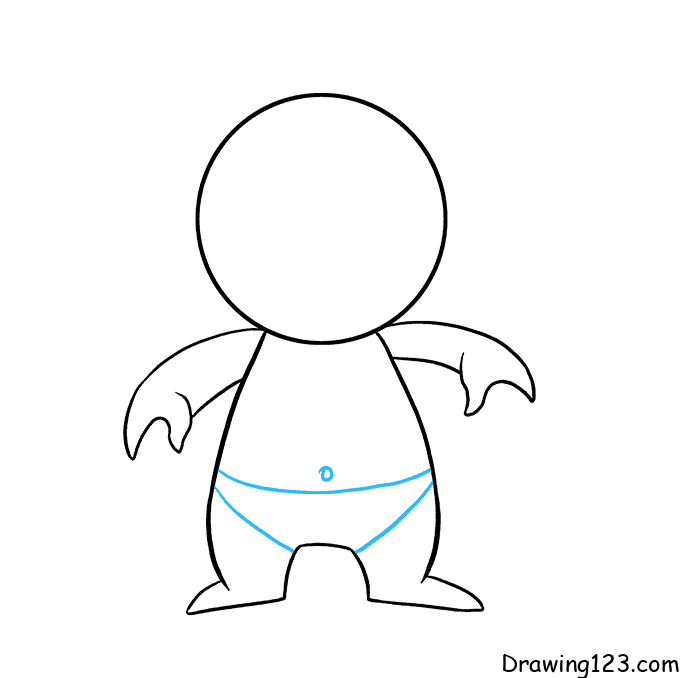
Step 6:
Draw a tail for the demon
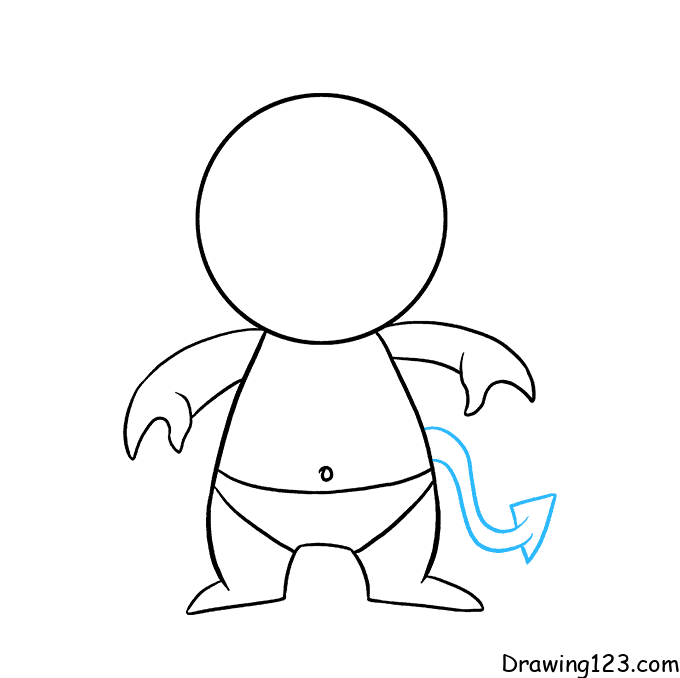
Step 7:
You draw the ears and the horns
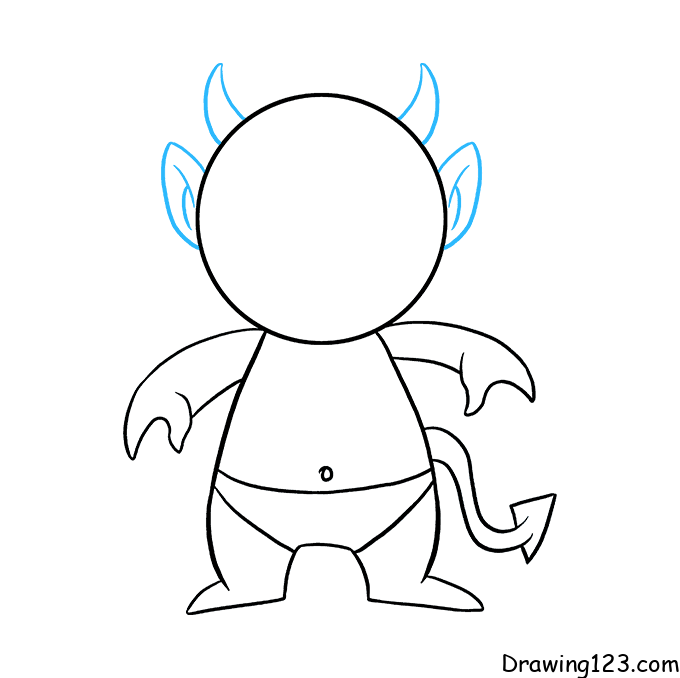
Step 8:
Don’t forget to draw the eyes, nose and mouth for the demon
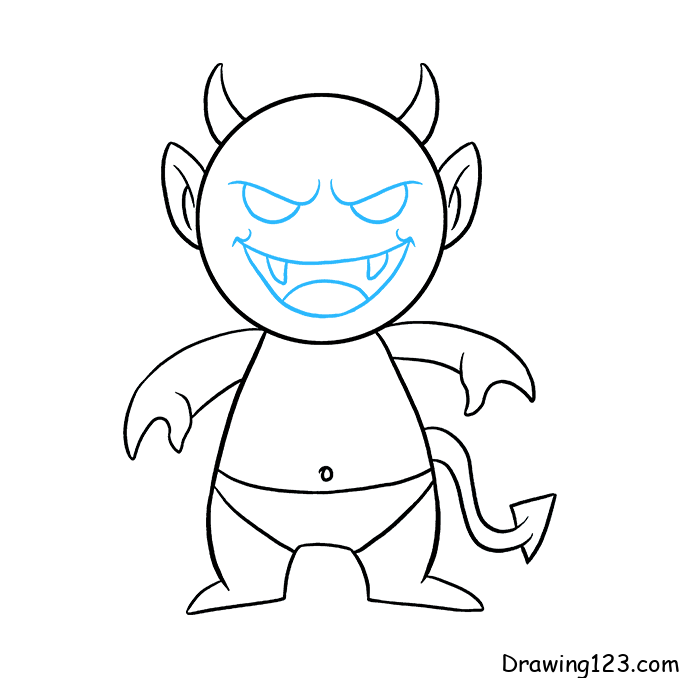
Step 9:
Finally, color to complete the picture
Step 1:
Draw two symmetrical curved lines to create the demon’s eyebrows.
Step 2:
Draw the eyes with two small circles under the eyebrows and add pupils inside.
Step 3:
Draw an oval shape for the demon’s face, surrounding the eyes.
Step 4:
Draw a large mouth full of sharp teeth to create a fierce look.
Step 5:
Add ears on both sides of the head, slightly pointed upwards.
Step 6:
Draw sharp horns on top of the demon’s head.
Step 7:
Draw the left hand clenched to show an angry pose.
Step 8:
Draw the right hand, also clenched, to maintain balance.
Step 9:
Draw the demon’s upper body.
Step 10:
Draw the lower body, adding a belt in the middle.
Step 11:
Draw the demon’s two legs.
Step 12:
Draw a tail curving upwards at the back.
Step 13:
Color the drawing.
Step 1:
Draw two small pointed horns spaced apart at the top of the head.
Step 2:
Draw an oval to create the head, connecting it with the two horns.
Step 3:
Draw hair at the front of the head with wavy lines to style it.
Step 4:
Draw the eyes as two small circles and add a mouth with two ovals on each cheek.
Step 5:
Draw the demon’s mouth.
Step 6:
Draw ears on both sides of the head and add small details on the ears.
Step 7:
Draw the demon’s body, extending down from the head.
Step 8:
Draw two small round feet with circles inside.
Step 9:
Add body details, including the stomach area.
Step 10:
Draw small wings on the back, resembling bat wings.
Step 11:
Color the drawing.
Step 1:
Draw an oval shape for the demon’s head.
Step 2:
Add a small tuft of hair at the top of the head.
Step 3:
Draw two large pointed horns on each side of the head.
Step 4:
Draw spiral-shaped ears on both sides, just under the horns.
Step 5:
Draw a V-shaped brow to give an angry expression.
Step 6:
Draw the eyes, with large pupils and lowered brows to appear angry.
Step 7:
Add pupils and shading to make the eyes sparkle.
Step 8:
Draw a small nose and two curved lines to create wrinkles under the eyes.
Step 9:
Draw a mouth with sharp fangs.
Step 10:
Add two small arms.
Step 11:
Draw a simple body.
Step 12:
Draw two legs.
Step 13:
Color the drawing.
Step 1:
Draw a circle for the head.
Step 2:
Add two small horns on top of the head.
Step 3:
Draw the eyes and mouth.
Step 4:
Draw the body with a dot at the belly.
Step 5:
Draw both of the demon’s arms reaching behind its back.
Step 6:
Draw a long tail with a triangle shape at the end.
Step 7:
Draw a trident held in the demon’s hand.
Step 8:
Add large wings on both sides of the body.
Step 9:
Color the drawing.
Step 1:
Draw two horns at the top.
Step 2:
Draw the face outline.
Step 3:
Complete the face shape with a sharp chin.
Step 4:
Draw a small curve below the forehead.
Step 5:
Draw two eyebrow lines.
Step 6:
Draw the demon’s eyes.
Step 7:
Draw the demon’s nose.
Step 8:
Draw two curves for smile lines around the mouth and two curves for cheekbones.
Step 9:
Draw a smiling mouth.
Step 10:
Add ears on both sides of the head.
Step 11:
Color the drawing in red.
Hopefully, through this simple and detailed step-by-step tutorial on how to draw a demon, you will have a beautiful picture