You can choose your favorite images to see detail drawing instructions:
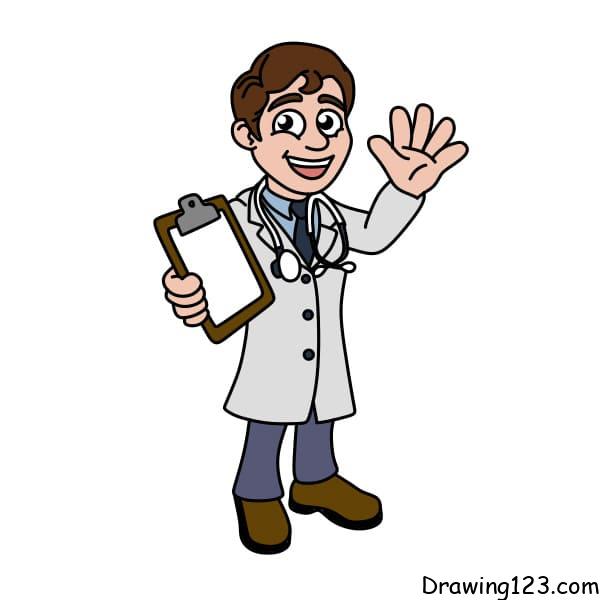
Hello!
Today drawing123.com will show you how to draw a doctor!
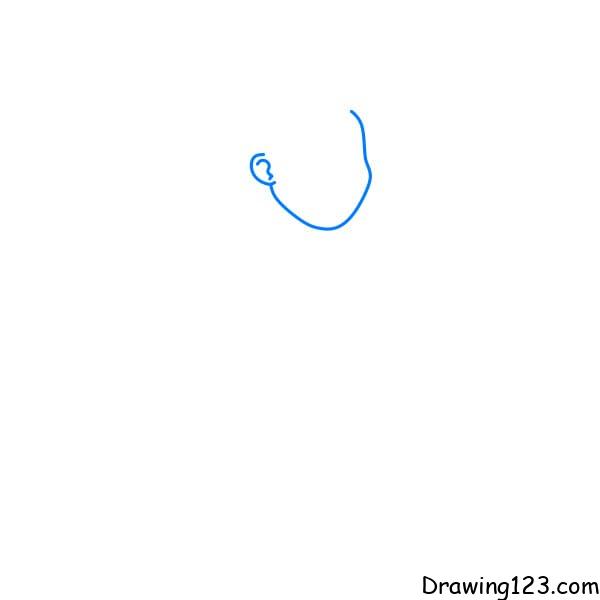
Step 1: Let’s draw the head for the doctor
Step 2: Draw the doctor’s hair
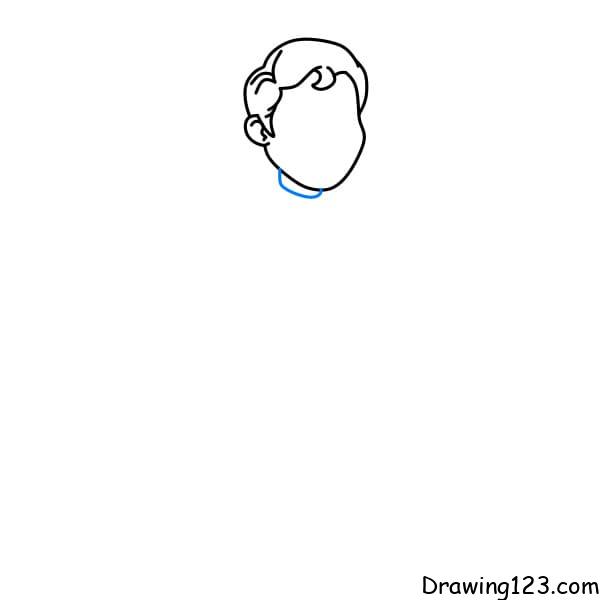
Step 3: Draw the neck
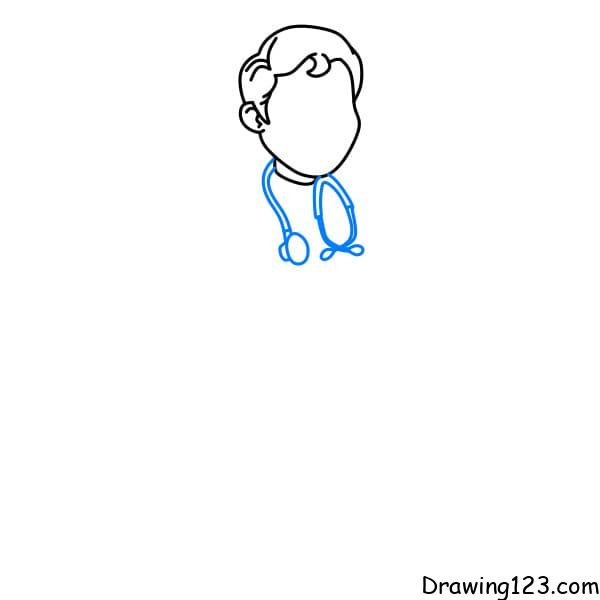
Step 4: Draw your doctor’s heartbeat stethoscope
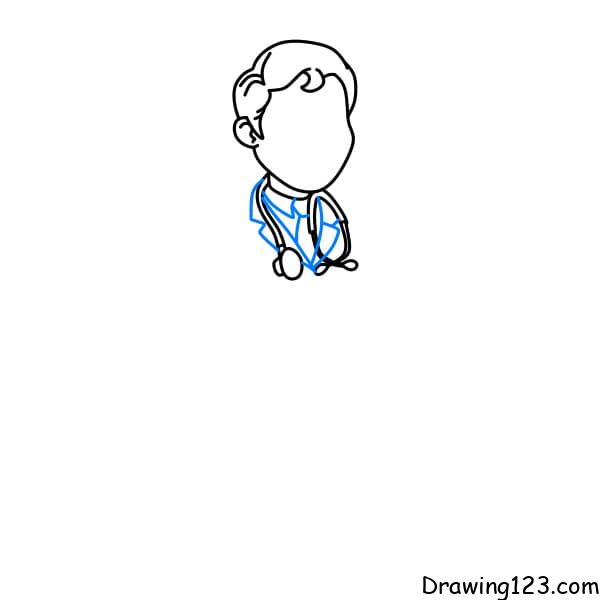
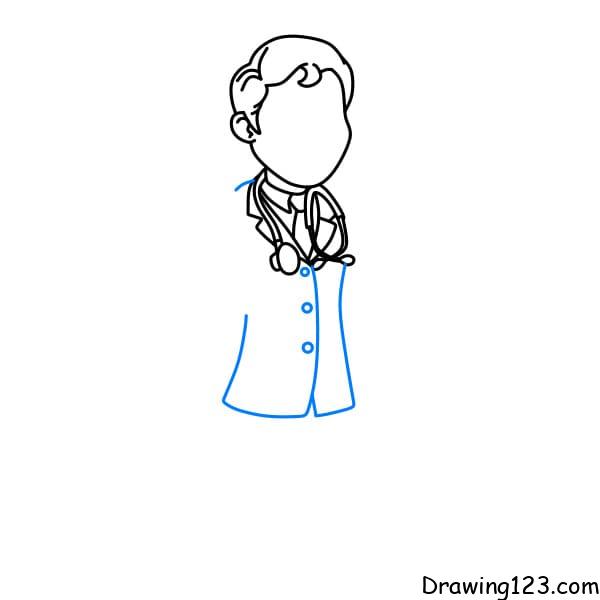
Step 5: Draw the outfit that the doctor is wearing
Step 6: Draw the hands holding the patient’s information board
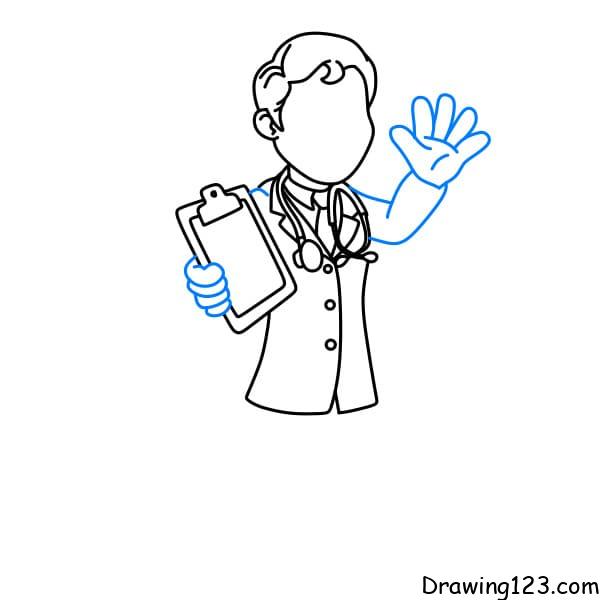
Step 7: Draw two more front legs for the doctor
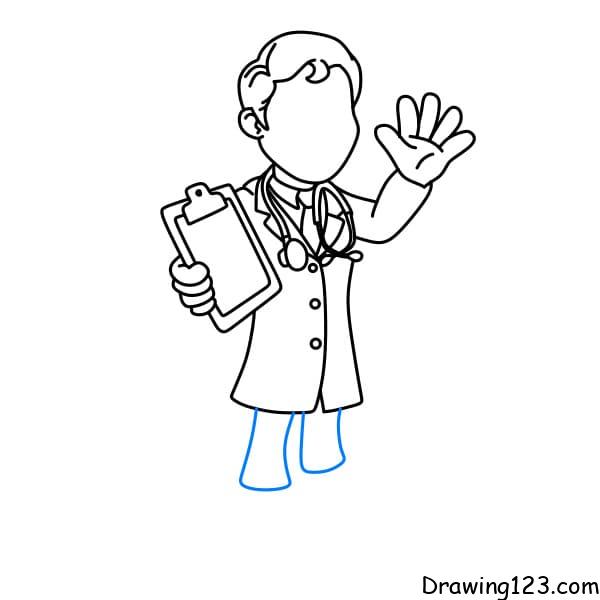
Step 8: Don’t forget to draw shoes for him
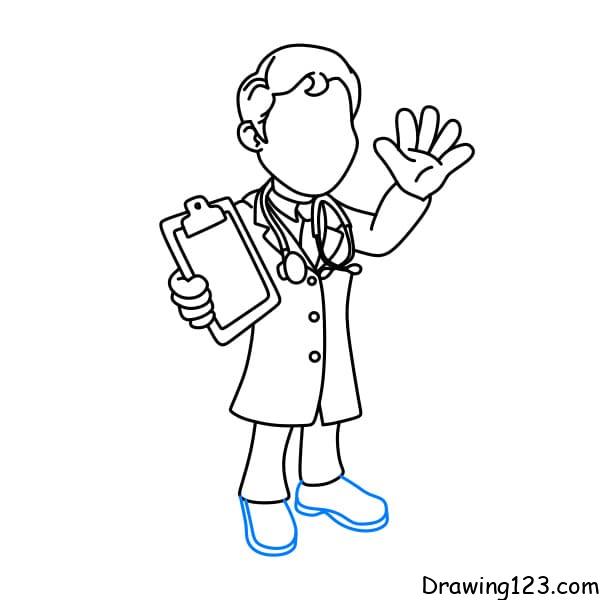
Step 9: Draw a friendly face for the doctor
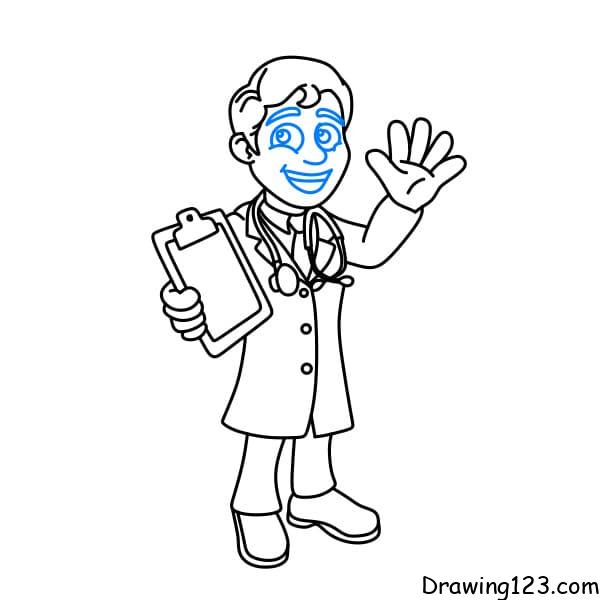
Step 10: Color the picture of the Doctor better
Step 1 :
Draw a curve to create the character’s face.
Step 2 :
Add eyes and eyebrows. These details are drawn symmetrically to create balance for the face.
Step 3 :
Complete the face by adding a mouth and dimples, making the character look friendlier.
Step 4 :
Draw the character’s curly hair, starting at the top of the head and extending down the sides.
Step 5 :
Draw the top of the shoulder.
Step 6 :
Draw the doctor’s outfit, starting with the collar and adding the chest pocket.
Step 7 :
Add arms crossed over chest.
Step 8 :
Complete the outfit with the blouse details and pockets underneath.
Step 9 :
Draw a doctor’s stethoscope on the neck.
Step 10 :
Color the drawing.
Step 1 :
Sketch the basic shape of the head, including the facial contour and the top hair.
Step 2 :
Draw the hair and ears in detail. The hair is neatly shaped, with the ears on either side of the head.
Step 3 :
Add facial details, including eyes and eyebrows. These are drawn symmetrically to create balance.
Step 4 :
Complete the face by adding a mouth and dimples, giving the character a friendly look.
Step 5 :
Draw the character’s upper body, including the shoulders and part of the doctor’s coat.
Step 6 :
Add detail of right arm raised in salute, along with blouse pocket on the chest.
Step 7 :
Add the details of the outfit, including the shirt collar, tie, and finishing the inner shirt.
Step 8 :
Draw the character’s legs, including pants and shoes.
Step 9 :
Color the drawing.
Step 1:
Draw hair with bangs and one side of the head.
Step 2:
Add face contour and two ears.
Step 3:
Draw eyes, nose and smiling mouth.
Step 4:
Sketch the collar and body of the jacket.
Step 5:
Draw the arms and sleeve details.
Step 6:
Draw the legs and shoes.
Step 7:
Draw a stethoscope on the character’s neck.
Step 8:
Color the drawing.
Step 1 :
Sketch the hair and simple face shape.
Step 2 :
Draw hairline around head.
Step 3 :
Draw eyes, small nose and slightly smiling mouth.
Step 4 :
Draw the collar of the jacket and one sleeve.
Step 5 :
Draw the remaining arm and outlines for the jacket.
Step 6 :
Draw a coat pocket and a medical stethoscope.
Step 7 :
Sketch a simple skirt underneath the jacket.
Step 8 :
Draw two straight legs and simple shoes.
Step 9 :
Color the drawing.
Step 1 :
Draw a simple curve to outline the face.
Step 2 :
Add hairline and finalize the basic shape of the head.
Step 3 :
Draw facial details, including eyes, nose and mouth, to create a friendly feel.
Step 4 :
Draw the neck and part of the shoulder with simple curves to sketch the shirt collar.
Step 5 :
Finish the shirt collar and add part of the tie.
Step 6 :
Draw the details of the jacket collar.
Step 7 :
Draw two arms crossed in front of the chest, sketching with curves for a comfortable pose.
Step 8 :
Refine lines, add details to the outfit.
Step 9 :
Color the drawing.
Hopefully, this tutorial on how to draw a friendly doctor will help you get a beautiful picture!