Hulk Drawing Tutorial - How to draw Hulk step by step

Hulk Drawing

You can choose your favorite images to see detail drawing instructions:

1. Instructions on how to draw a simple Hulk for kids

Hello

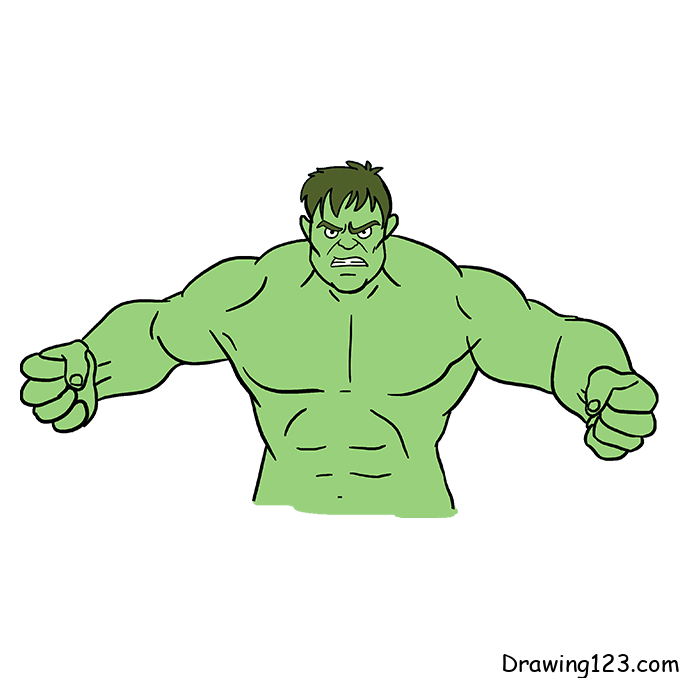
Today, drawing123.com will teach you how to draw hulk easily
Let’s start!

Step 1:

First, you draw the head of the hulk
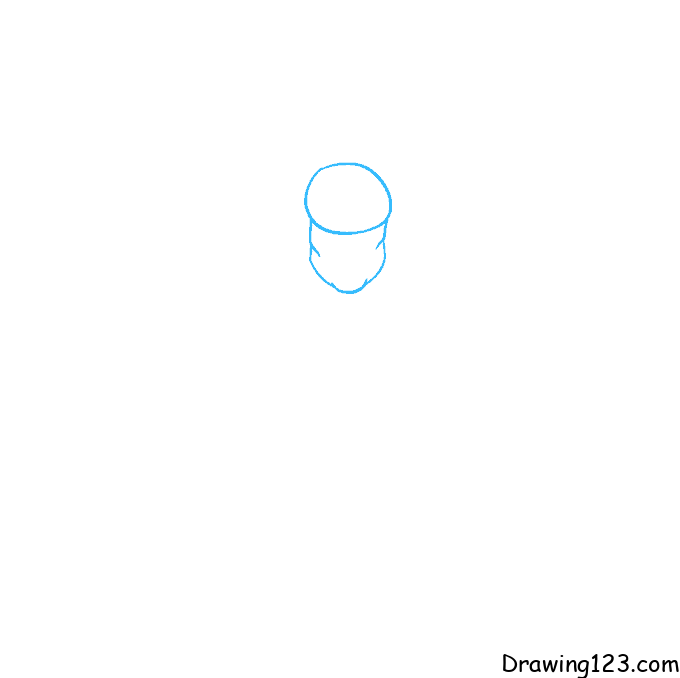
Step 2:

Next you draw the ears
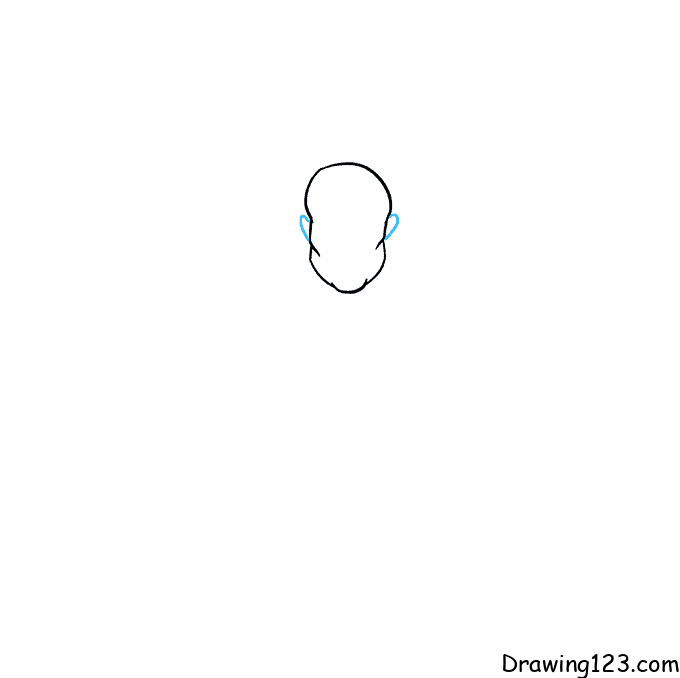
Step 3:

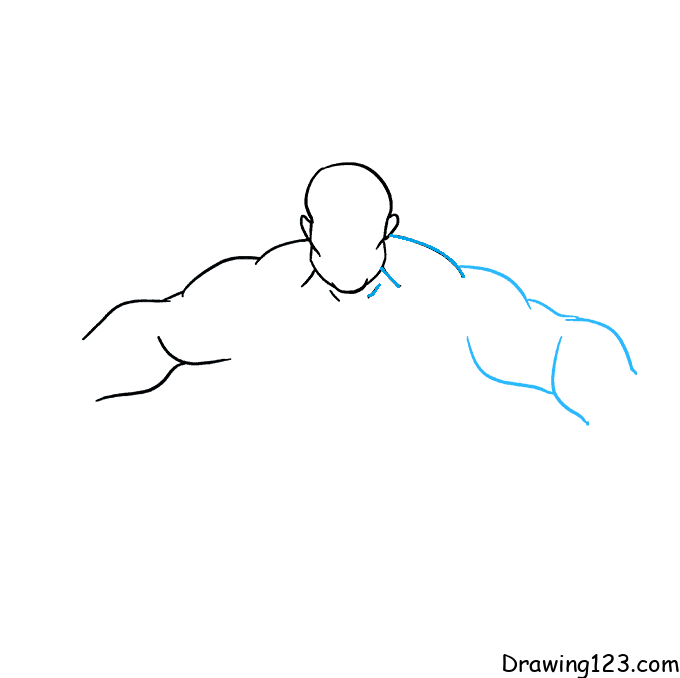
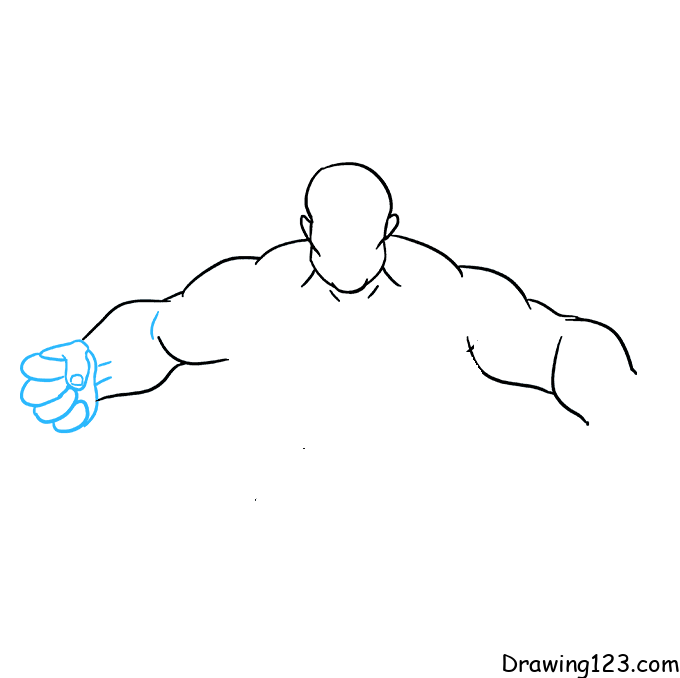
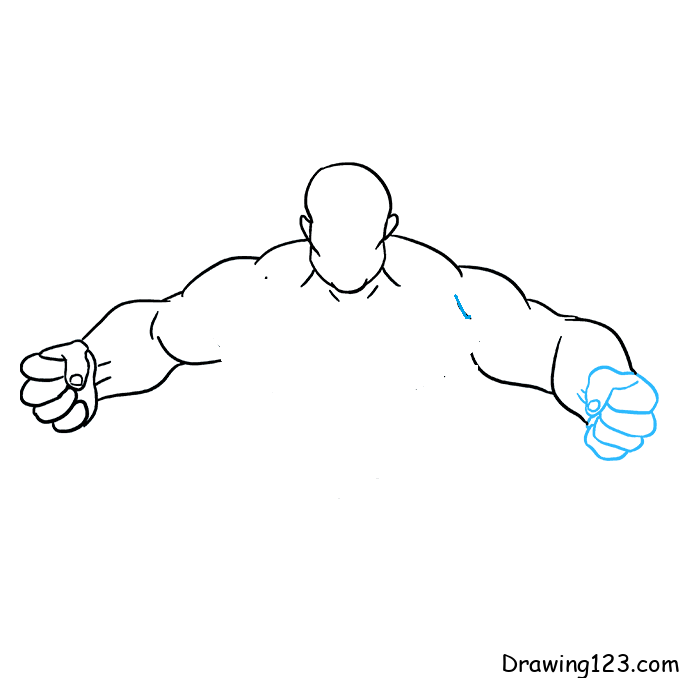
Draw muscular arms
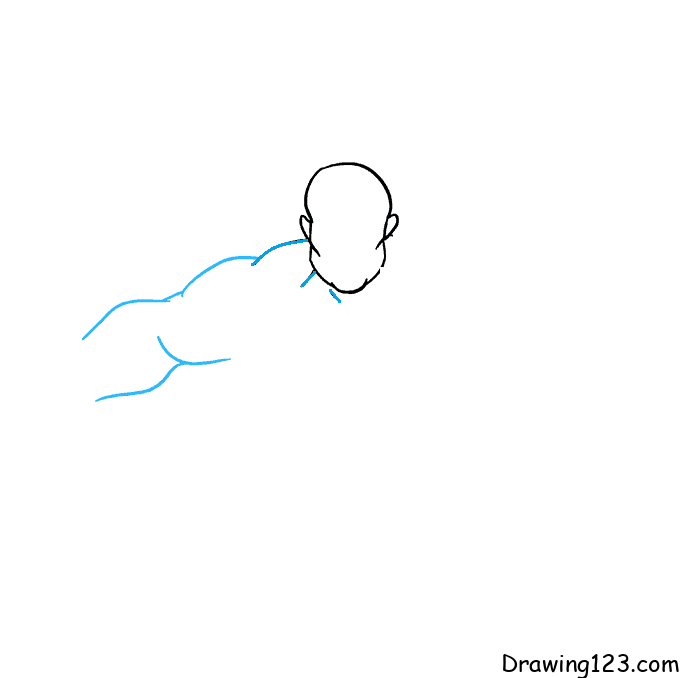
Step 4:

You draw the body of the hulk
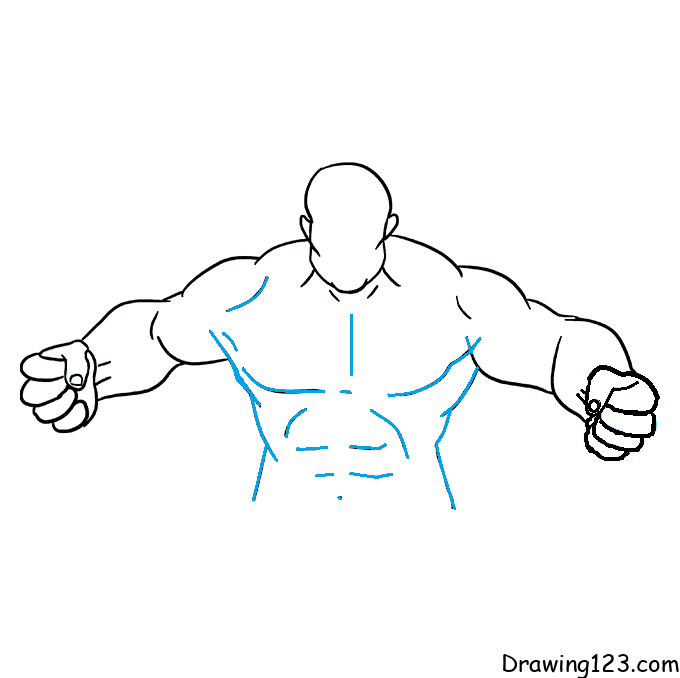
Step 5:

Next, you draw the hair

Step 6:

Don’t forget to draw the eyes, nose and mouth
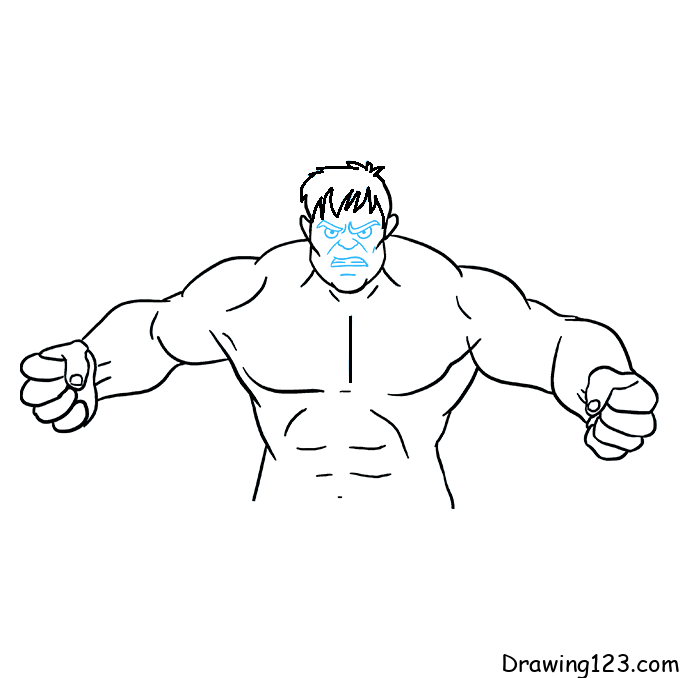
Step 7:

Finally, color to complete the picture

2. Instructions for drawing the chibi green giant.

Step 1:

Draw two curved lines connecting together to form the character’s chin.

Step 2:

Draw the hair with short, pointed curves.

Step 3:

Draw two eyes with curved eyebrows creating an angry look.

Step 4:

Draw lines on the forehead to create an angry look on the face.

Step 5:

Draw the mouth to reveal clenched teeth.

Step 6:

Draw ears on either side of the head.

Step 7:

Draw the body of the character.

Step 8:

Draw two hands clenched.

Step 9:

Draw the outline of the pants at the waist.

Step 10:

Draw the character’s lower body with torn pants and simple legs.

Step 11:

Color the drawing.

3. Instructions for drawing the Hulk in detail and beautifully.

Step 1:

Draw a curve that defines the face.

Step 2:

Draw thick and curved eyebrows, add the nose.

Step 3:

Draw the eyes and mouth clenched to reveal the teeth.

Step 4:

Draw the character’s hair, add the shape of an ear.

Step 5:

Draw the character’s left arm.

Step 6:

Draw the left hand clenched.

Step 7:

Draw the character’s body with small strokes to create a strong shape.

Step 8:

Draw the character’s right arm with the hand clenched.

Step 9:

Draw the belt.

Step 10:

Draw the character’s legs.

Step 11:

Draw two feet next.

Step 12:

Color the drawing.

4. Instructions for drawing the Hulk’s face.

Step 1:

Draw the chin with two symmetrical sides.

Step 2:

Draw curves to shape the cheekbones.

Step 3:

Draw short hair and pointed details.

Step 4:

Draw two ears for the character.

Step 5:

Draw eyes with arched eyebrows to create an angry look.

Step 6:

Draw a nose and mouth for the character.

Step 7:

Color the drawing.

5. Simple Green Giant Drawing Tutorial.

Step 1:

Draw the head for the character.

Step 2:

Draw the character’s hair with curved and pointed lines.

Step 3:

Draw facial parts such as eyes, nose and mouth.

Step 4:

Draw the character’s body with small details to create a firm shape.

Step 5:

Draw a muscular left arm and a clenched fist.

Step 6:

Draw the right arm with a clenched fist.

Step 7:

Draw the lower body with ripped pants.

Step 8:

Draw two legs for the character.

Step 9:

Color the drawing.

6. Instructions for drawing the Angry Green Giant.

Step 1:

Draw the head for the character.

Step 2:

Draw the character’s hair with curved and pointed lines.

Step 3:

Draw eyes with thick, arched eyebrows.

Step 4:

Draw the nose and mouth.

Step 5:

Draw the body with firm lines.

Step 6:

Draw the left arm and clenched hand.

Step 7:

Continue drawing the right arm with a clenched fist.

Step 8:

Draw the lower body with the detail of the torn pants.

Step 9:

Draw two legs.

Step 10:

Color the drawing.

Hopefully, through the tutorial on how to draw a simple Hulk for kids, it will help you have a beautiful picture!