You can choose your favorite images to see detail drawing instructions:
You can choose your favorite images to see detail drawing instructions:
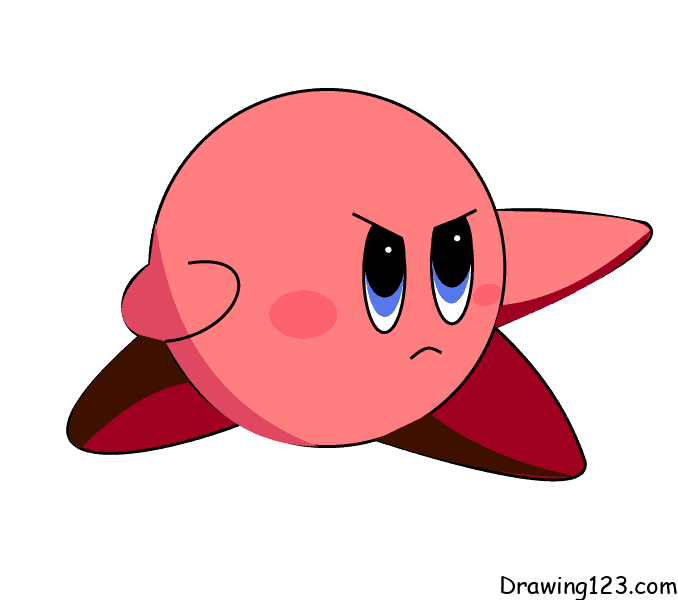
Hello!
Today, drawing123.com will show you how to draw a simple and cute kirby
Let’s start!
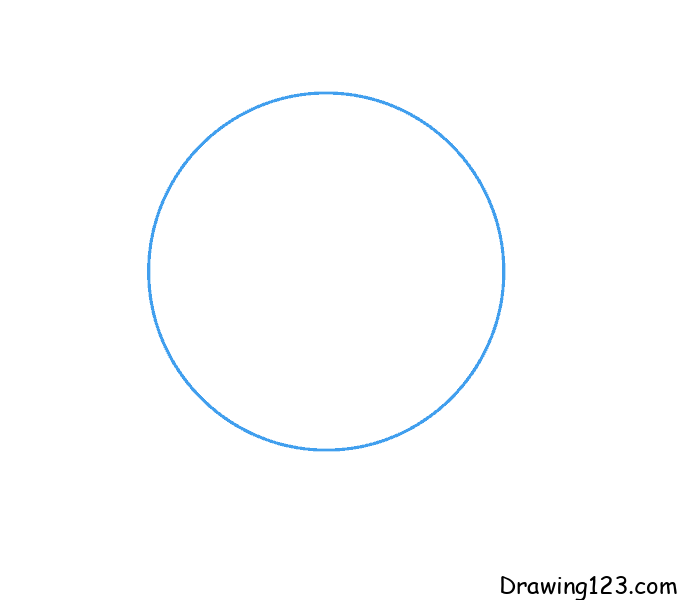
Step 1:
First, draw a large circle
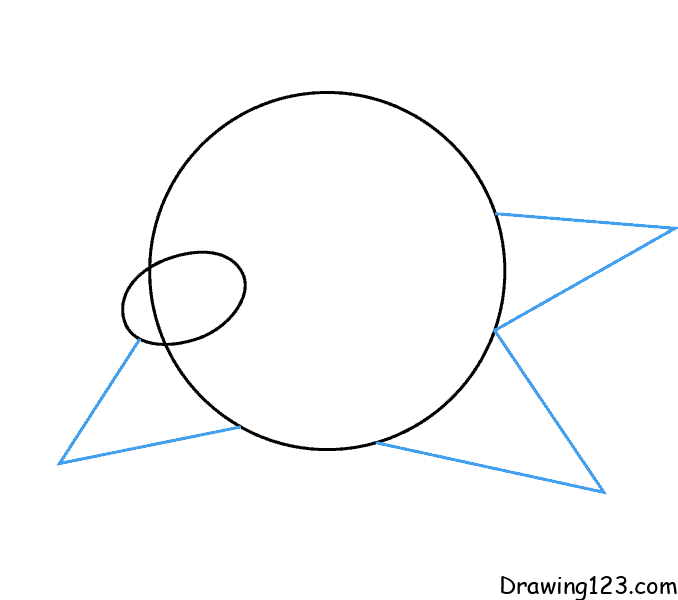
Step 2:
Draw a smaller oval to the left of the circle to form the left arm for the kirby

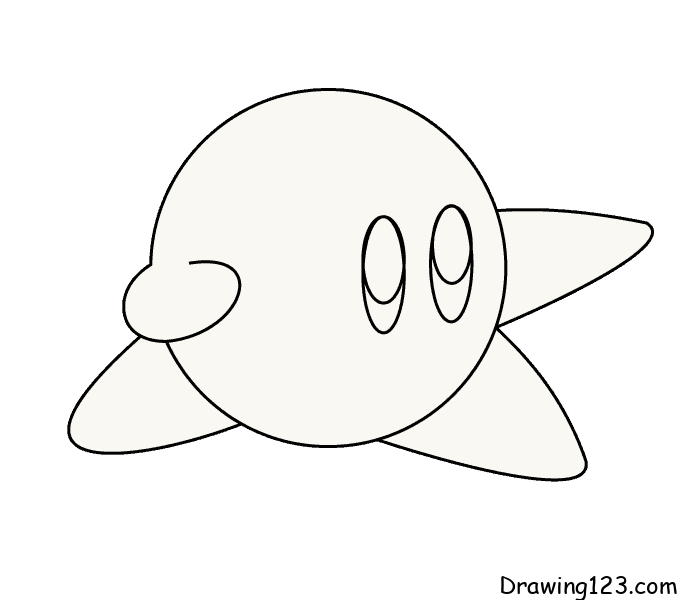
Step 3:
Draw three triangles for the right leg and arm.
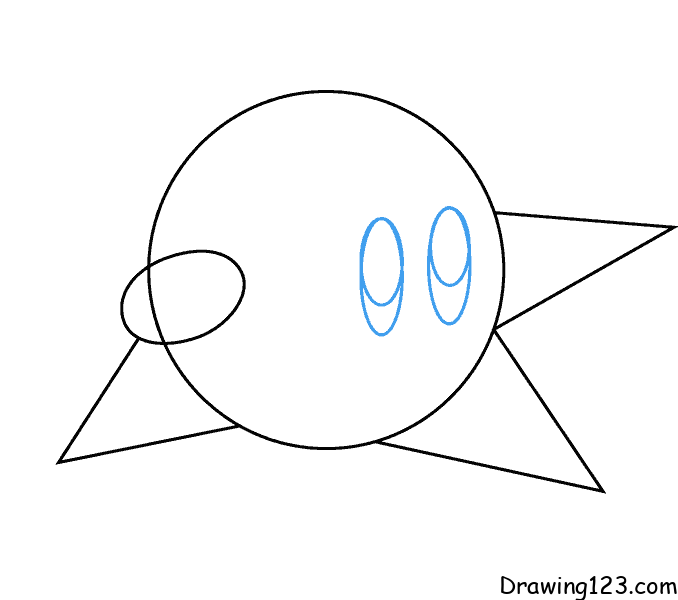
Step 4:
Add two elongated ovals for the eyes on the right side of the face. Draw two smaller ovals that cover the upper part of the oval.
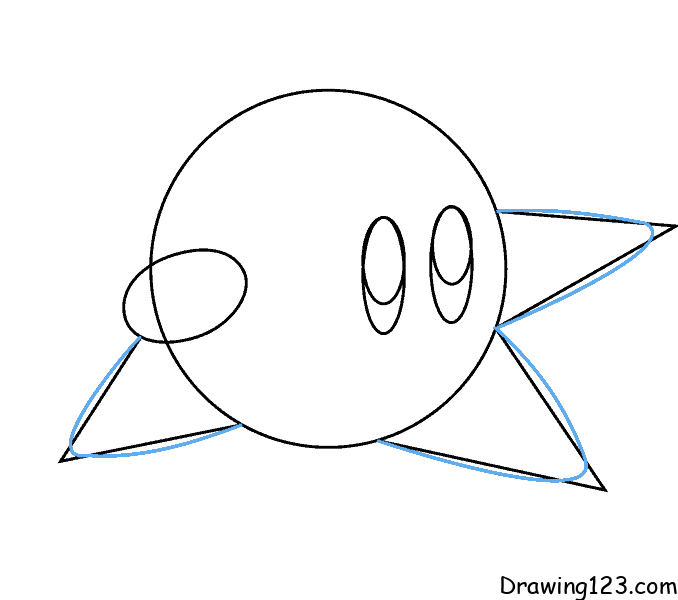
Step 5:
To make Kirby softer and cuter, sketch slight curves around the triangular legs and arms.
Step 6:
Please delete the redundant lines
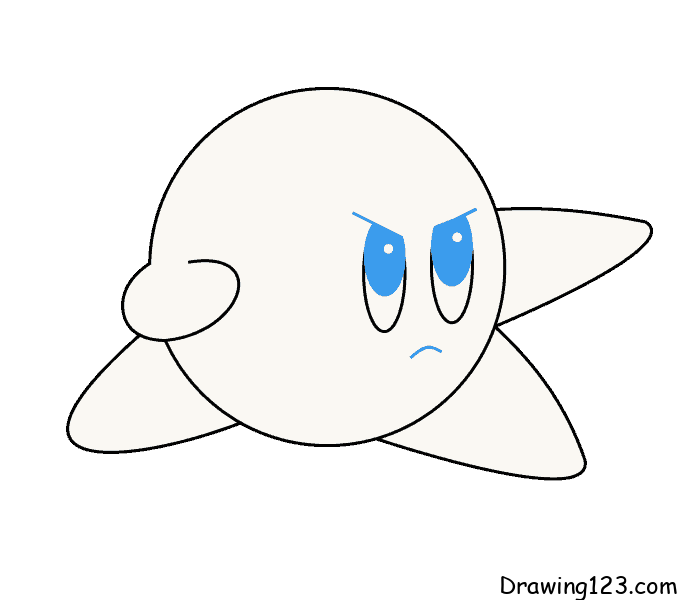
Step 7:
Let’s color the eyes and draw more curves to make a cute mouth for kirby
Step 8:
Don’t forget to color the picture to be more beautiful

Hopefully, through the article on how to draw a simple and cute Kirby, it will help you gét a beautiful picture off a Kirby