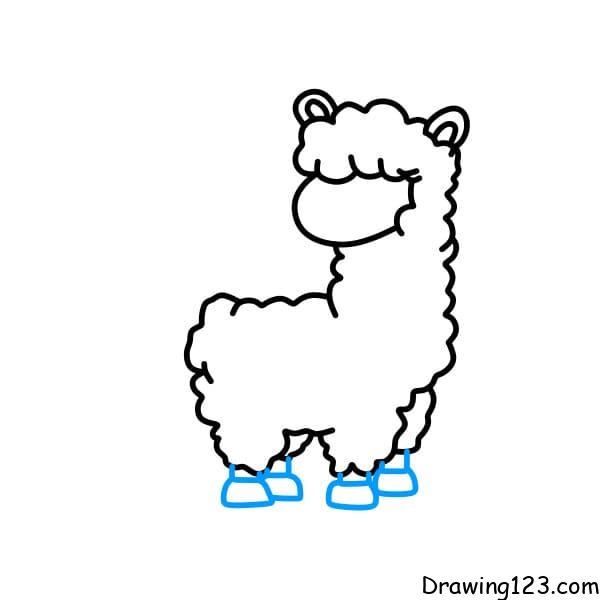
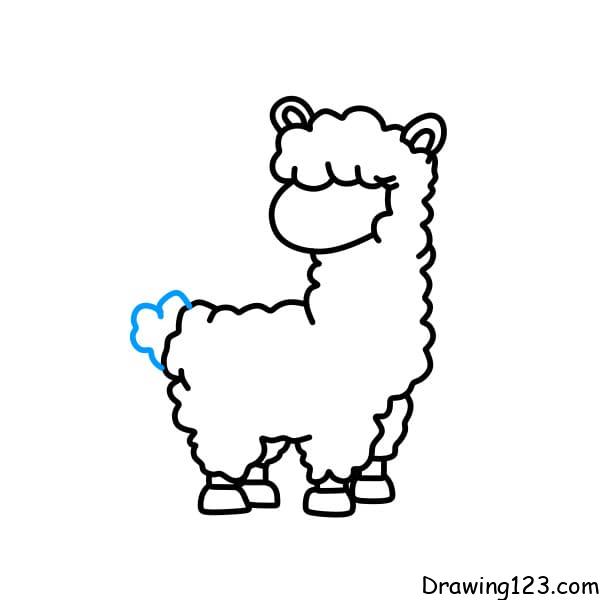
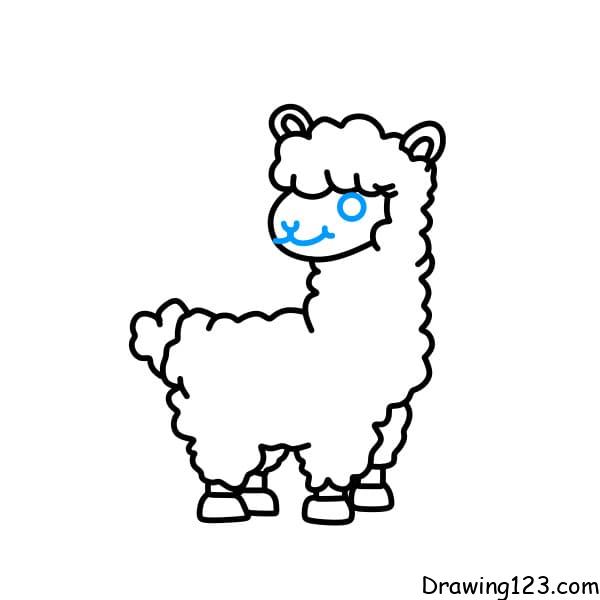
You can choose your favorite images to see detail drawing instructions:
Hello!
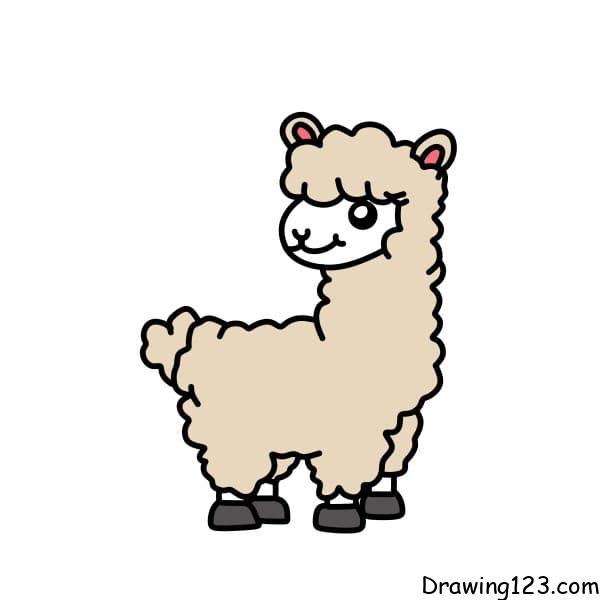
Today, drawing123.com will show you how to draw a llama
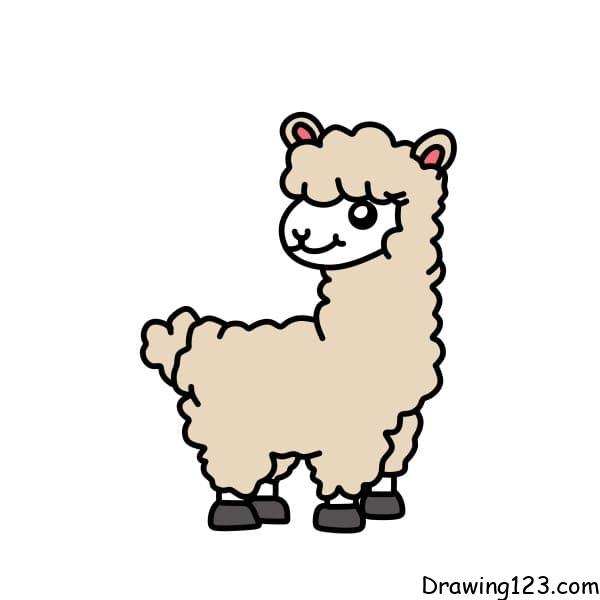
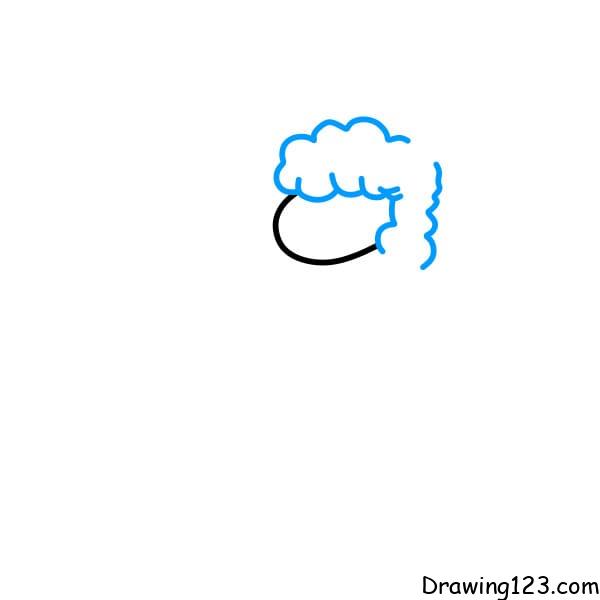
Step 1: Let’s draw the head of the llama

Step 2: Draw the wool on its head
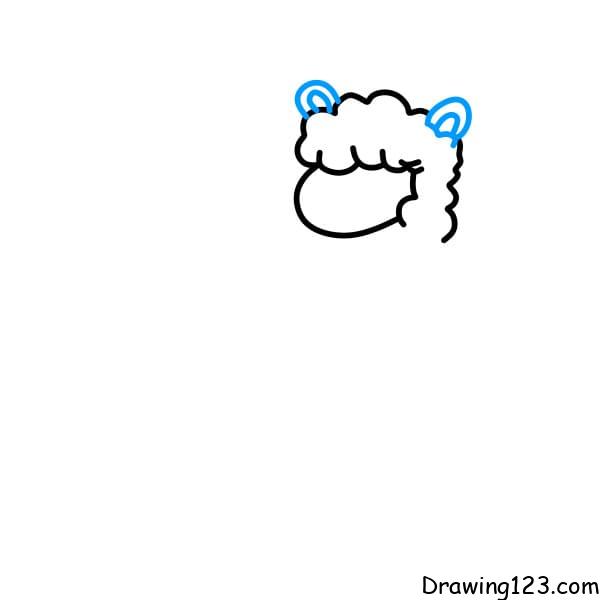
Step 3: Draw two pretty ears of the llama
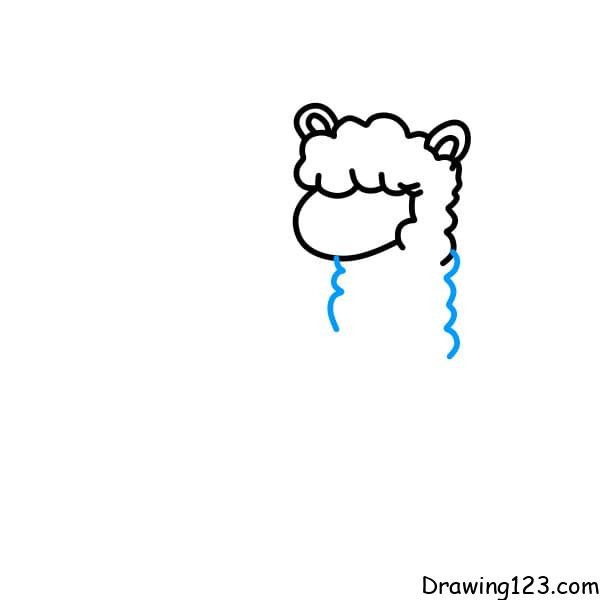
Step 4: Draw the neck
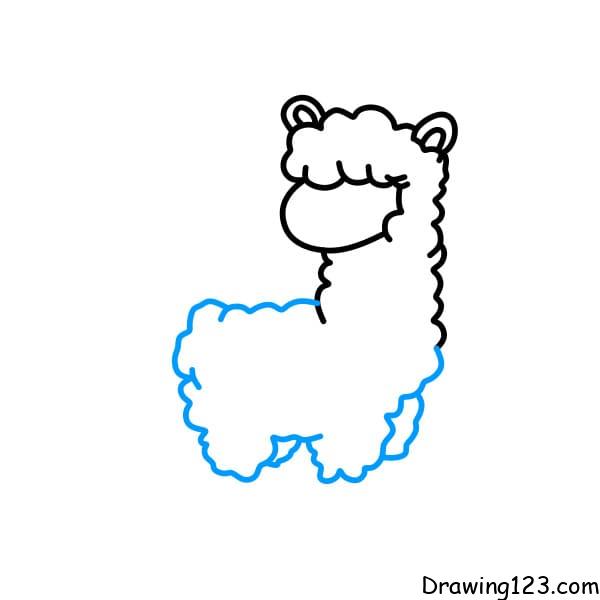
Step 5: Then we draw the fluffy body
Step 6: Draw four short legs
Step 7: Draw the cute tail
Step 8: Draw the eye, nose and mouth
Step 9: Paint to make the picture more beautiful
Step 1:
Draw a U-shaped curve to frame the lower part of the llama’s face.
Step 2:
Add the wool on the head by drawing wavy lines above the face frame.
Step 3:
Draw facial details, including round eyes, a small nose, and a mouth, to create a cute look.
Step 4:
Draw the wool around the head using wavy strokes that encircle the face.
Step 5:
Draw two cute ears on top of the head, pointing slightly outward to complete the head.
Step 6:
Draw a round bead chain around the neck for decoration.
Step 7:
Draw the body of the llama using wavy lines connecting to the head.
Step 8:
Draw a small striped scarf on the camel’s back.
Step 9:
Draw small legs at the bottom of the body to complete the camel shape.
Step 10:
Color the drawing.
Step 1:
Draw the wool around the head. Start with a curve using wavy strokes to create the shape of the wool around the face.
Step 2:
Add two ears. Draw two ears on the top of the head, shaped like long leaves and facing outwards.
Step 3:
Draw the eyes. Add two small circular eyes, each with eyelashes for a cute look.
Step 4:
Draw the nose and mouth in the center of the face, using curved lines to create a cute nose and smile.
Step 5:
Complete the rest. Continue drawing wavy lines at the bottom to complete the shape of the llama’s head.
Step 6:
Color the drawing.
Step 1:
Draw the head. Use wavy strokes to create the shape of the wool around the face.
Step 2:
Draw two small ears on top of the head, round in shape, facing outwards.
Step 3:
Draw two round eyes on the upper part of the face, each eye with small details to create emphasis.
Step 4:
Add a nose and mouth in the center of the face using simple curves, creating a lovely expression.
Step 5:
Draw the body. Use large, wavy strokes to create the body’s wool, connecting from the head down.
Step 6:
Draw a small tail at the end of the body, using wavy strokes to create the soft tail.
Step 7:
Draw the legs. Add four short legs at the bottom of the body, with straight and slightly curved lines to show the stance.
Step 8:
Color the drawing.
Step 1:
Draw an oval to create the frame of the llama’s head.
Step 2:
Add two ears on top of the head, the ears are shaped like a leaf.
Step 3:
Draw facial details, including eyes, nose and mouth, to give the camel an expression.
Step 4:
Draw a neck line extending down, creating a connection between the head and body.
Step 5:
Draw the body with wavy curves, characterized by soft wool.
Step 6:
Add legs to the camel, each leg has a small round shape at the end to represent clogs.
Step 7:
Decorate the neck with two beaded necklaces, creating liveliness.
Step 8:
Draw a square rug on the camel’s back, with decorative lines.
Step 9:
Add decorative details to the rug.
Step 10:
Color the drawing.
Step 1:
Draw an oval, this will be the basic frame for the camel’s head.
Step 2:
Add fluffy wool on top of the head using wavy strokes.
Step 3:
Draw two ears symmetrically on both sides of the head, each ear having an elongated shape.
Step 4:
Add two big, round eyes to the face, creating a cute feeling.
Step 5:
Draw the mouth and rosy cheeks, showing the camel’s playful expression.
Step 6:
Draw the body with wavy strokes, creating softness and fluffiness to the wool.
Step 7:
Add a small, fluffy tail behind the body.
Step 8:
Draw four small, short legs below the body, with the claws emphasized by horizontal lines.
Step 9:
Color the drawing.
Hopefully, the tutorial on how to draw a llama will help you complete the picture beautifully