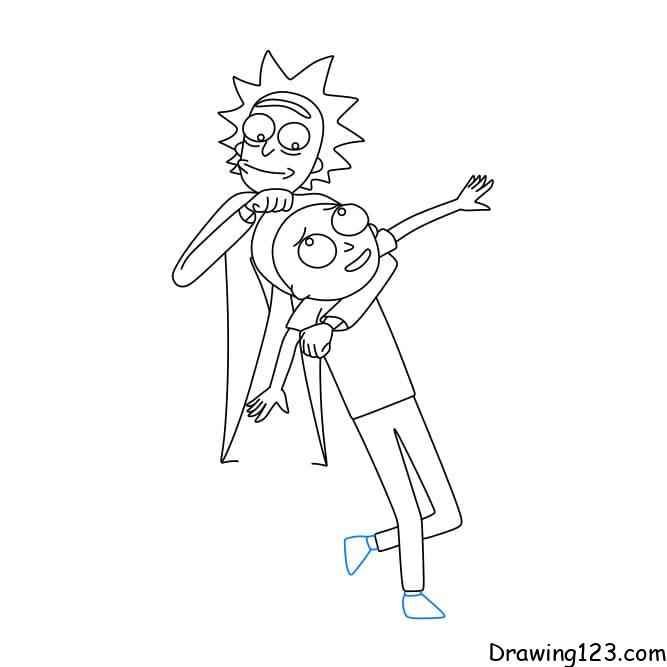
Rick and Morty Drawing Tutorial - How to draw Rick and Morty step by step

Rick and Morty Drawing

You can choose your favorite images to see detail drawing instructions:

1. How to draw Rick and Morty easily step by step for fans

Today, drawing123.com will show you how to draw Rick and Morty
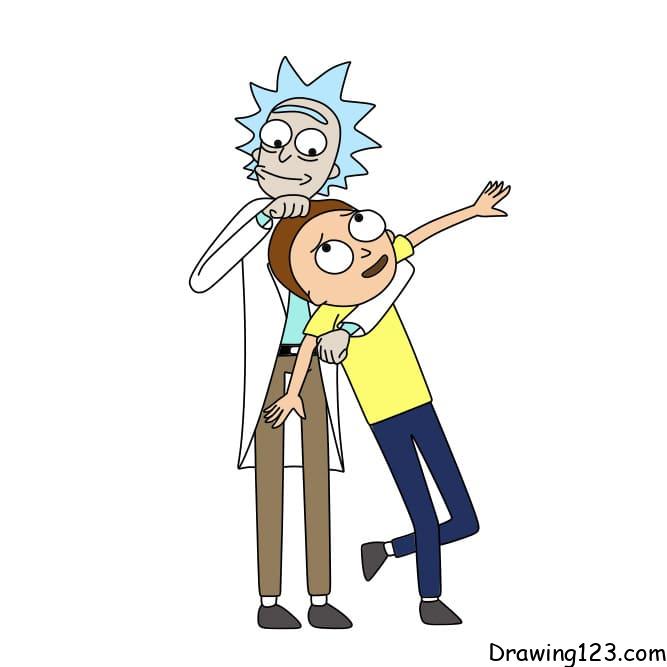
Step 1: Draw Rick’s head
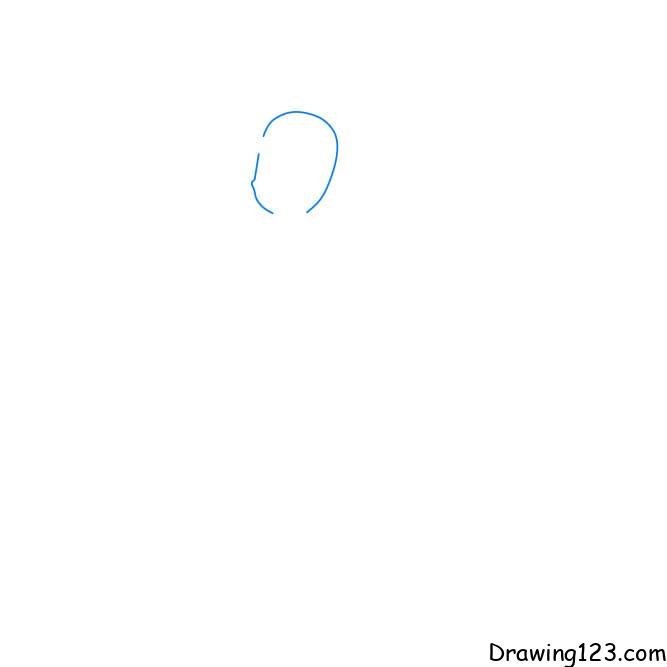
Step 2: Next, draw your face and hair.
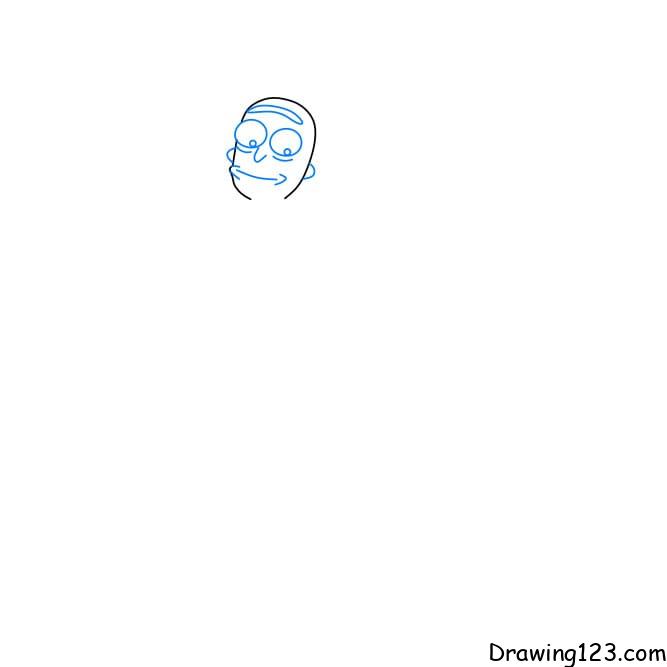
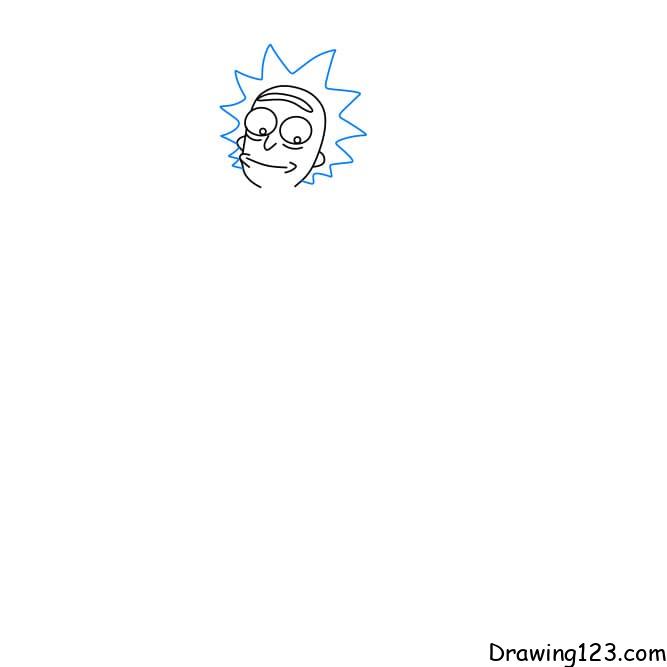
Step 3: Draw the shirt you’re wearing
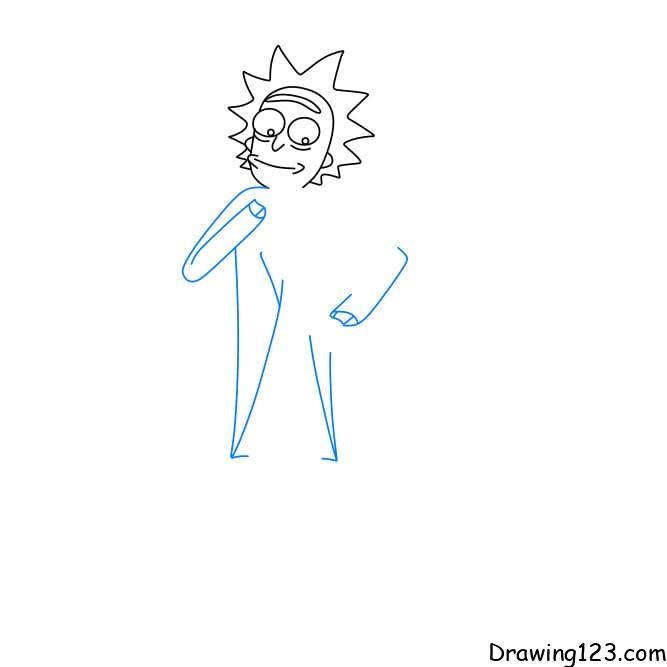
Step 4: Draw your hands
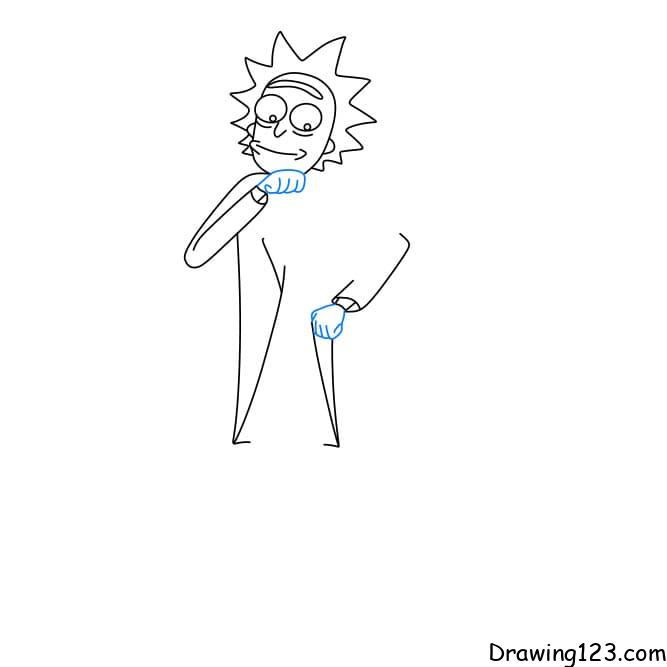
Step 5: Draw Morty’s head
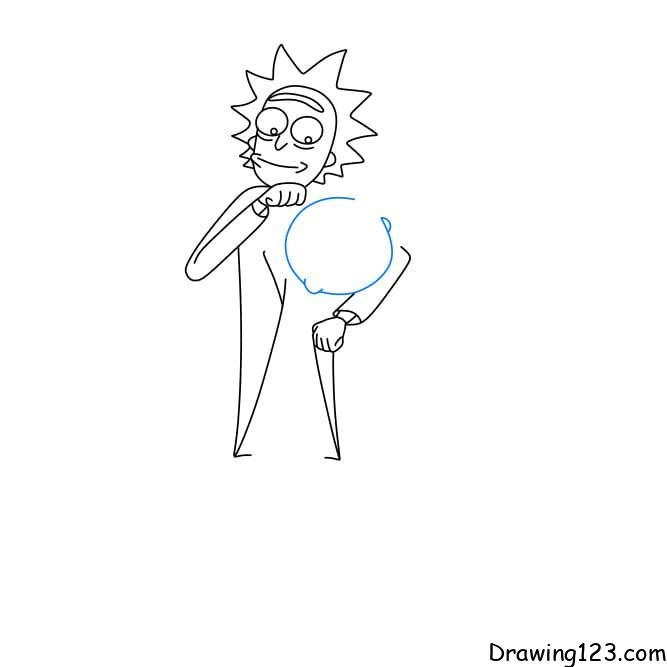
Step 6 : Next, draw his face and hair.
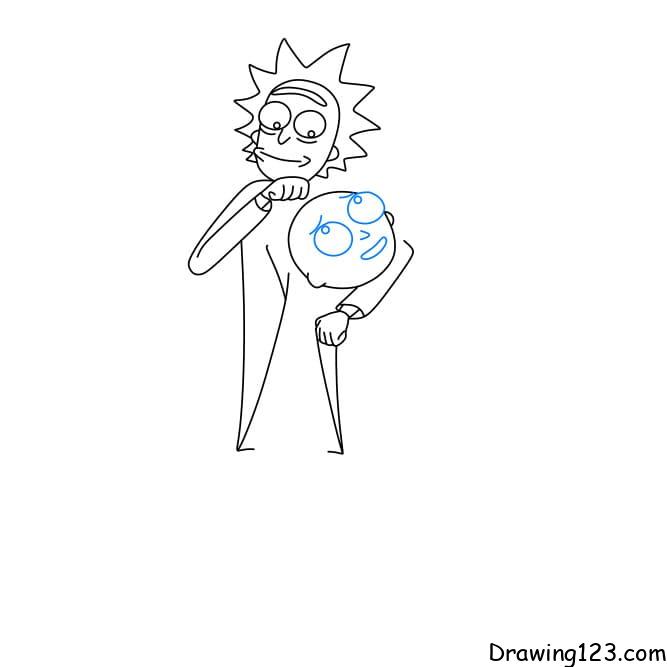
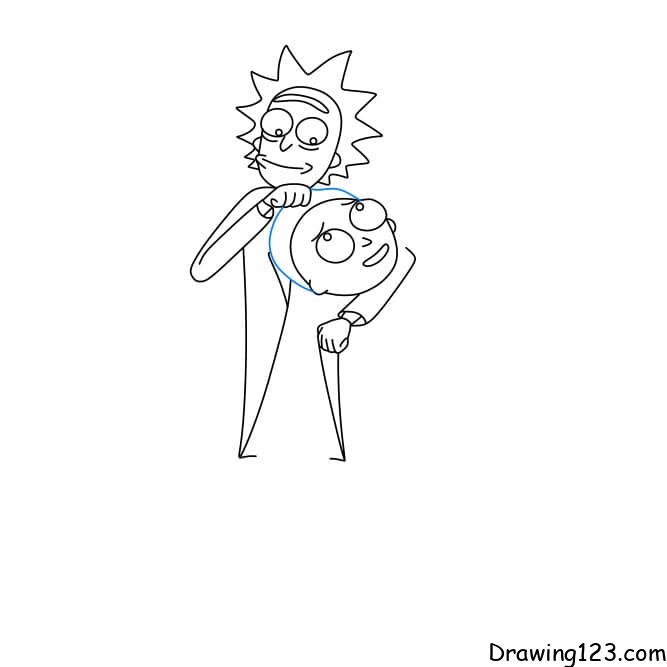
Step 7: Draw the outfit Morty is wearing
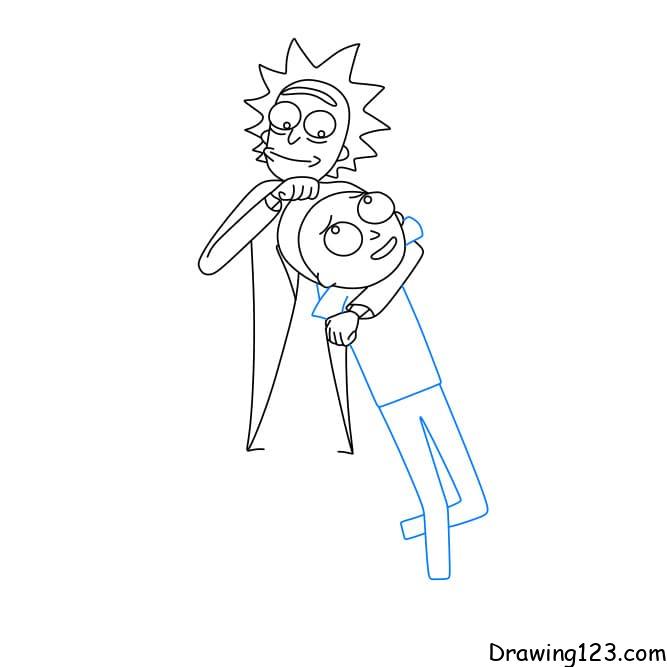
Step 8: Draw hands and feet
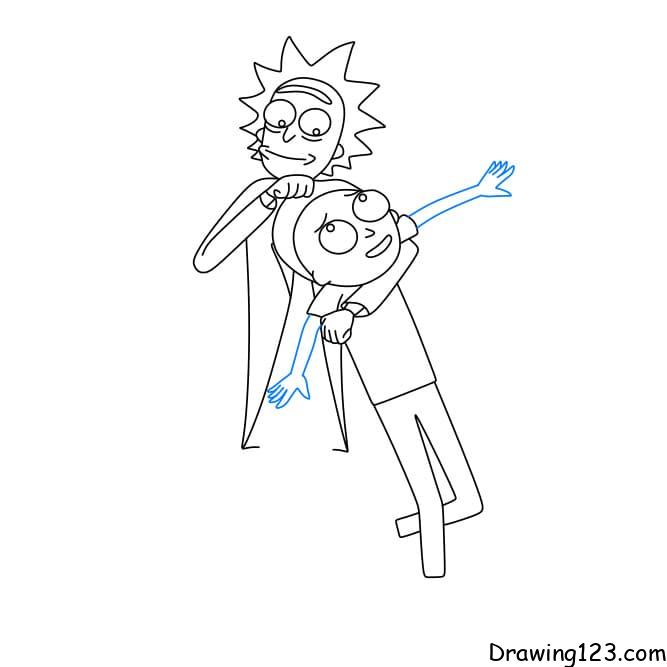
Step 9: Draw more legs for Mr. Rick
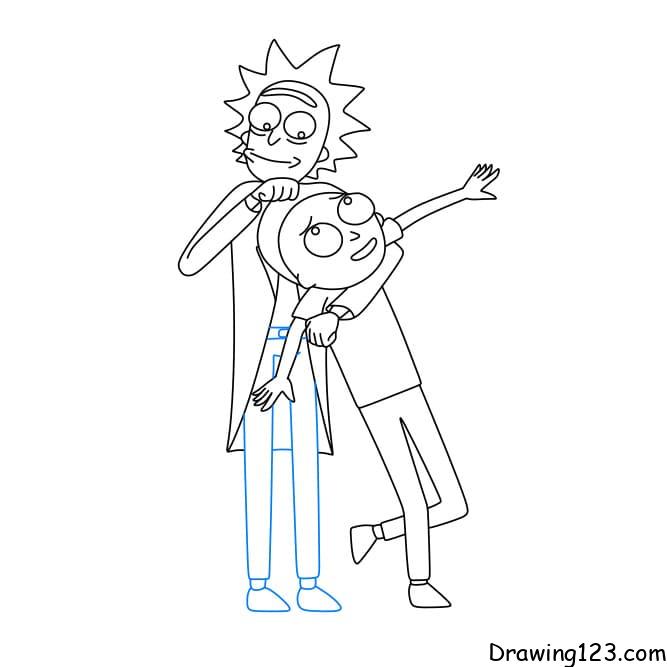
Step 10: Paint to make the picture more beautiful
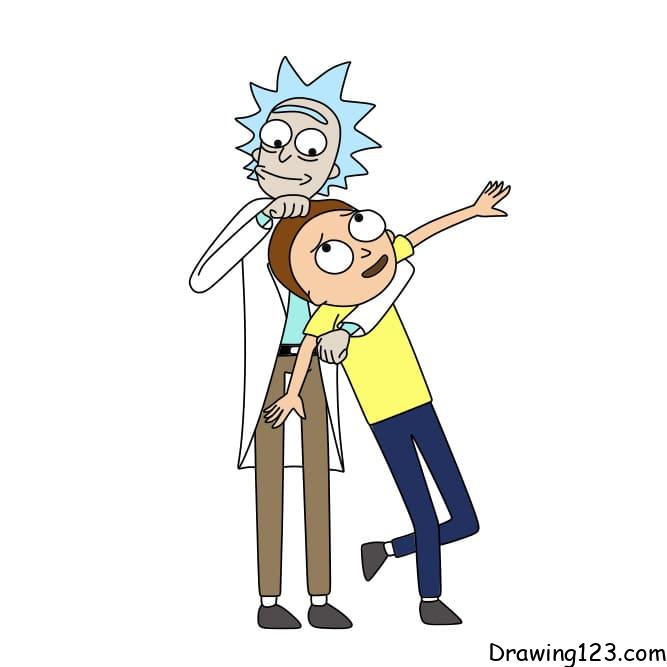
2. How to draw Rick and Morty’s surprised expression.

Step 1:
Draw a rectangular frame as the background for the drawing.

Step 2:
Start drawing Rick first. Draw the basic shape of the head.

Step 3:
Add eyes and wrinkles to the face.

Step 4:
Draw the nose and mouth.

Step 5:
Draw the characteristic spiky hair.

Step 6:
Draw the left arm in a position where it is pulling something.

Step 7:
Draw the right arm with the same hand shape as the left hand.

Step 8:
Draw a vertical line between the two arms to indicate the jacket detail.

Step 9:
Draw the hem of the shirt.

Step 10:
Draw the legs.

Step 11:
Start drawing Morty. Draw Morty’s eyes wide open in between Rick’s hands.

Step 12:
Draw Morty’s face.

Step 13:
Draw Morty’s curly hair.

Step 14:
Draw Morty’s left arm.

Step 15:
Draw Morty’s body.

Step 16:
Draw Morty’s right arm.

Step 17:
Draw Morty’s legs.

Step 18:
Color the drawing.

3. Rick and Morty Head Drawing Tutorial.

Step 1:
Draw two circles for Rick’s eyes.

Step 2:
Add curves to create eye bags.

Step 3:
Draw ovals around the eyes to outline Rick’s face.

Step 4:
Draw wrinkles on Rick’s forehead, nose and mouth.

Step 5:
Draw two circles for ears on either side of Rick’s head.

Step 6:
Draw Rick’s signature hair with sharp, wavy strokes.

Step 7:
Draw a circle for Morty’s head.

Step 8:
Draw circles for Morty’s eyes.

Step 9:
Draw Morty’s mouth.

Step 10:
Draw Morty’s hair.

Step 11:
Color the drawing.

4. Simple Rick and Morty drawing tutorial.

Step 1:
First draw Rick. Draw two circles for the eyes.

Step 2:
Add eye bags and wrinkles on the forehead.

Step 3:
Draw the mouth.

Step 4:
Sketch an oval shape for the face.

Step 5:
Add hair with sharp, jagged strokes.

Step 6:
Draw the neck.

Step 7:
Draw the left arm in a relaxed position.

Step 8:
Draw the right arm.

Step 9:
Draw the body and shape of the shirt flap.

Step 10:
Draw Rick’s waist and lower body.

Step 11:
Start drawing Morty. Draw Morty’s eyes and eyebrows.

Step 12:
Draw the nose and mouth.

Step 13:
Draw Morty’s head.

Step 14:
Draw Morty’s signature curly hair.

Step 15:
Draw the left arm.

Step 16:
Draw the right hand.

Step 17:
Color the drawing.

5. How to draw Rick and Morty talking.

Step 1:
Start drawing Rick first. Draw wavy lines for the wrinkles on Rick’s head.

Step 2:
Draw two circles and eye bags.

Step 3:
Draw a nose and mouth to give Rick an expression.

Step 4:
Sketch an oval for Rick’s face.

Step 5:
Add Rick’s signature hair with sharp, jagged strokes.

Step 6:
Draw Rick’s right arm.

Step 7:
Draw the left arm.

Step 8:
Draw a part of the shirt body.

Step 9:
Draw the other half of the body.

Step 10:
Draw Rick’s waist and lower body.

Step 11:
Start drawing Morty. Draw two eyes and a nose.

Step 12:
Draw Morty’s head.

Step 13:
Draw Morty’s mouth.

Step 14:
Draw the characteristic curly hair.

Step 15:
Draw Morty’s left arm raised.

Step 16:
Draw Morty’s right arm in a raised position.

Step 17:
Draw Morty’s body.

Step 18:
Color the drawing.

6. How to draw Rick and Morty running.

Step 1:
Start drawing Rick. Draw two small circles for Rick’s eyes.

Step 2:
Add details to Rick’s face, including the mouth, nose, and contours around the eyes.

Step 3:
Draw Rick’s mouth.

Step 4:
Draw the outline of Rick’s face.

Step 5:
Draw Rick’s signature hairstyle with spiky, radiating hair details.

Step 6:
Add Rick’s right arm, holding an object.

Step 7:
Draw the gun in Rick’s hand.

Step 8:
Draw the left arm.

Step 9:
Draw Rick’s body.

Step 10:
Draw the details of the shirt flap.

Step 11:
Draw Rick’s right leg extended forward.

Step 12:
Draw the left leg bent up to form a running pose.

Step 13:
Start drawing Morty. Draw Morty’s eyes.

Step 14:
Draw Morty’s mouth.

Step 15:
Draw the outline of Morty’s head.

Step 16:
Draw the right arm with the hand bent up.

Step 17:
Draw the left arm pointing down in a running pose.

Step 18:
Draw Morty’s body.

Step 19:
Draw the right leg bent up.

Step 20:
Draw Morty’s left leg in a running pose.

Step 21:
Color the drawing.

Hopefully, the tutorial on how to draw Rick and Morty, it will help you have a beautiful and meaningful picture!