You can choose your favorite images to see detail drawing instructions:
You can choose your favorite images to see detail drawing instructions:
Hello!
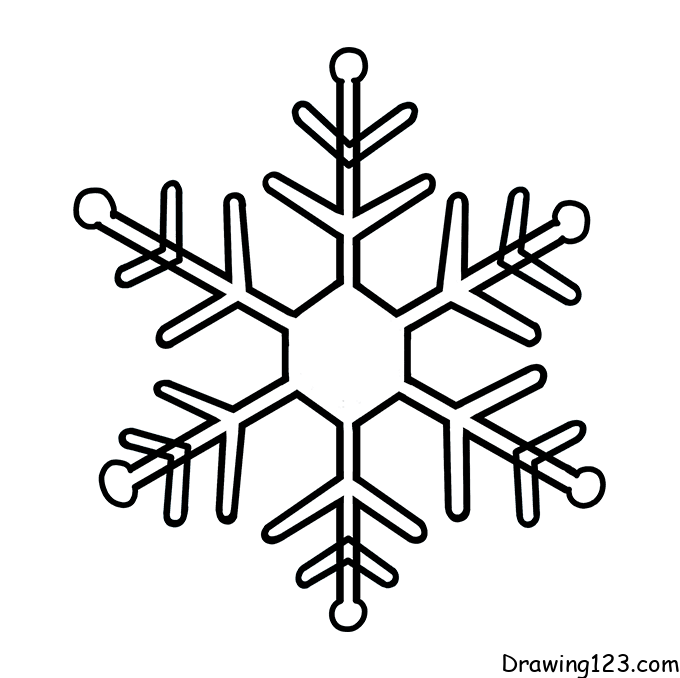
Today, drawing123.com will teach you how to draw snowflakes that look real and simple.
You may also like: Elsa Drawing
Let’s start!
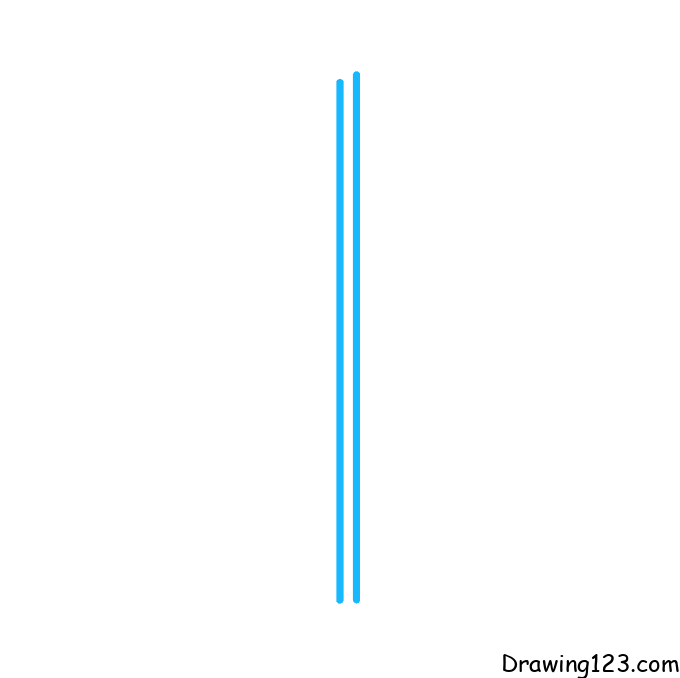
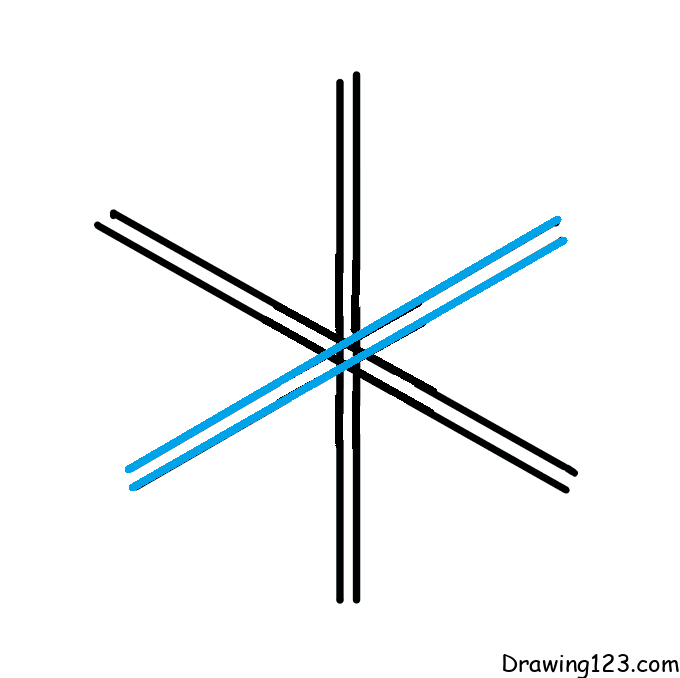
Step 1:
First, draw 2 vertical parallel lines
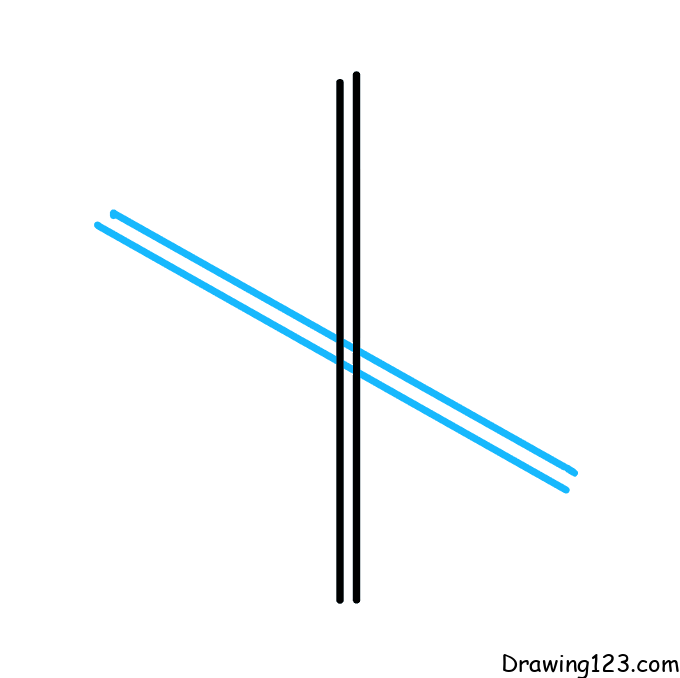
Step 2:
Next, please draw similar to step 1 according to the figure
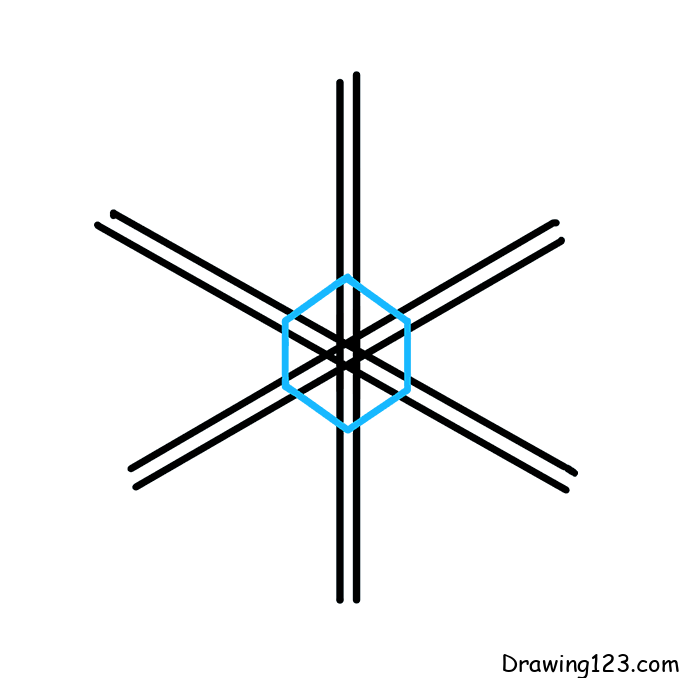
Step 3:
Draw a circle in the middle
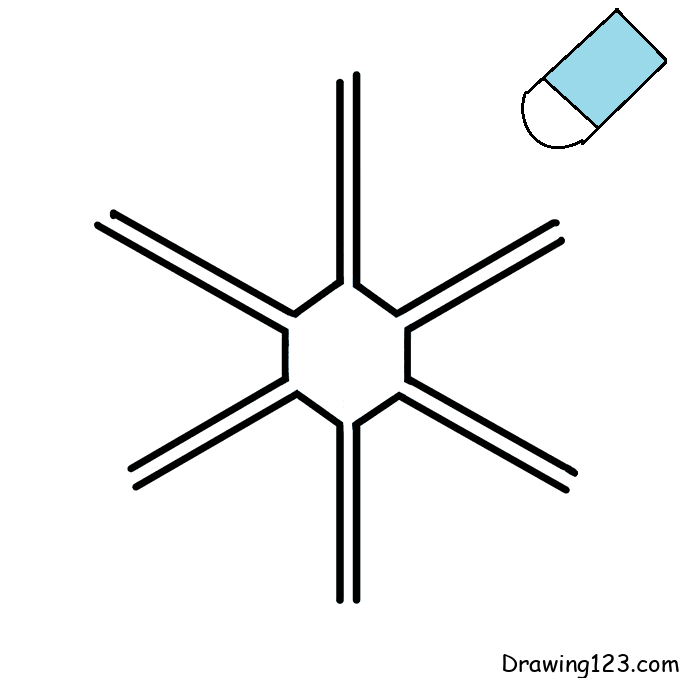
Step 4:
Use eraser to erase excess lines
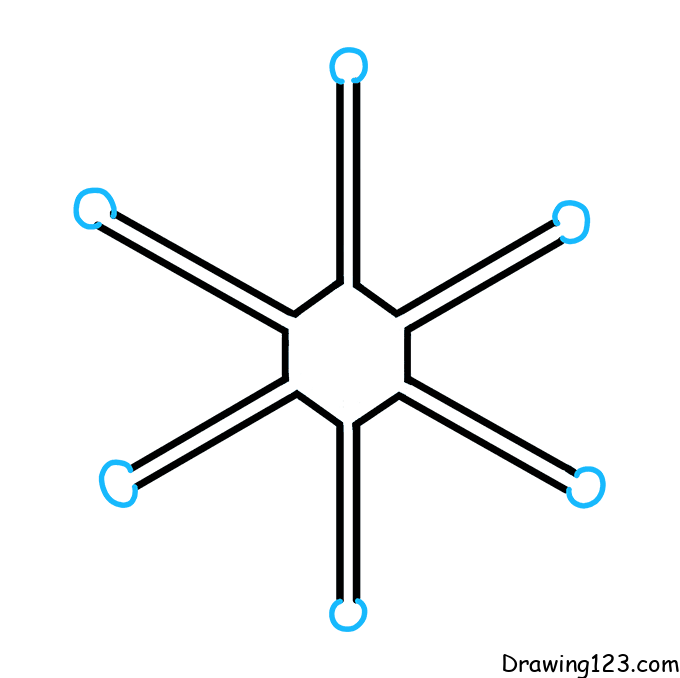
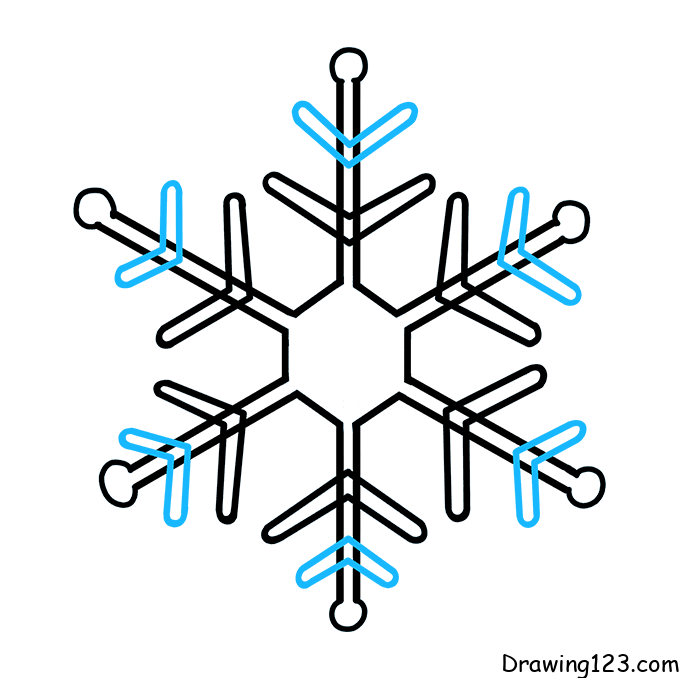
Step 5:
On the top, draw small circles
Step 6:
Next, on the straight lines, draw arrows going inward
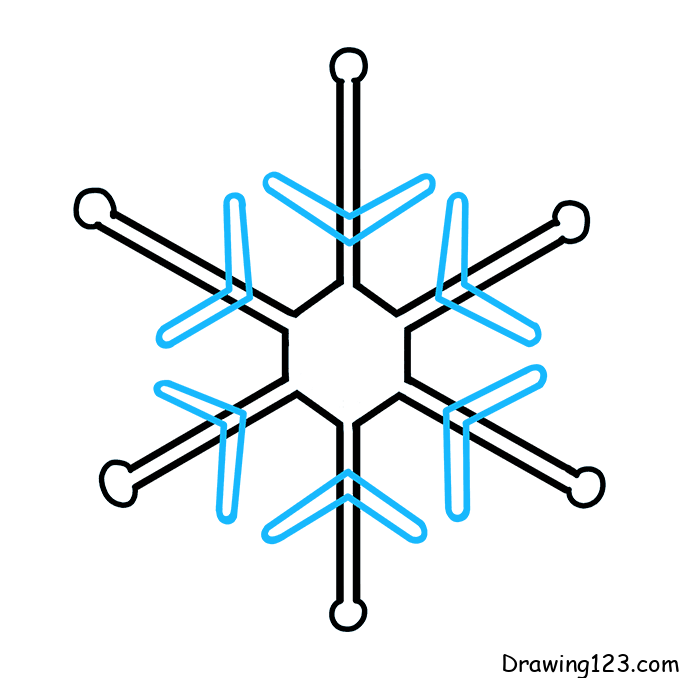
Step 7:
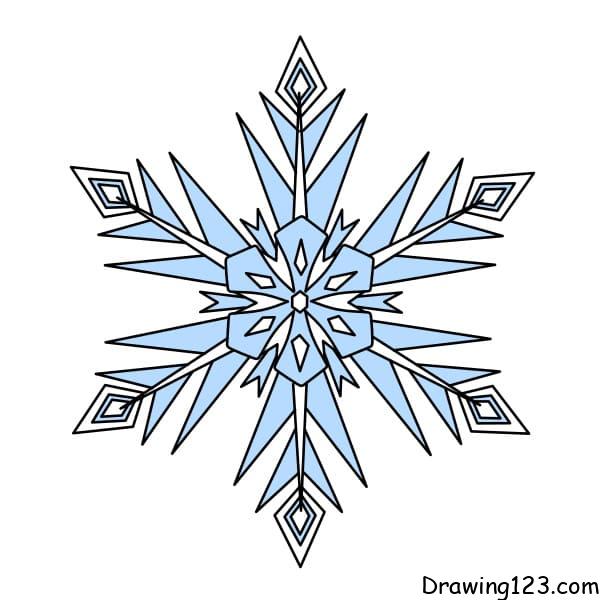
So finished the beautiful snowflake

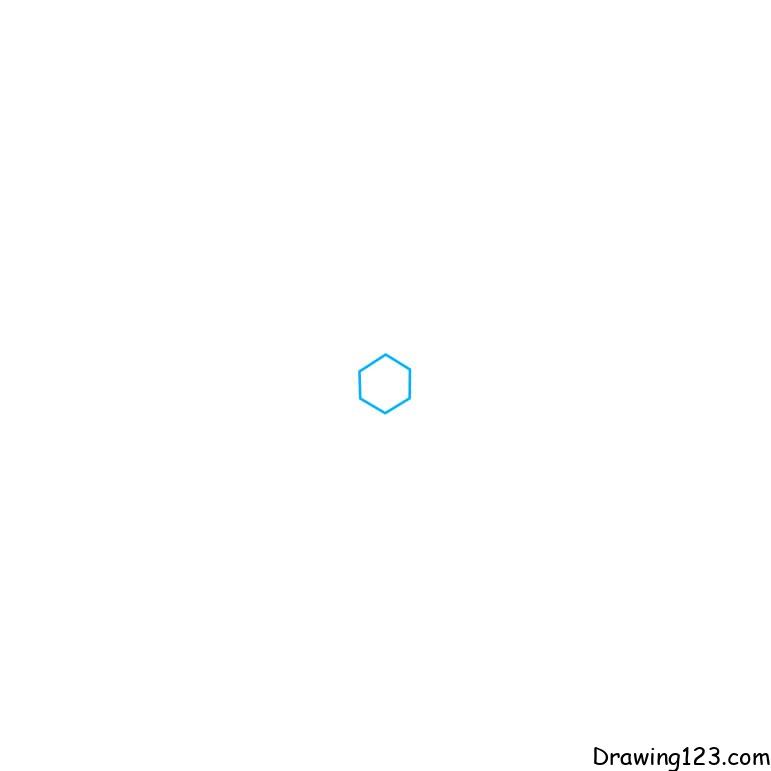
Step 1: First, draw a hexagon
Step 2: Draw more small diamonds on the inside
Step 3: Draw more diamonds on the outside

Step 4: Draw 6 more vertices on those rhombuses
Step 5: Draw more lines around the diamonds you have already drawn
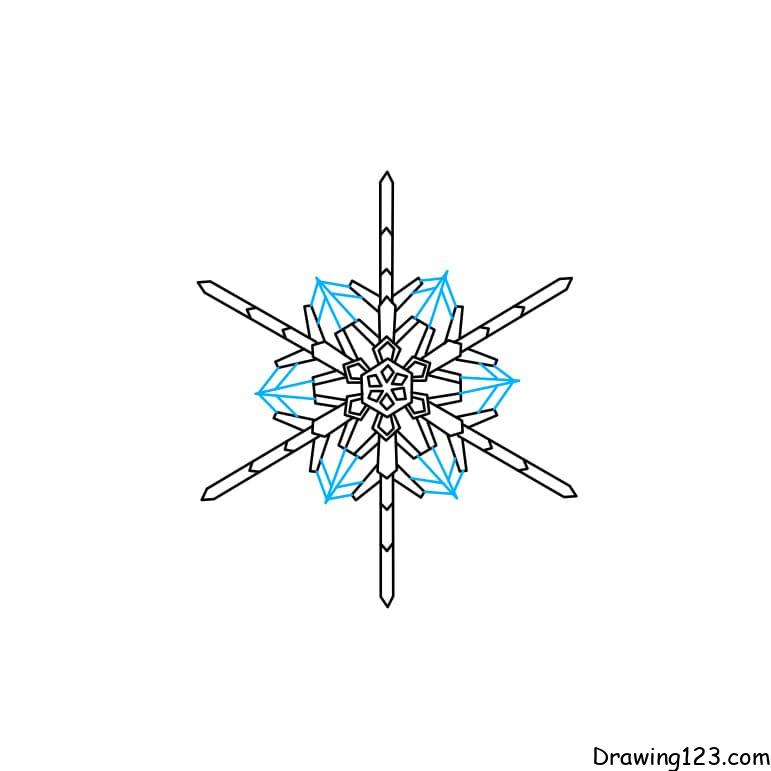
Step 6: Draw 6 more vertices overlapping the previously drawn vertex
Step 7: Let’s draw the spiny parts of the snowflake
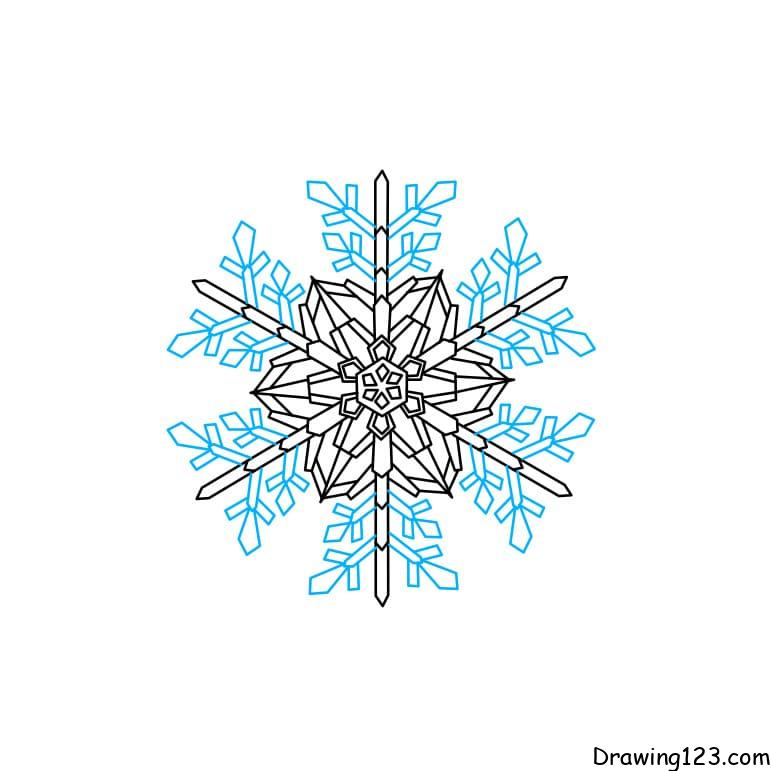
Step 8: Draw more arrow shapes for each corner
Step 9: Go ahead, draw the remaining thorns
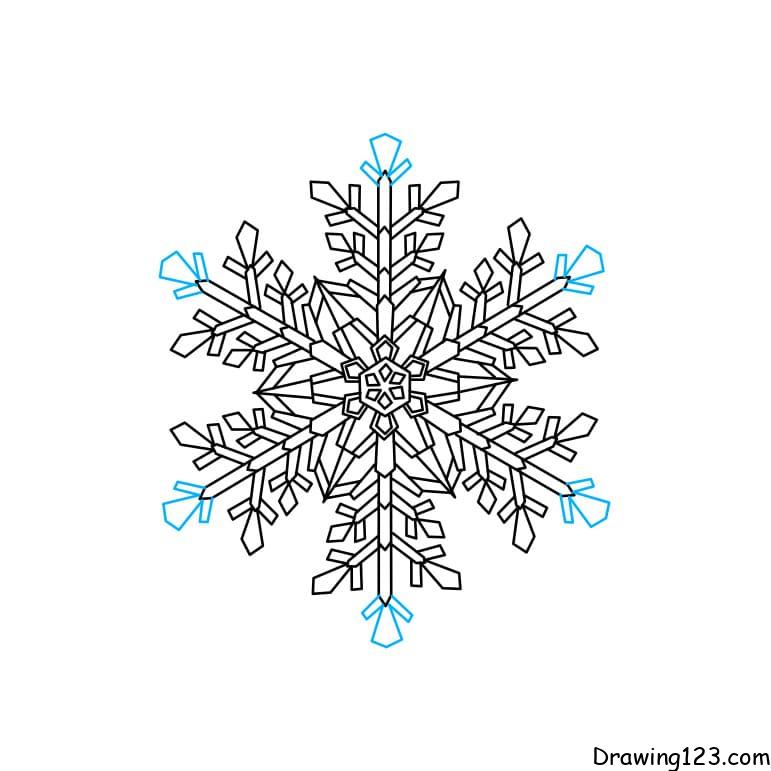
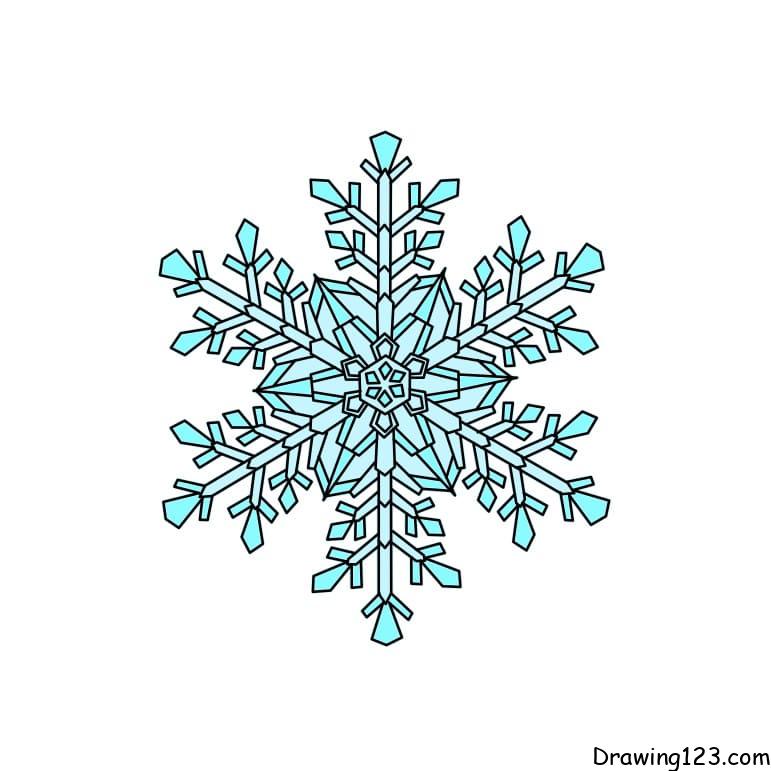
Step 10: Color to make snowflakes more beautiful

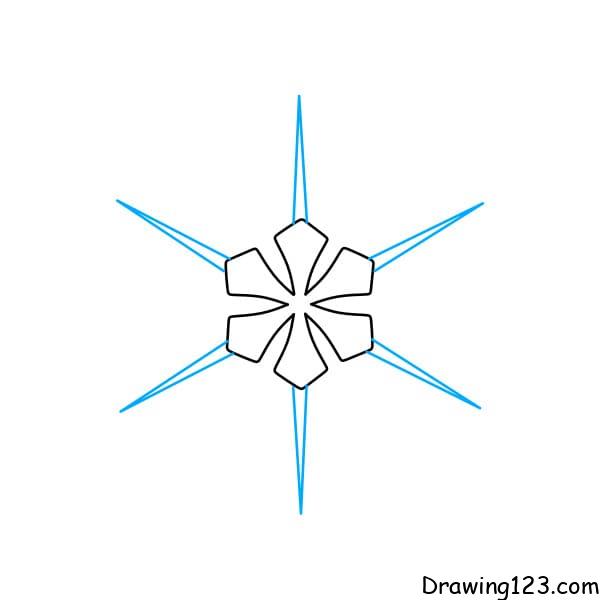
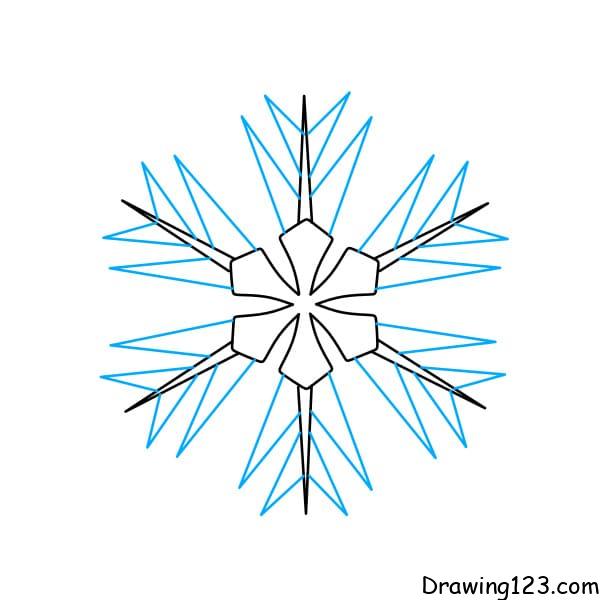
Step 1: First, draw a geometric bead with 6 petals

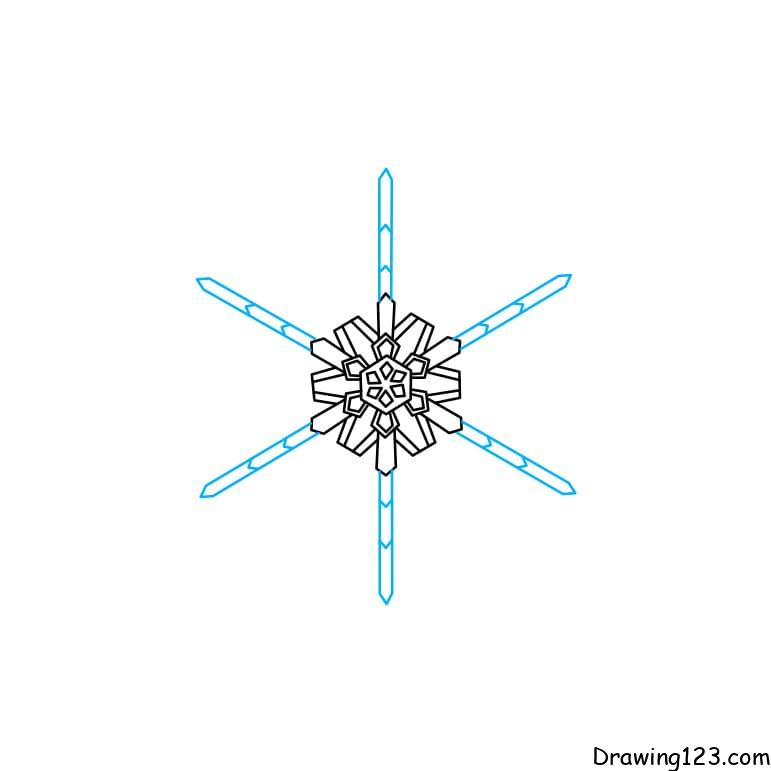
Step 2: Next, draw the thorns and spikes
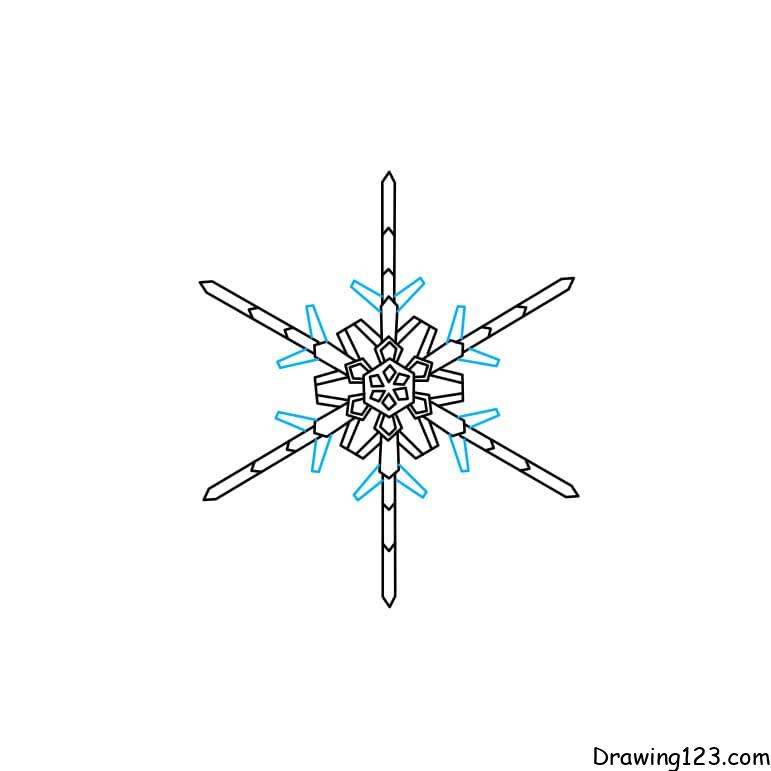
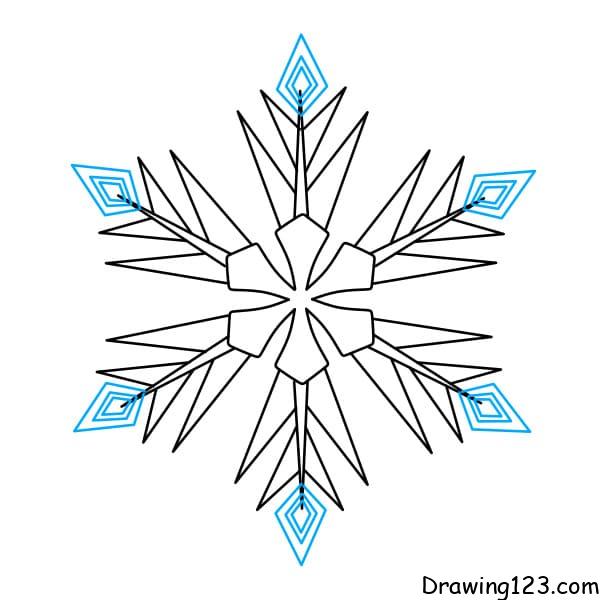
Step 3: On those thorns, continue to draw more thorns
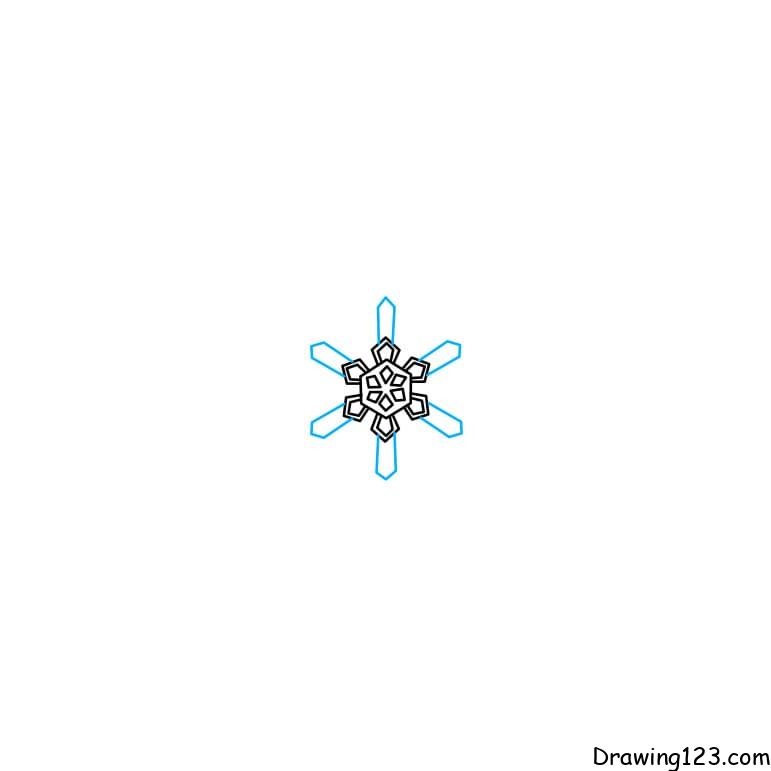
Step 4: Next, draw more diamonds at the top of the 6 spines
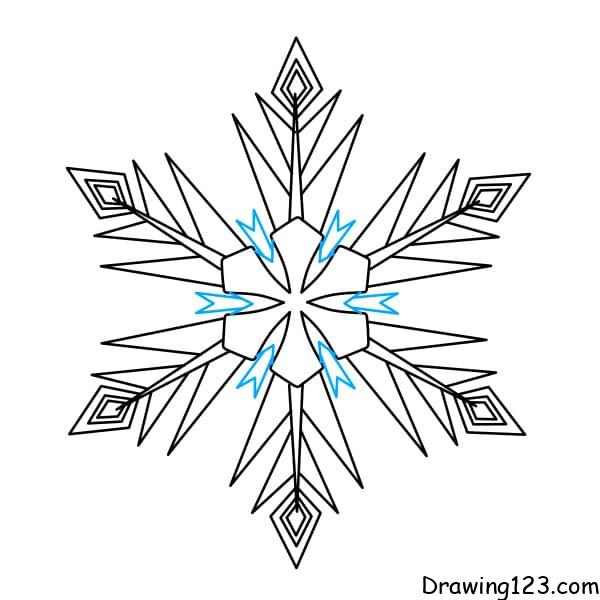
Step 5: Draw more details on the side of the geometry with 6 petals
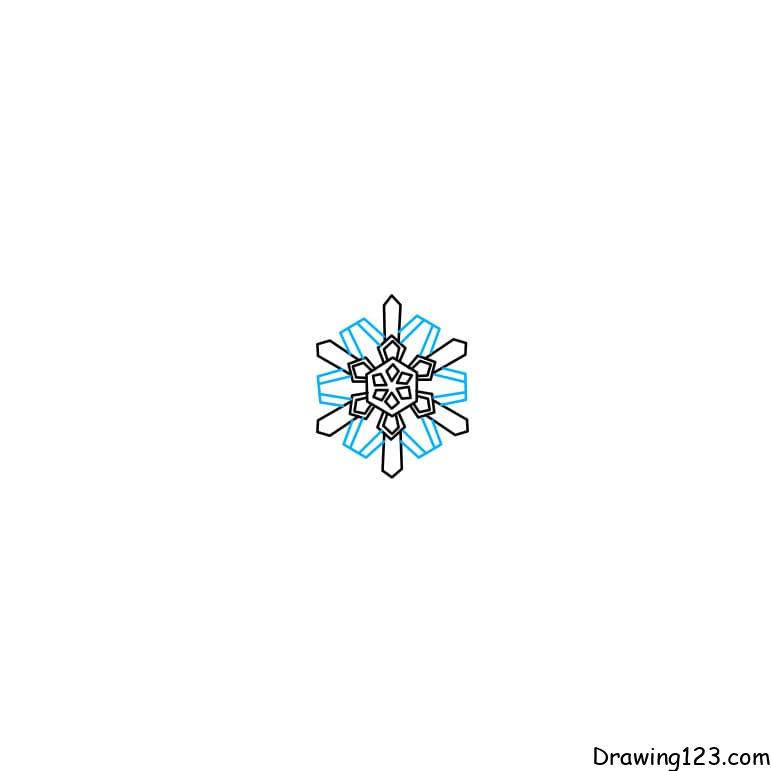
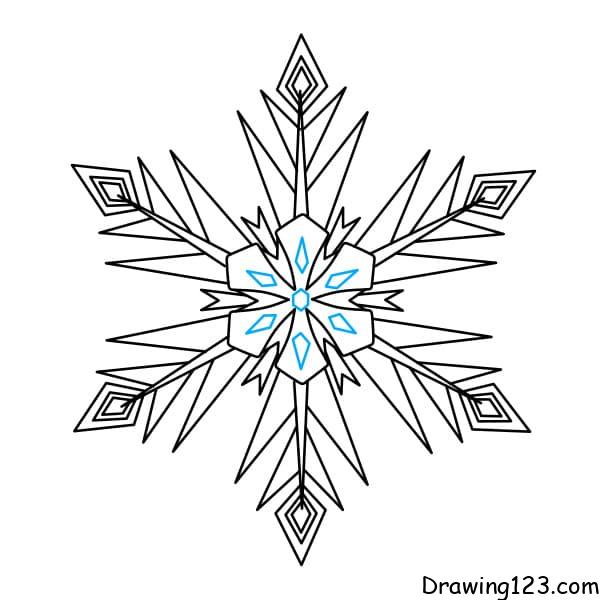
Step 6: Draw more details in geometry with those 6 petals
Step 7: Color to make the picture more beautiful

Hopefully, through the tutorial on how to draw simple and beautiful snowflakes for kids, it will help you complete the snowflakes