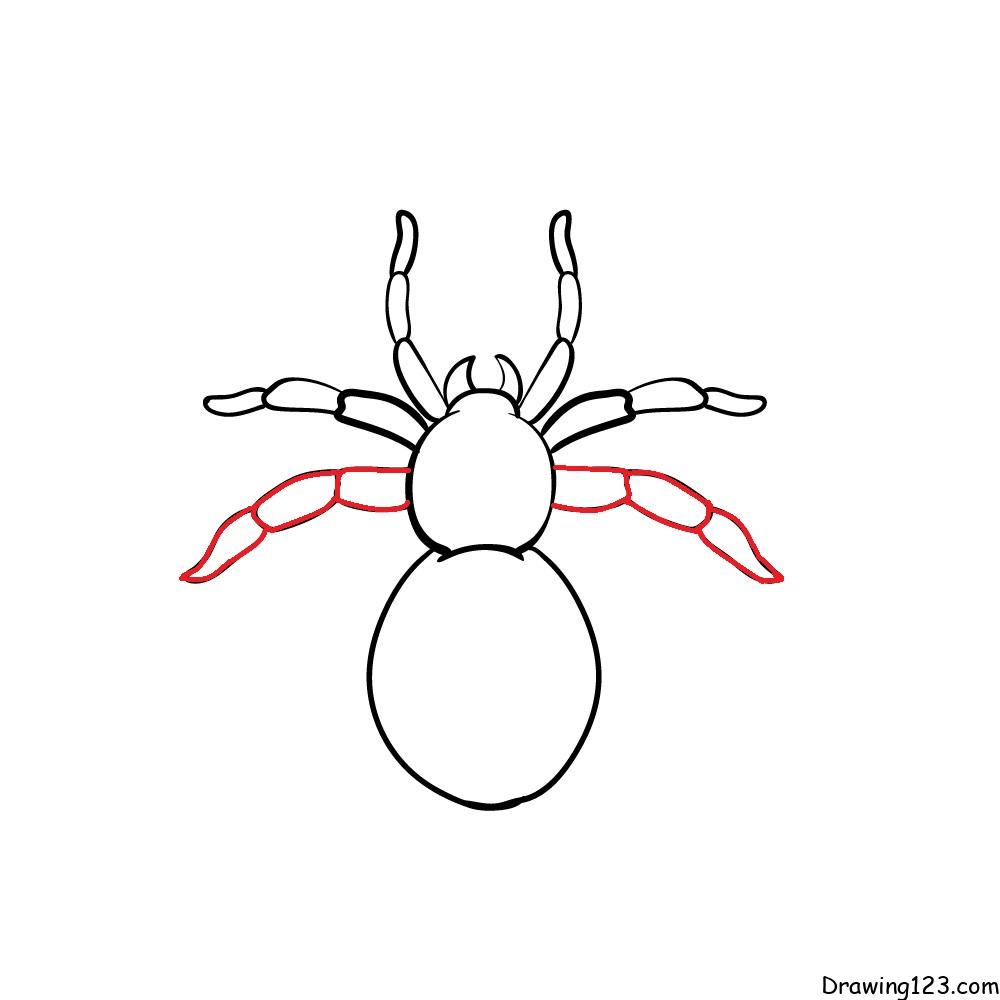
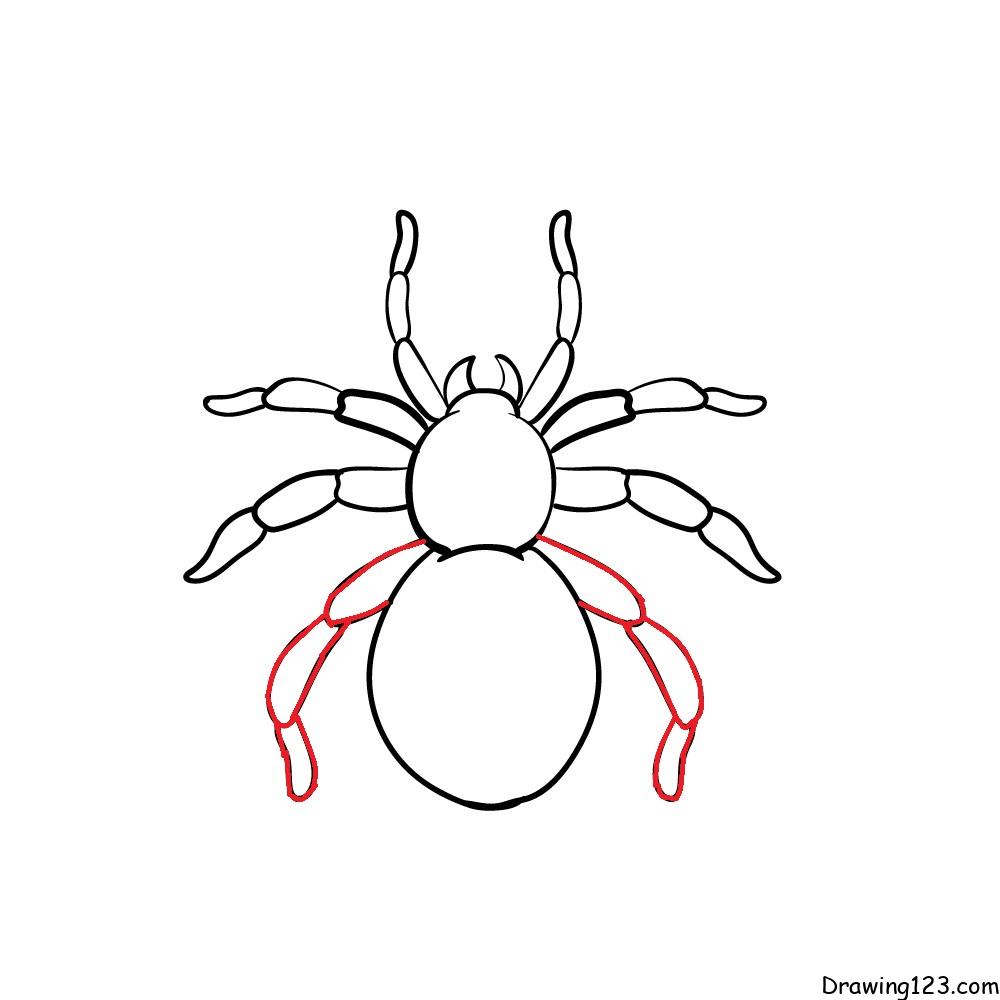
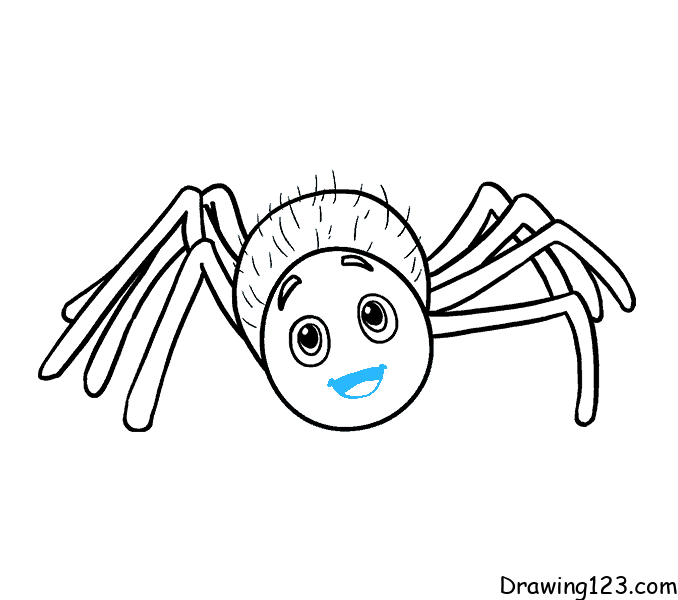
You can choose your favorite images to see detail drawing instructions:
Hello!
Today, drawing123.com will teach you how to draw a simple spider
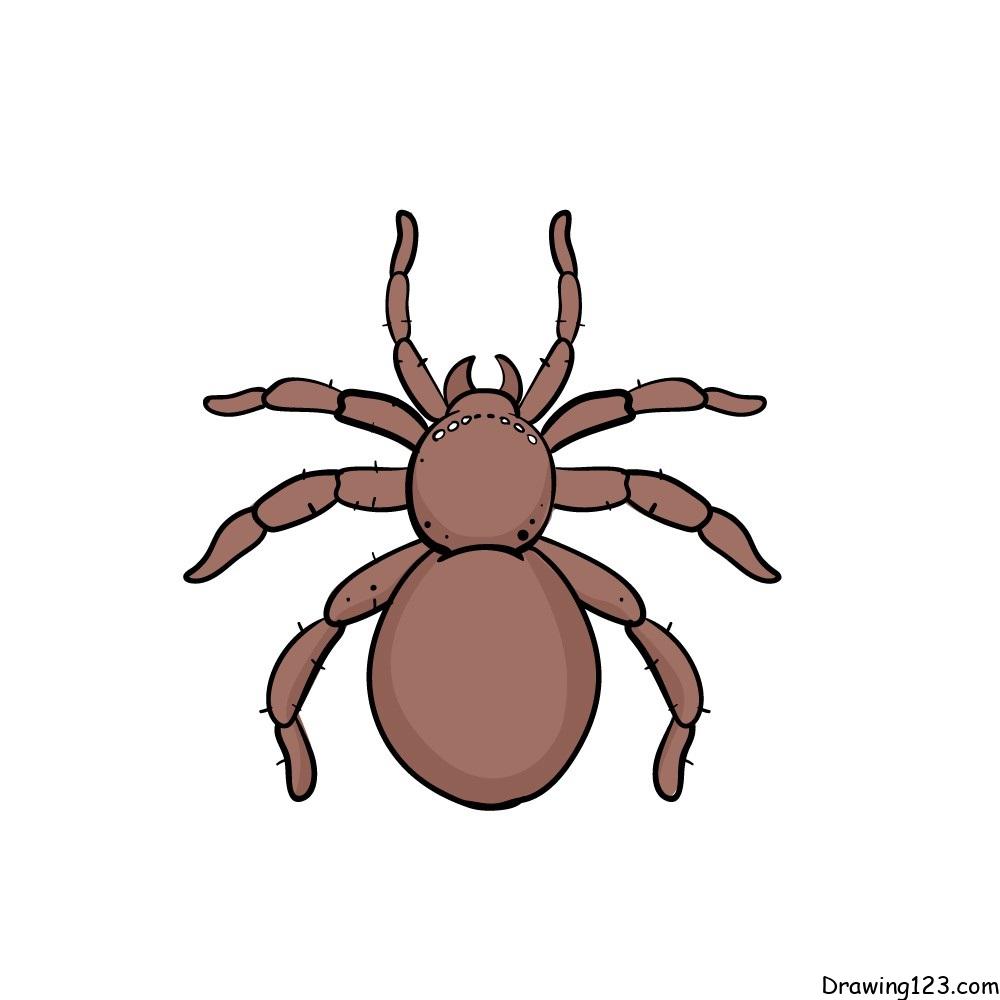
Let’s start!
Step 1:
First, you draw the body of the spider

Step 2:
Next, you draw the head
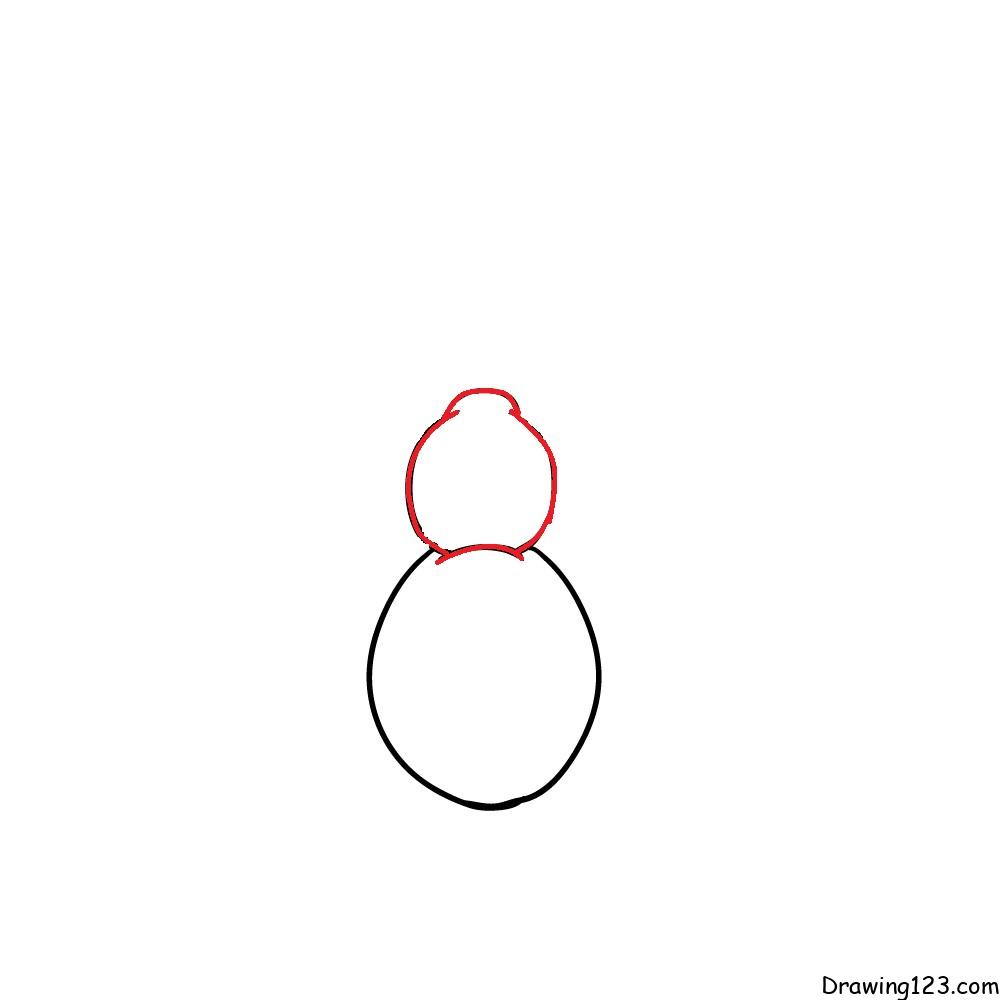
Step 3:
You draw the legs of the spider
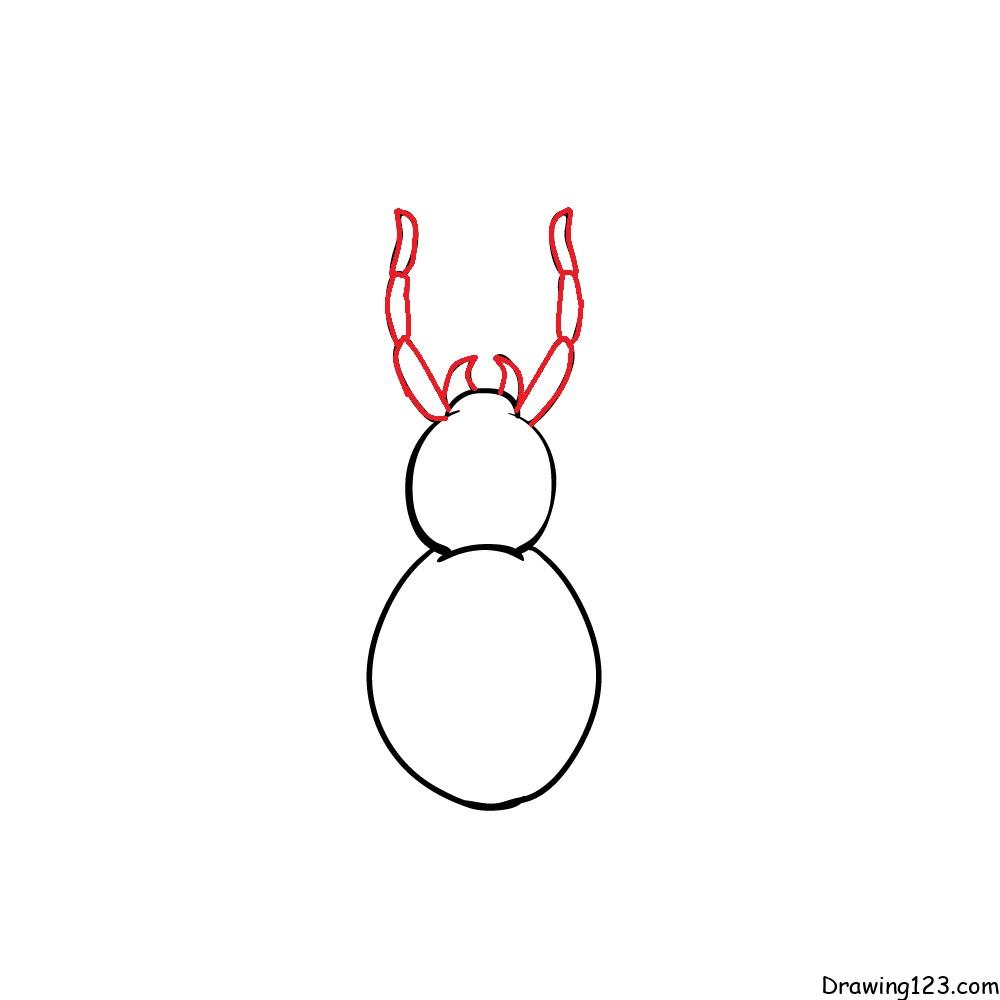
Step 4:
You draw the details on the spider
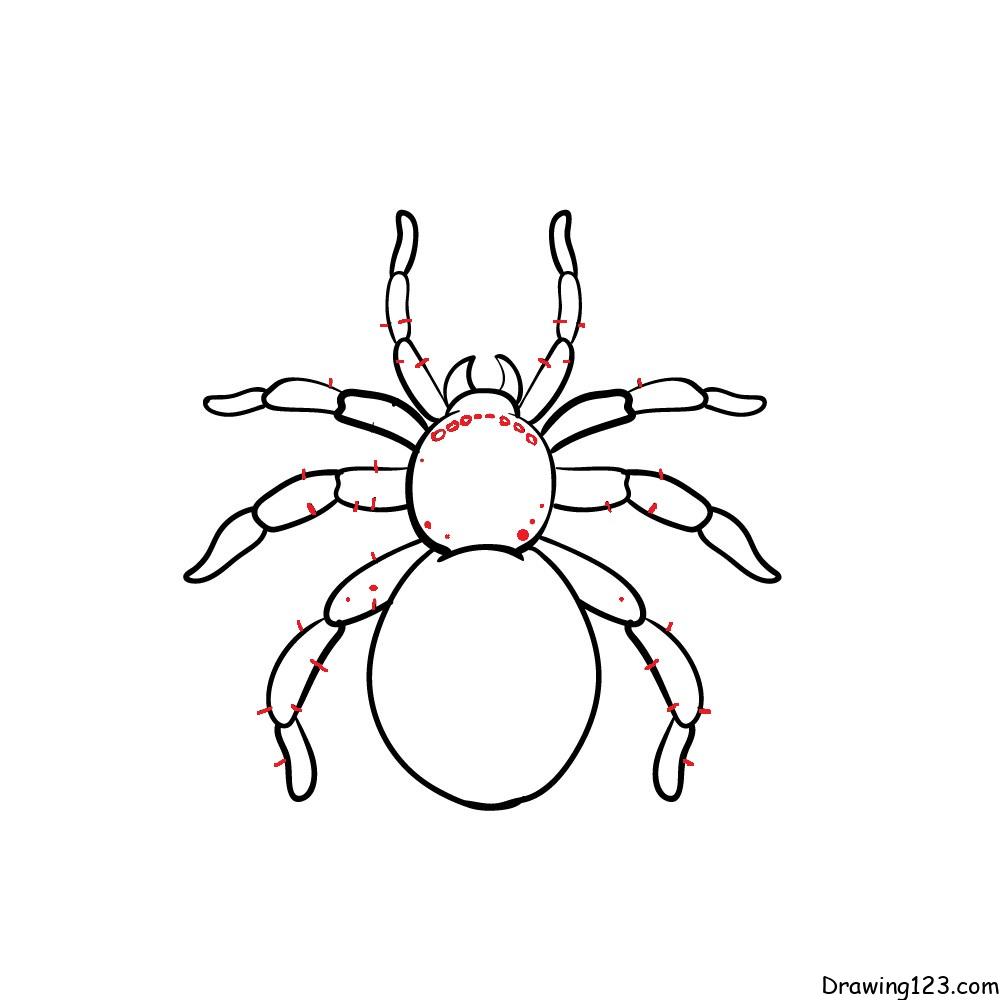
Step 5:
Finally, color to complete the picture
Let’s start!
Step 1:
First, draw a circle
Step 2:
Next, draw the arc after the circle
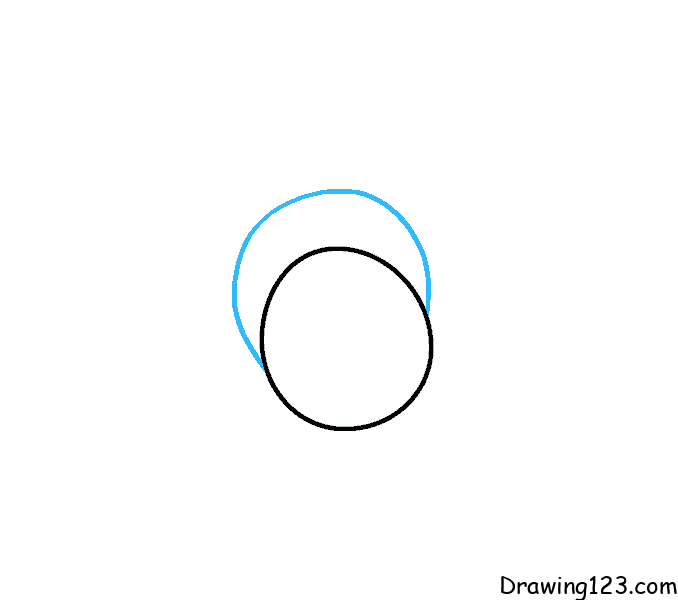
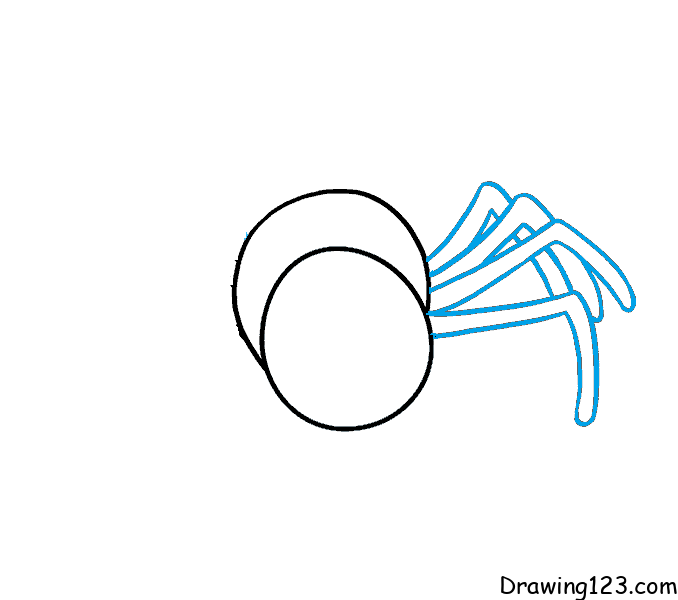
Step 3:
Draw the legs of the spider
Step 4:
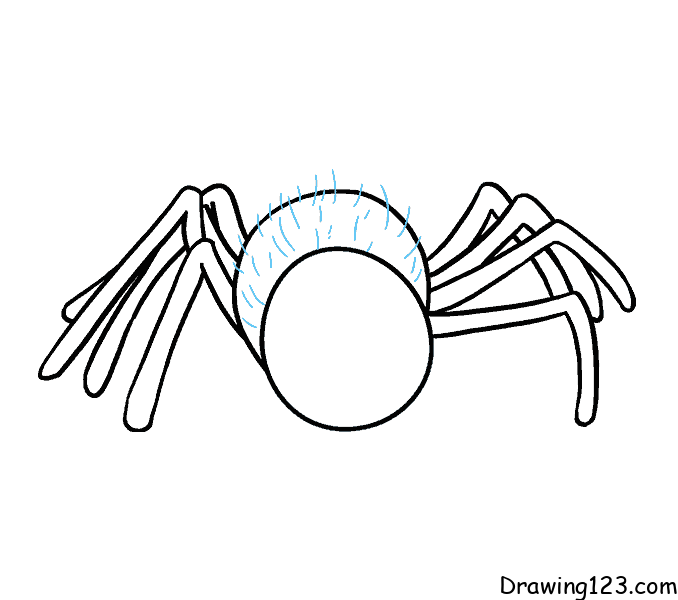
Let’s draw the hairs on the spider’s body
Step 5:
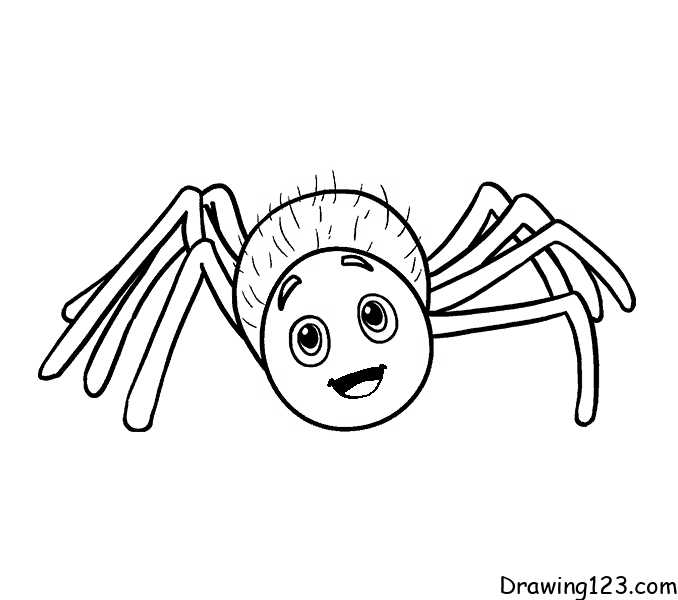
Don’t forget to draw the eyes, nose and mouth
Step 6:
So finished the picture
Step 1:
Draw an oval for the spider’s head.
Step 2:
Draw the spider’s eyes and mouth.
Step 3:
Draw the spider’s abdomen.
Step 4:
Draw six spider legs on either side of the abdomen.
Step 5:
Draw two small legs in front of the spider.
Step 6:
Color the drawing.
Step 1:
Draw the body and head of the spider.
Step 2:
Draw two fangs on the spider’s head.
Step 3:
Draw four legs on the left side of the spider.
Step 4:
Continue drawing the remaining four legs on the right side of the spider.
Step 5:
Color the drawing.
Step 1:
Start by drawing a small oval for the spider’s head.
Step 2:
Add two large eyes to the head using two circles, then draw small curves inside to create pupil details.
Step 3:
Add two smaller secondary eyes below, for a total of four eyes.
Step 4:
Draw the back of the spider as a larger oval that connects to the head. Sketch another curve to create hair.
Step 5:
Draw the spider’s abdomen with curved lines to create a hair-like shape.
Step 6:
Start drawing the four legs on the left, using soft curves to show the shape of the legs.
Step 7:
Draw four more legs on the right side, paying attention to symmetry and proportion with the left leg.
Step 8:
Draw two fangs for the spider.
Step 9:
Color the drawing.
Step 1:
Draw a small oval to create the spider’s head.
Step 2:
Add details like eyes on the head.
Step 3:
Draw the body of the spider, connecting it to the head with a curve.
Step 4:
Finish the spider’s belly with curved lines and draw more patterns on the spider’s belly.
Step 5:
Start drawing the four legs on the left side of the spider using long curved lines.
Step 6:
Next draw the four legs on the right side of the spider, making sure they are symmetrical.
Step 7:
Add small details like fangs to complete the spider’s head.
Step 8:
Color the drawing.
Hopefully, through the tutorial on how to draw a simple spider for kids, it will help you have a beautiful picture