You can choose your favorite images to see detail drawing instructions:
You can choose your favorite images to see detail drawing instructions:
Hello!
Today, drawing123.com will show you how to draw a star very simply
Let’s start!
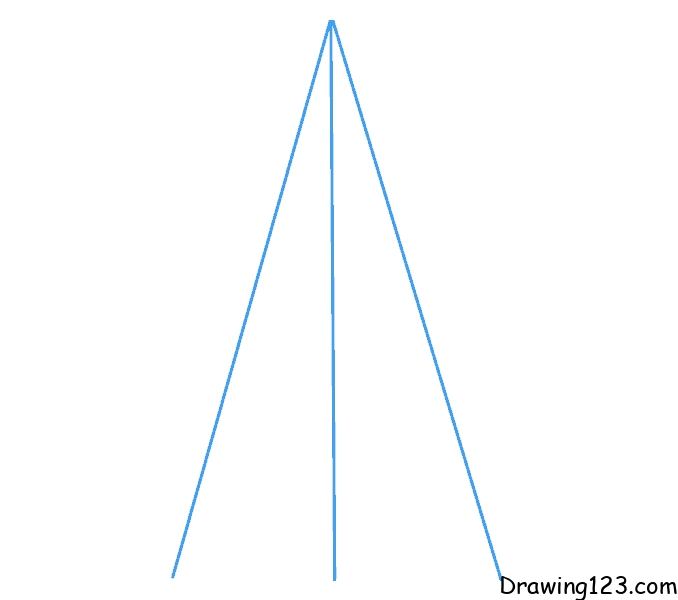
Step 1:
First, you draw the 2 sides and height of the triangle
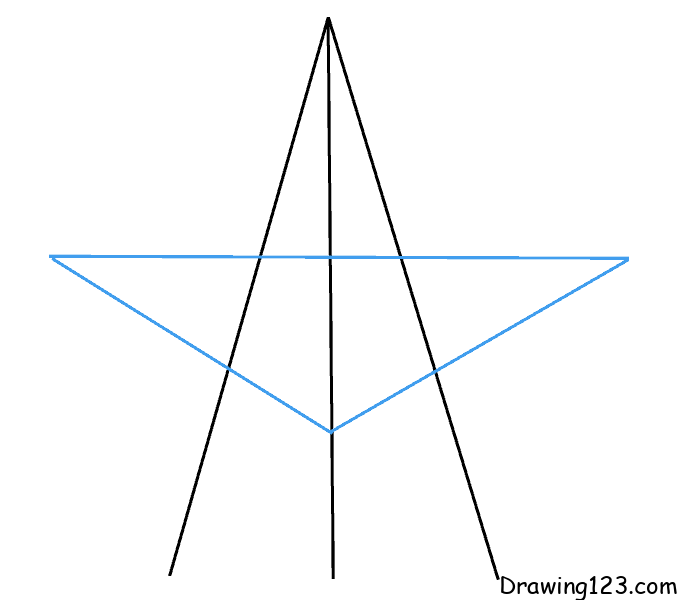
Step 2:
Next, you draw a triangle with the vertex lying on the altitude
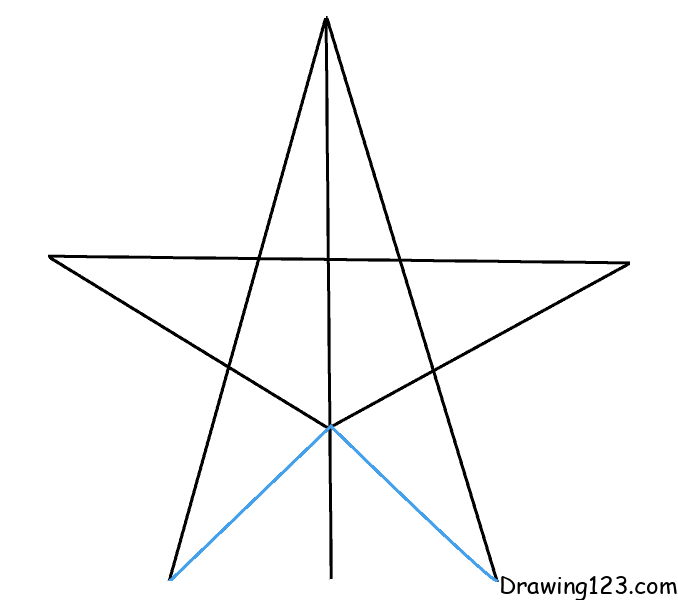
Step 3:
From the top, you draw 2 lines connecting the 2 sides of the triangle as shown
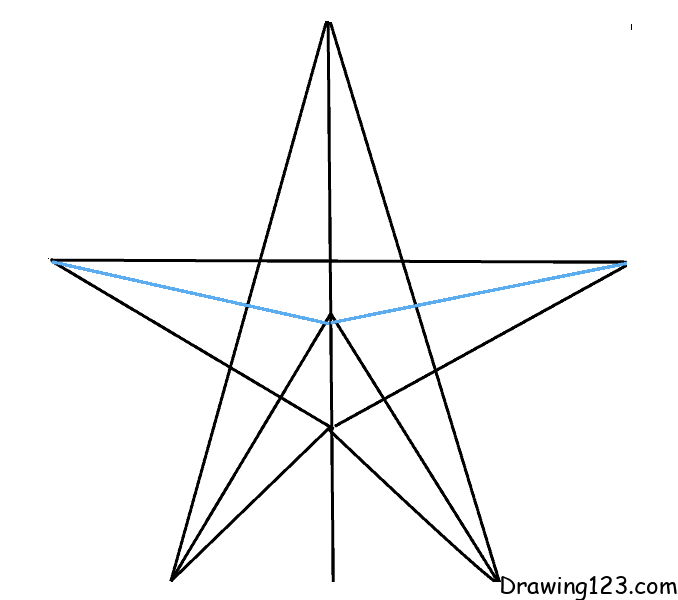
Step 4:
Similarly, from the midpoint of the altitude, you connect with the 2 sides of the triangle as shown

Step 5:
Also from the midpoint you draw 2 lines to the base of the triangle drawn in step 2
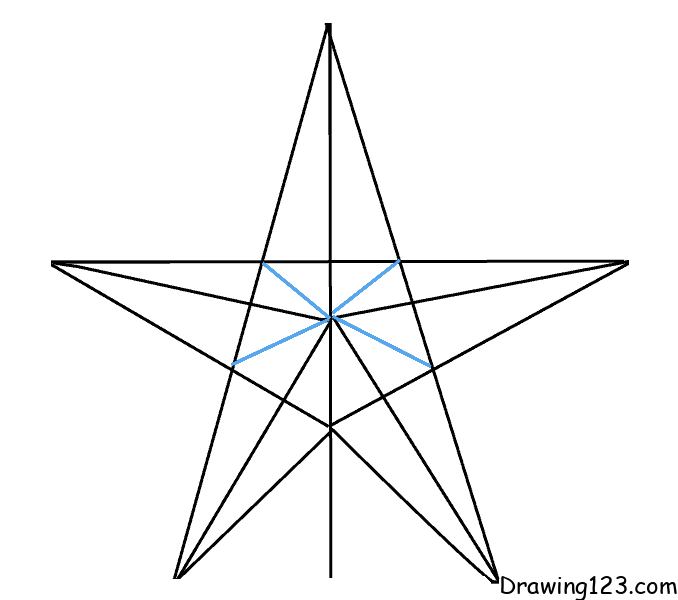
Step 6:
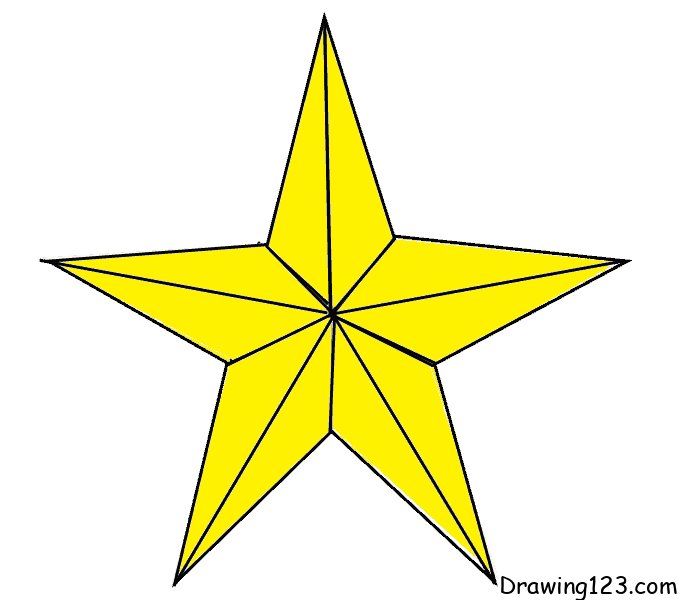
Next, you draw 4 lines connecting the vertices as shown
Step 7:
You use eraser to erase the excess lines
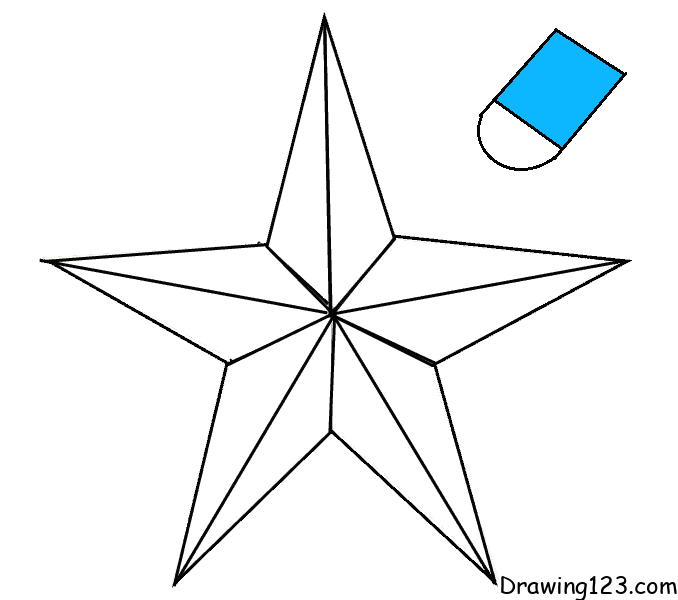
Step 8:
Finally, color the picture to make it look better

Let’s start!
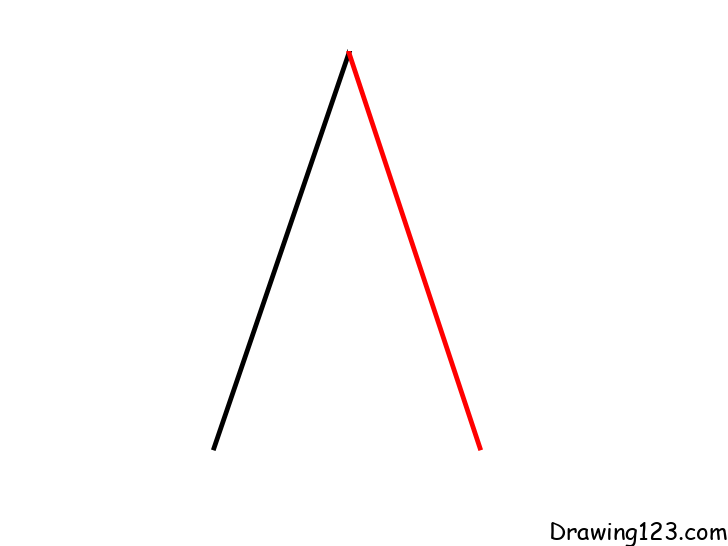
Step 1:
First, you draw a straight line to the left

Step 2:
Similarly, you draw another line deviating to the right
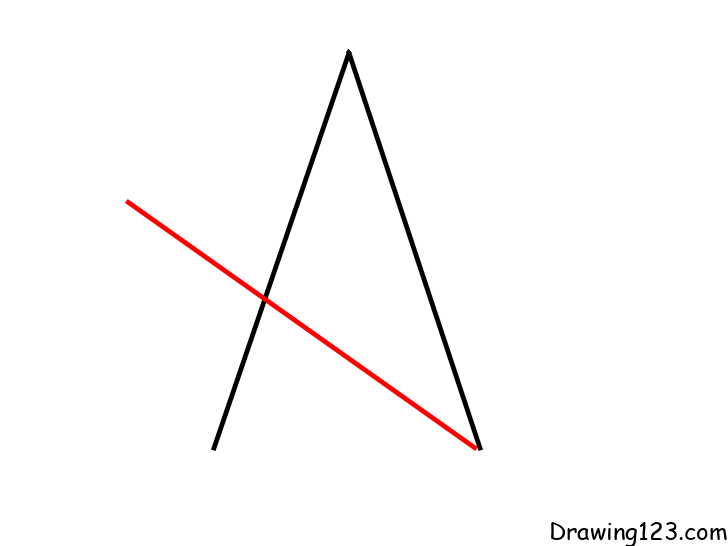
Step 3:
Next, you draw a line as shown
Step 4:
Draw a horizontal line
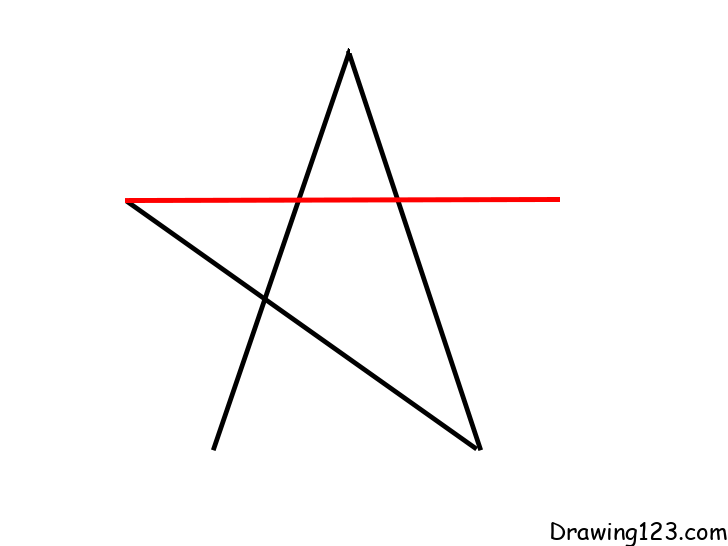
Step 5:
Please connect 2 points together
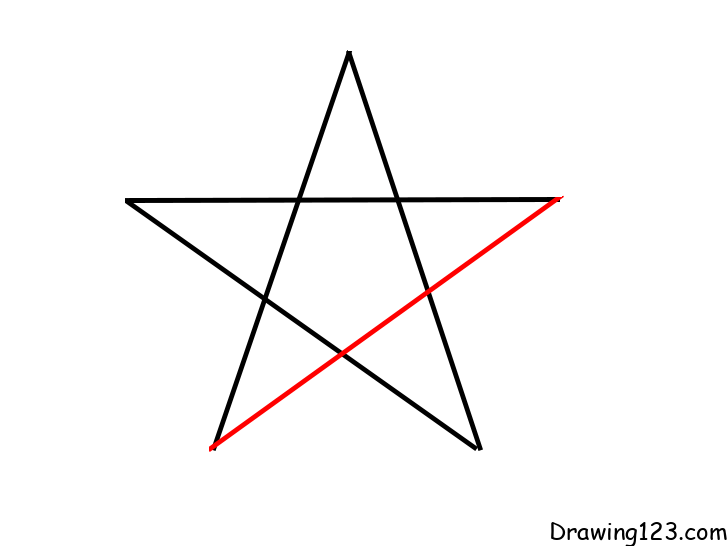
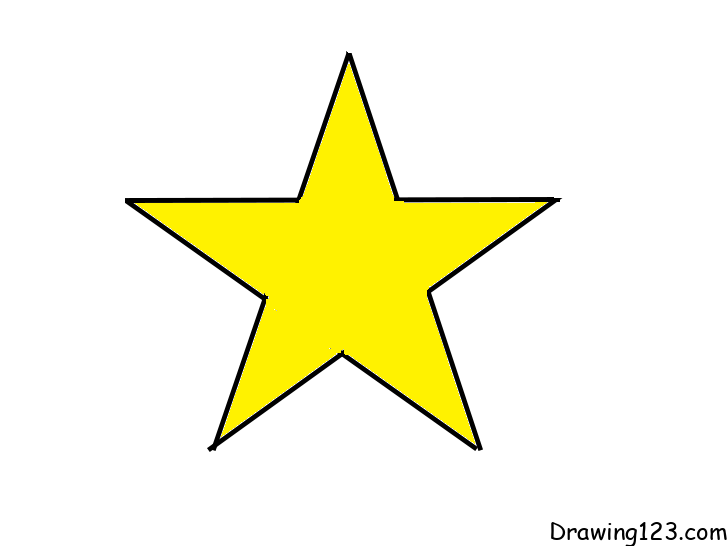
Step 6:
Use an eraser to erase the excess lines inside
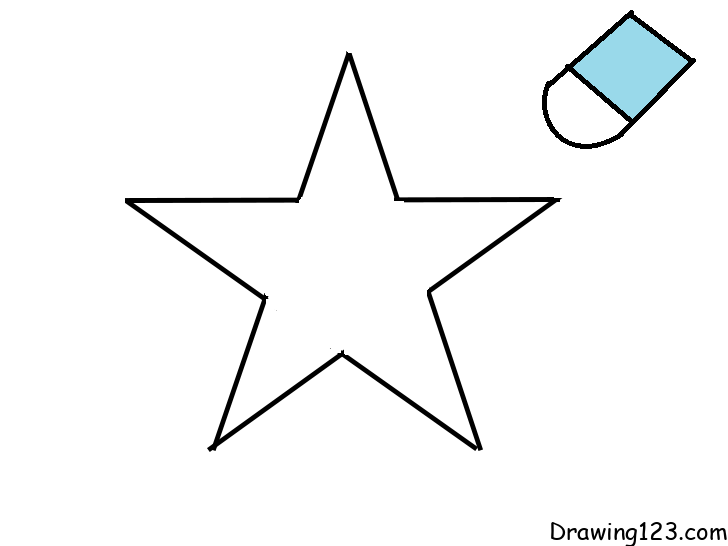
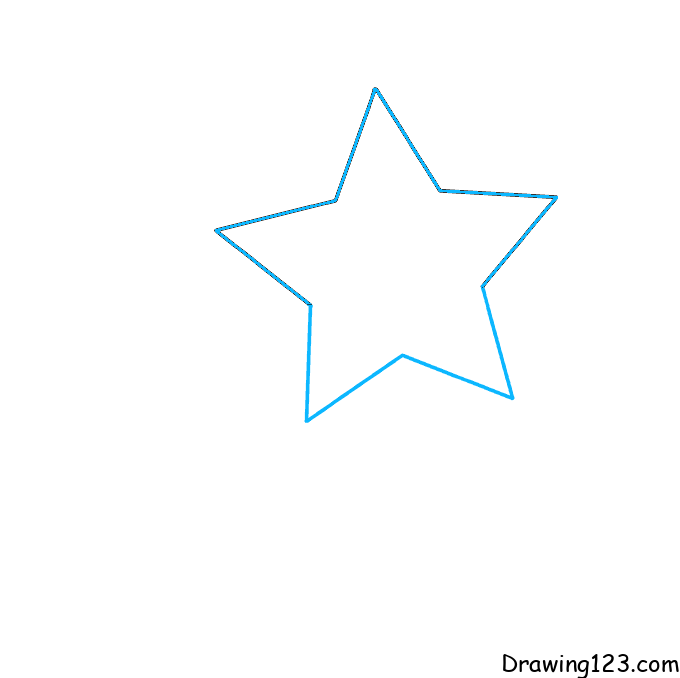
Step 7:
Finally, color your star

Let’s start!
Step 1:
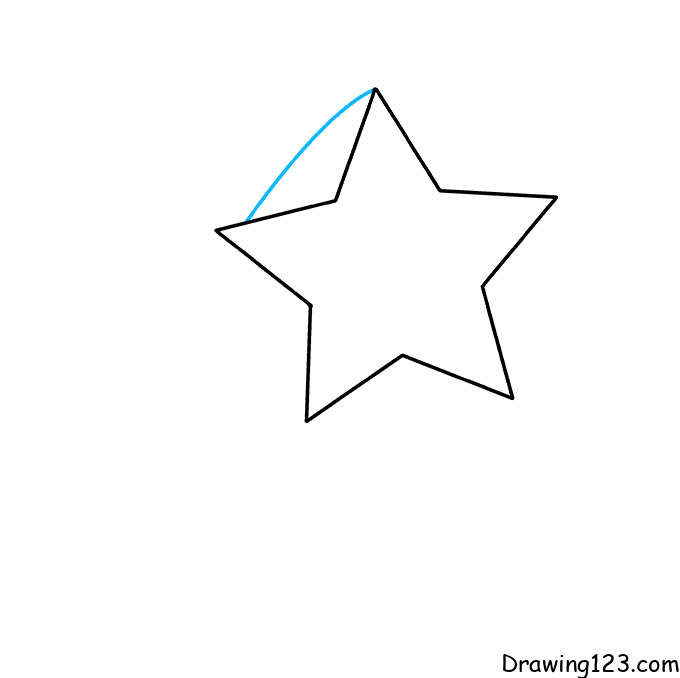
First, draw a 5-pointed star as in the tutorial above
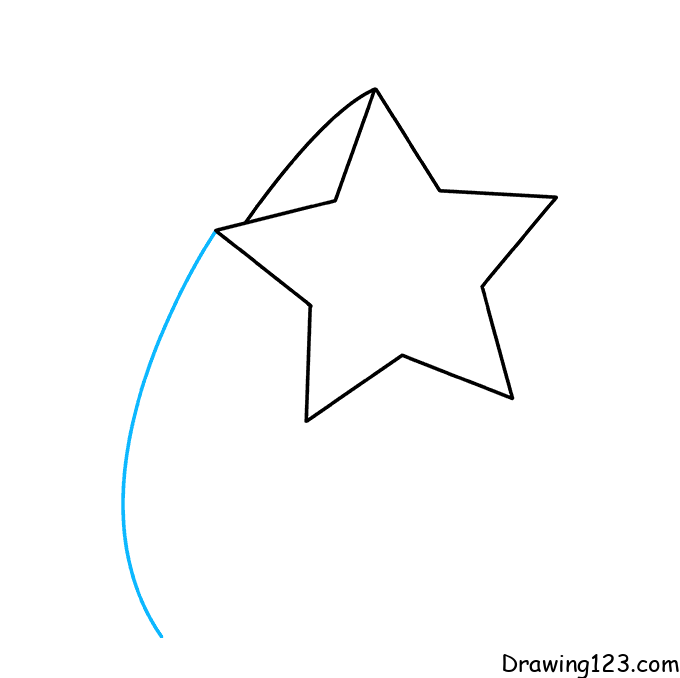
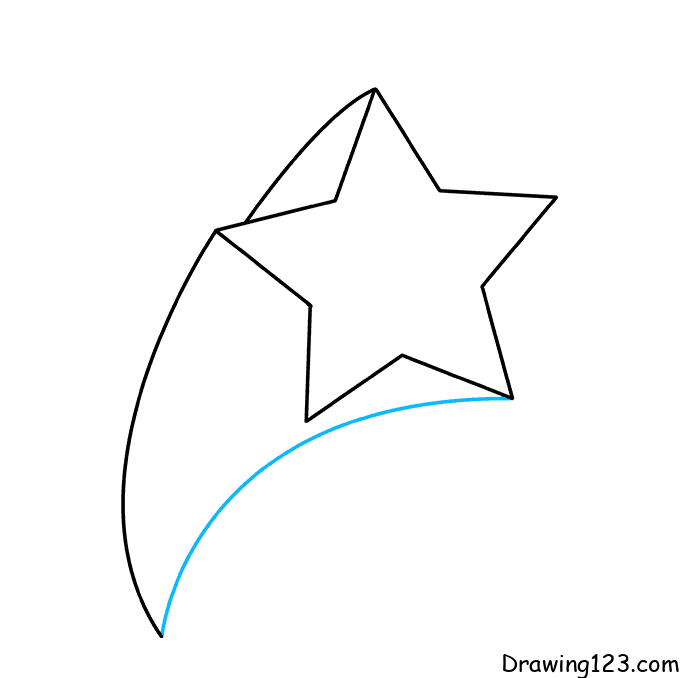
Step 2:
Next, you draw curves in steps
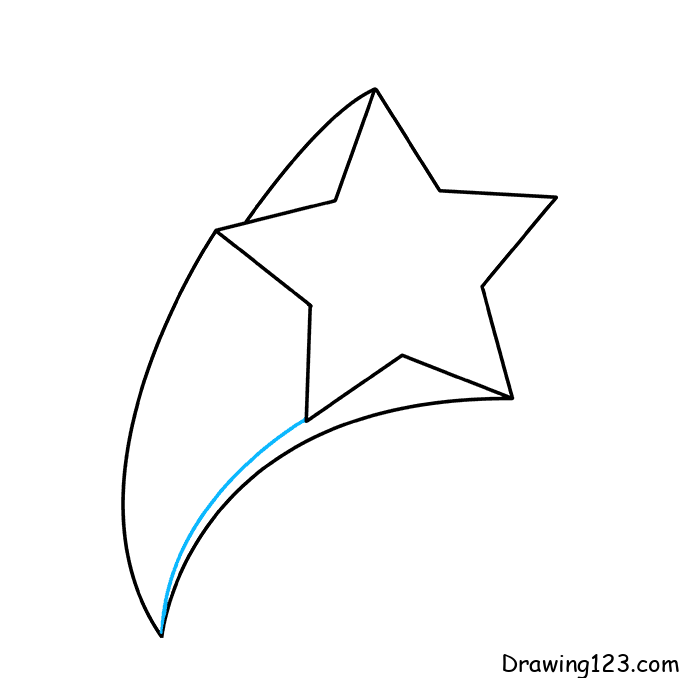
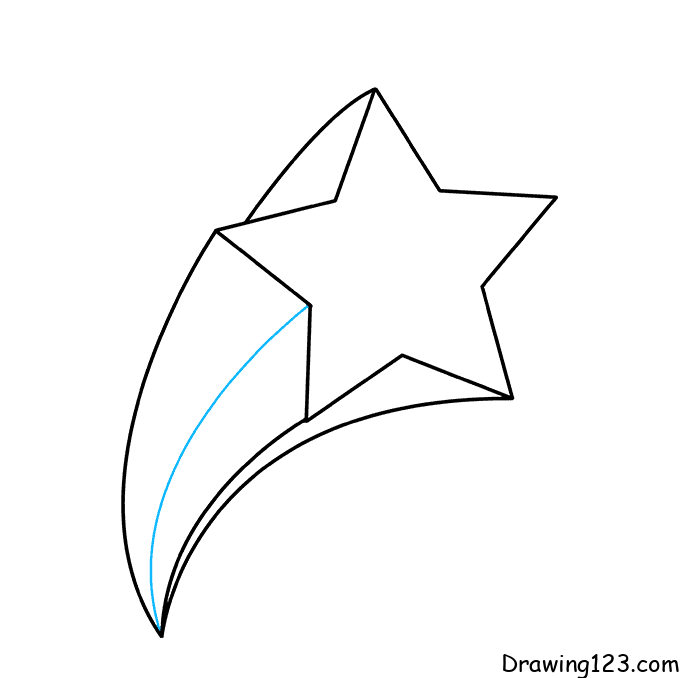
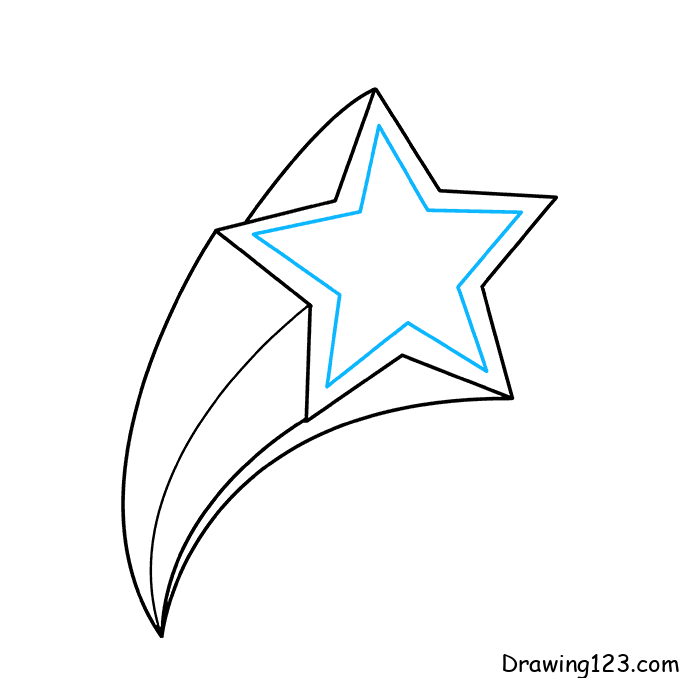
Step 3:
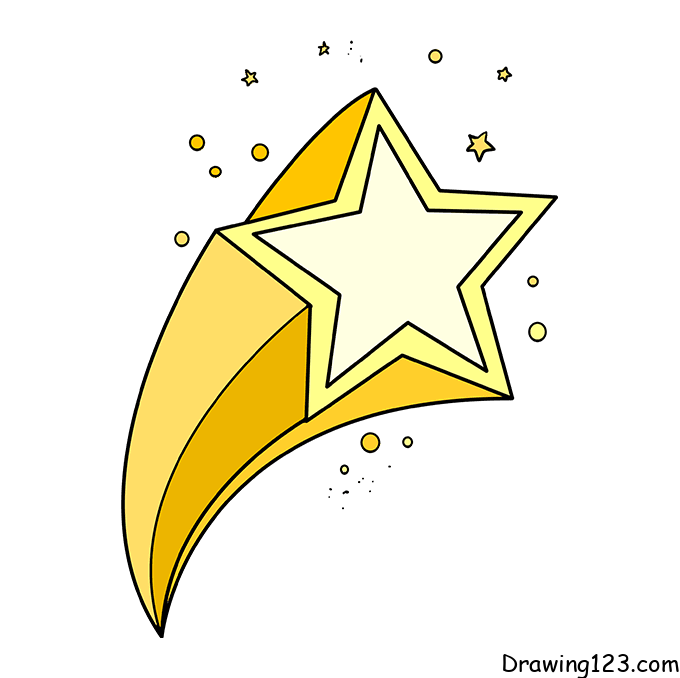
You draw a smaller star inside the big star
Step 4:
Draw small circles and stars to make them sparkle more beautifully
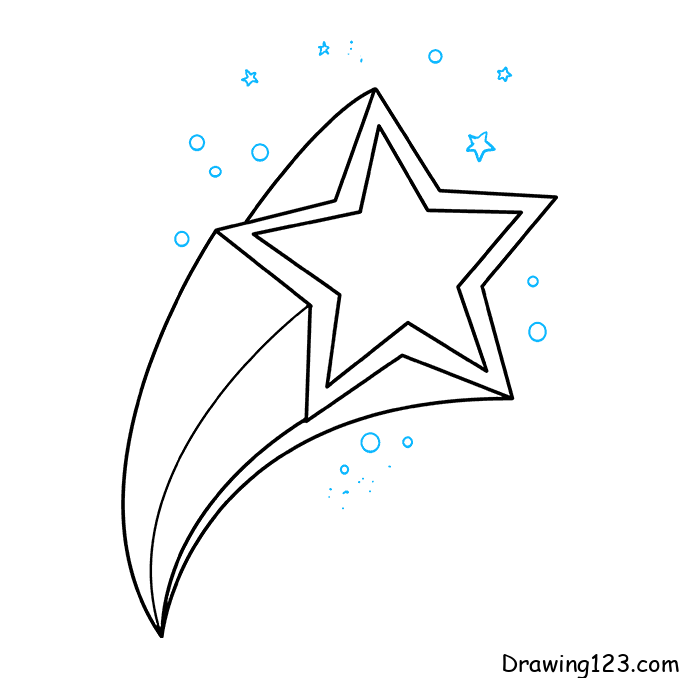
Step 5:
Finally, don’t forget to color your shooting star

Hopefully, through a simple step-by-step detailed and beautiful guide on how to draw a star, it will help you have a beautiful picture.