You can choose your favorite images to see detail drawing instructions:
You can choose your favorite images to see detail drawing instructions:
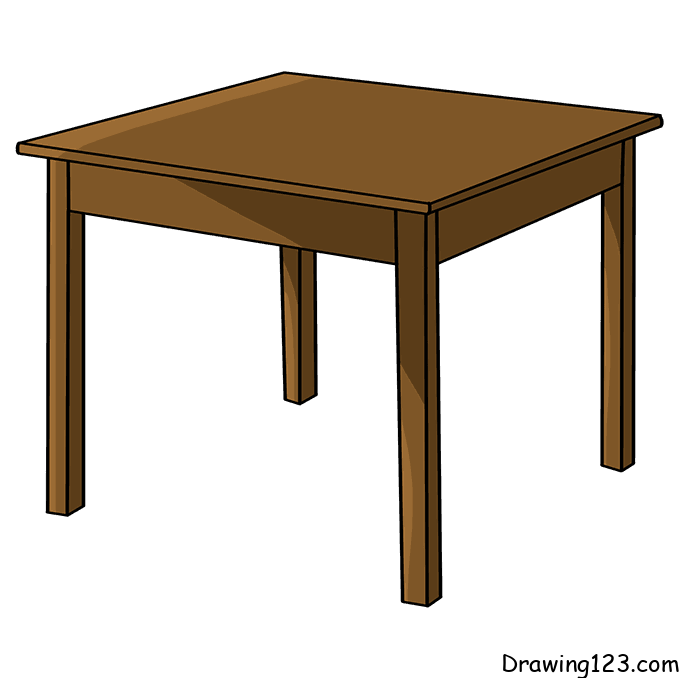
Hello!
Today, drawing123.com will show you how to draw a simple and beautiful table
Let’s start!
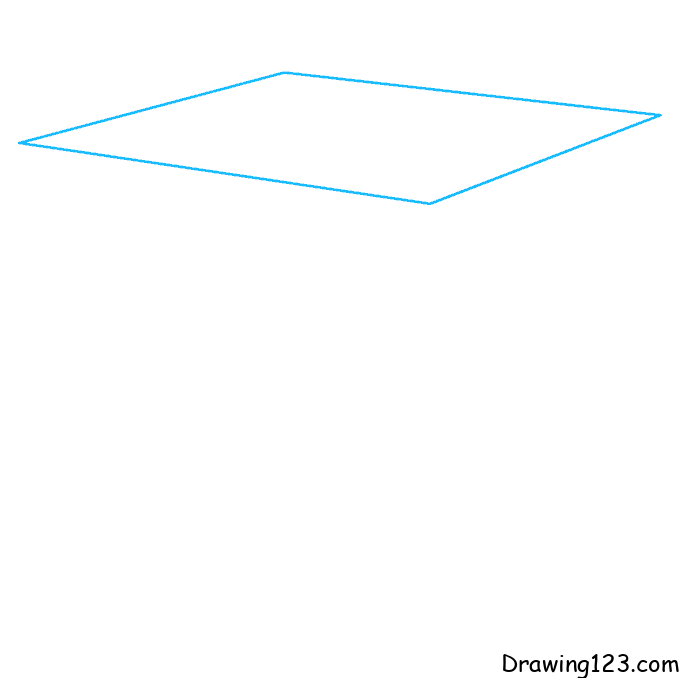
Step 1:
First, draw a parallelogram
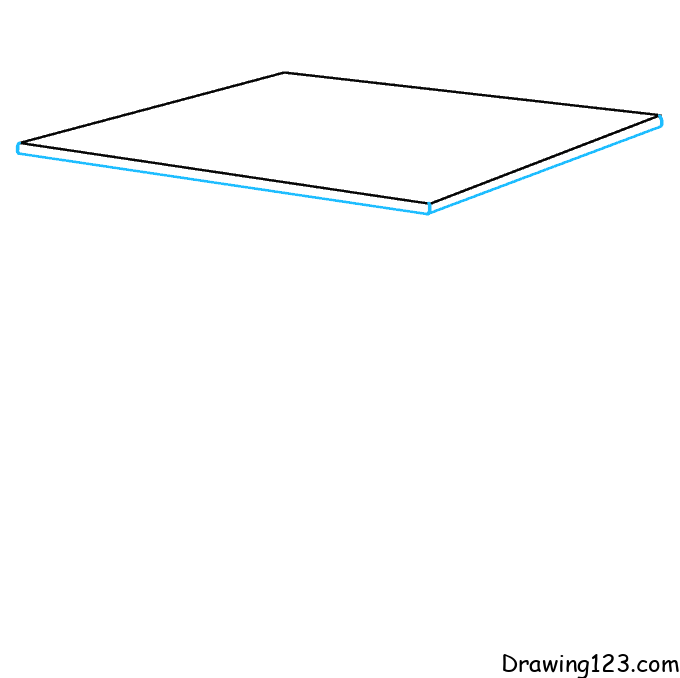
Step 2:
Next, draw a rectangle as shown
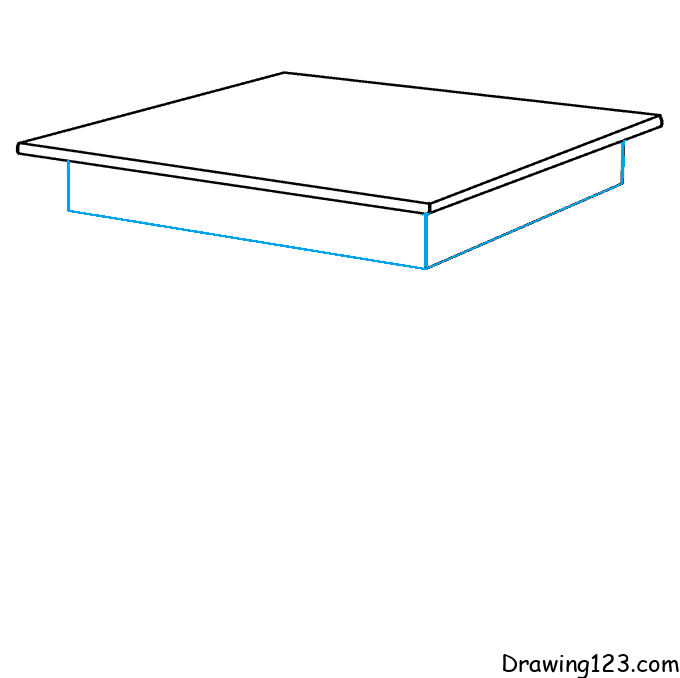
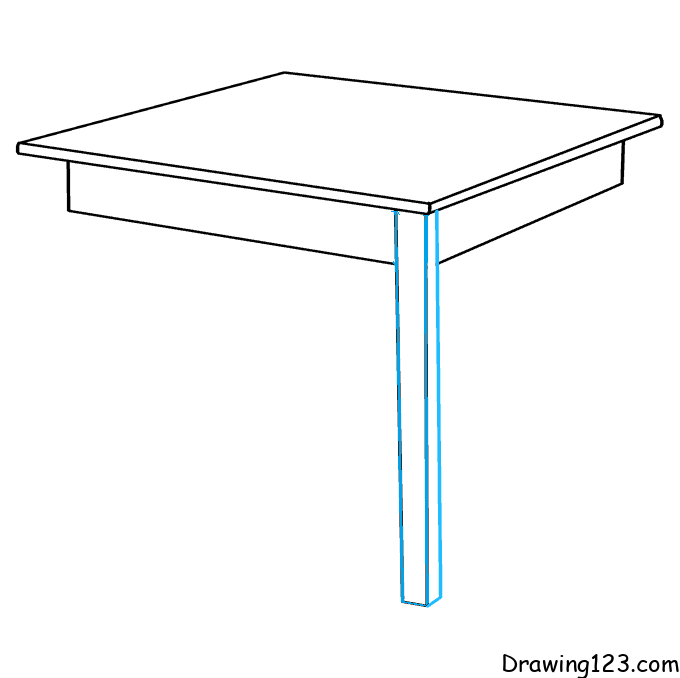
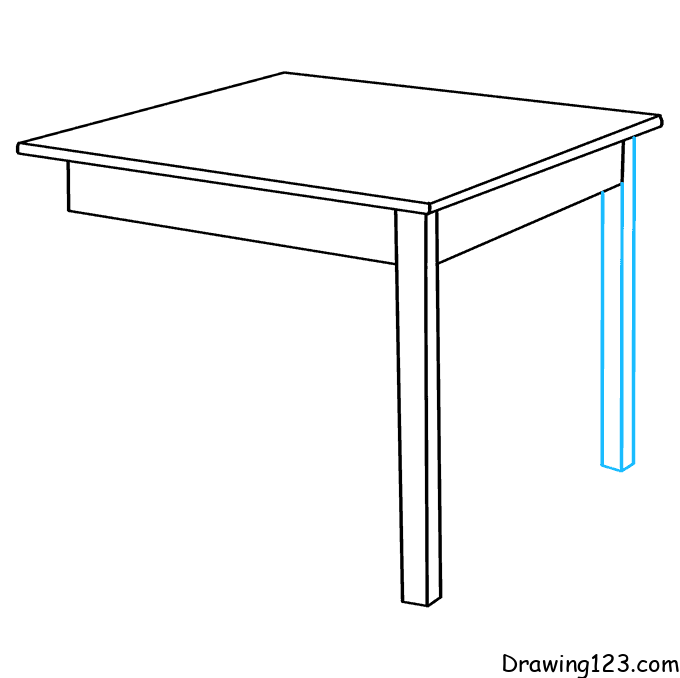
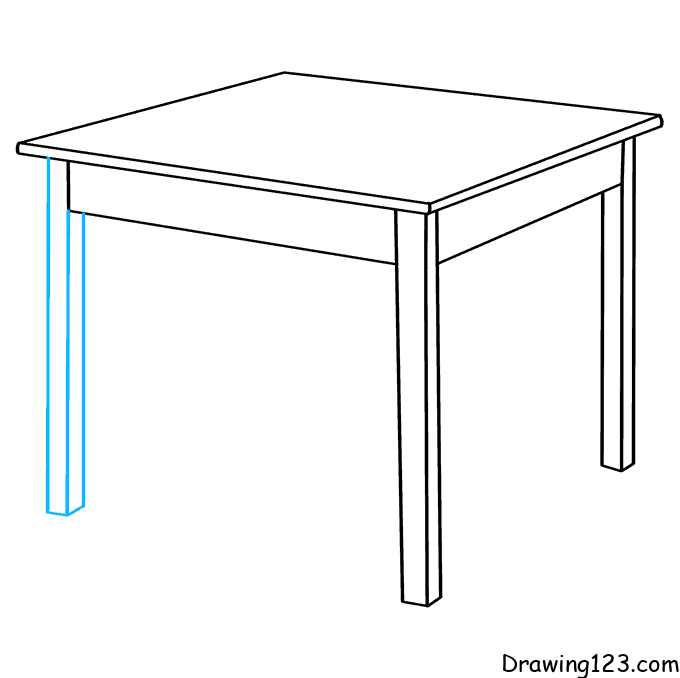
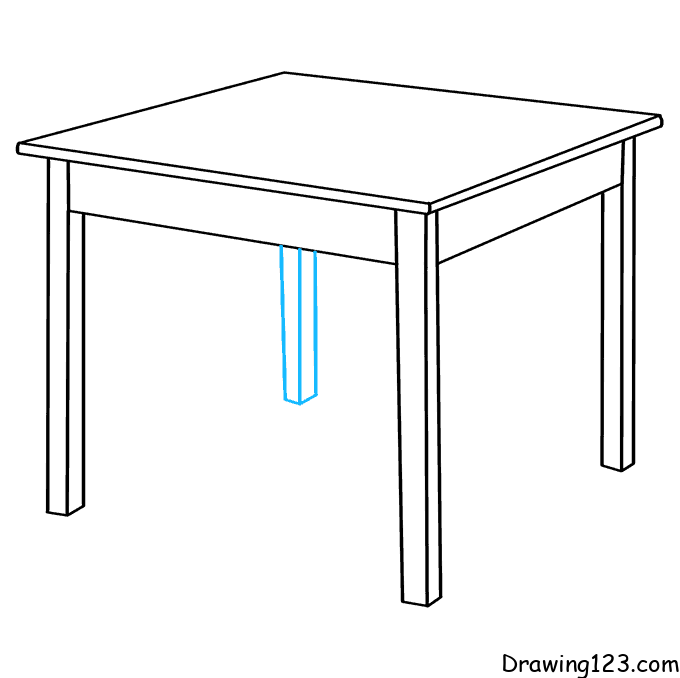
Step 3:
Please draw the table legs according to the steps
Step 4:
Finally, color the table to make it look better

Hopefully, through the tutorial on how to draw a simple and beautiful table for kids, it will help you have a great picture.