You can choose your favorite images to see detail drawing instructions:
You can choose your favorite images to see detail drawing instructions:

Hello!
Today, drawing123.com will teach you how to draw a simple and funny Tigger character
Let’s start!
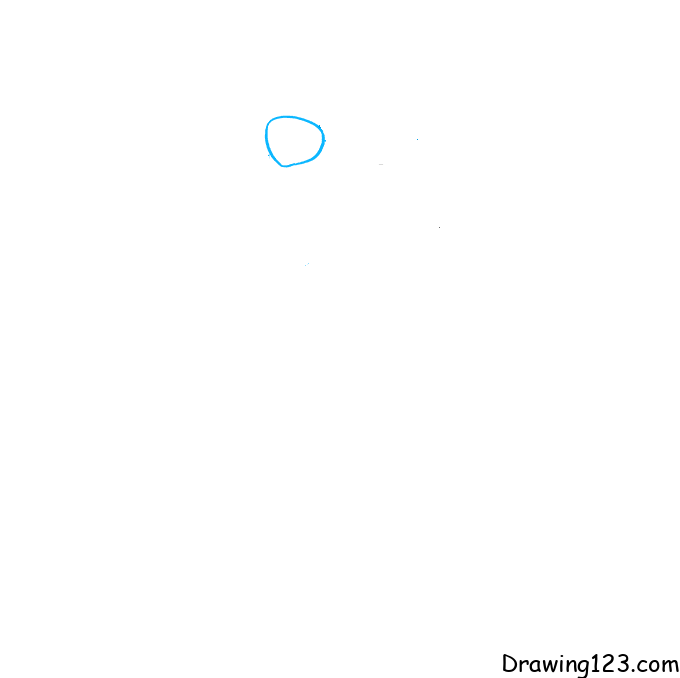
Step 1:
First, you draw a small circle
Step 2:
Next, draw the character’s face
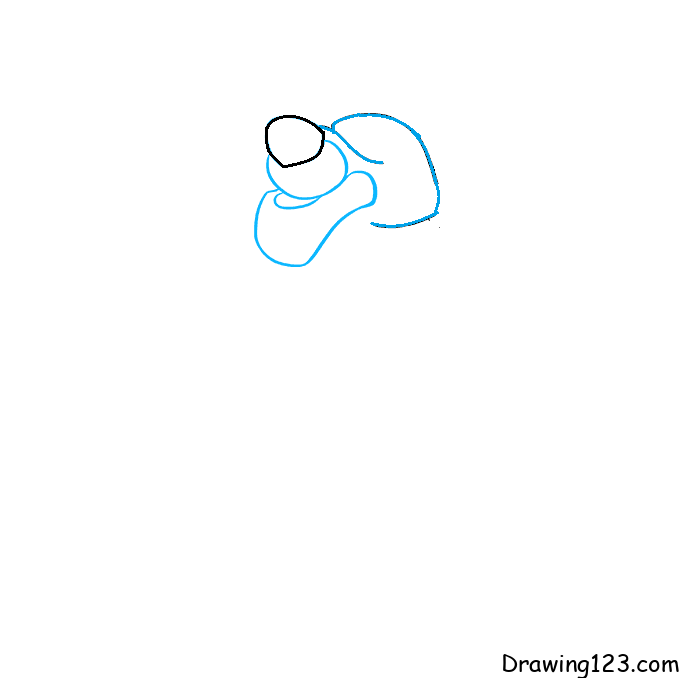
Step 3:
Please draw your ears
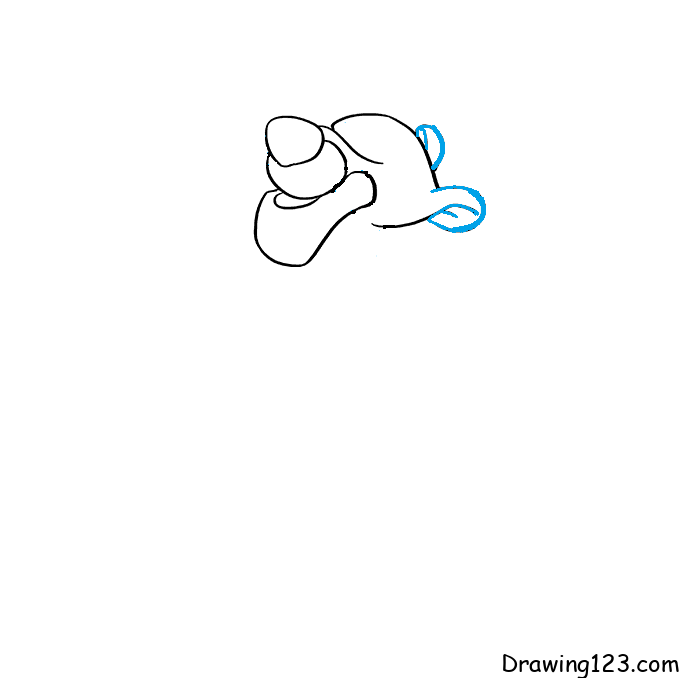
Step 4:
Don’t forget to draw the eyes and beard for the character

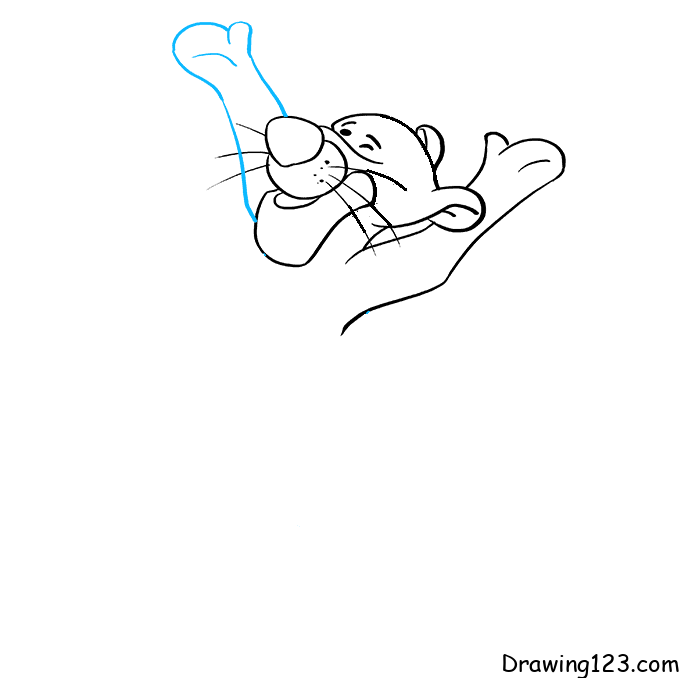
Step 5:
Next, you draw hands for the character

Step 6:
Please draw your body
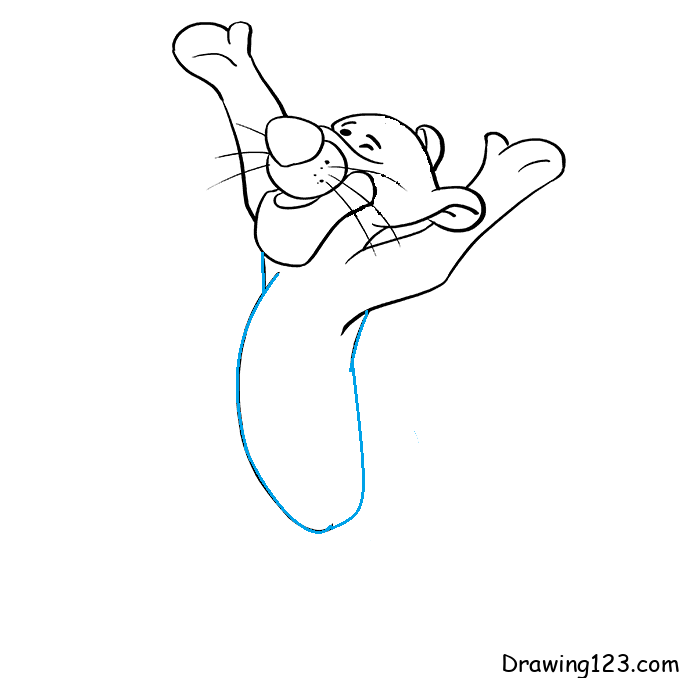
Step 7:
Next, you draw the legs
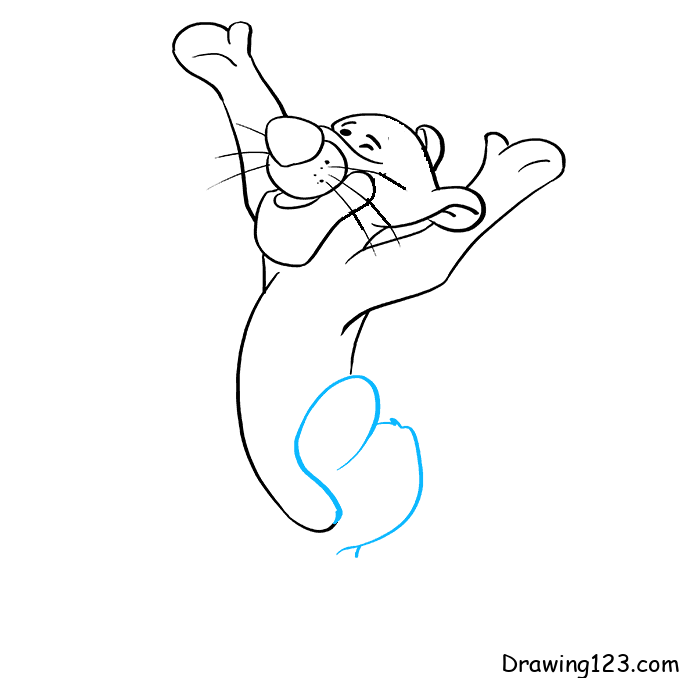
Step 8:
Please draw more curves on the abdomen and the bottom of the feet
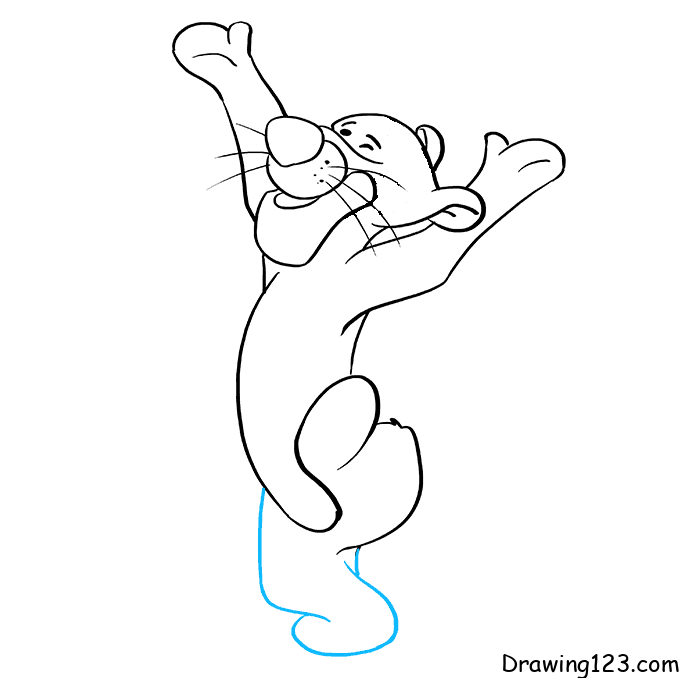
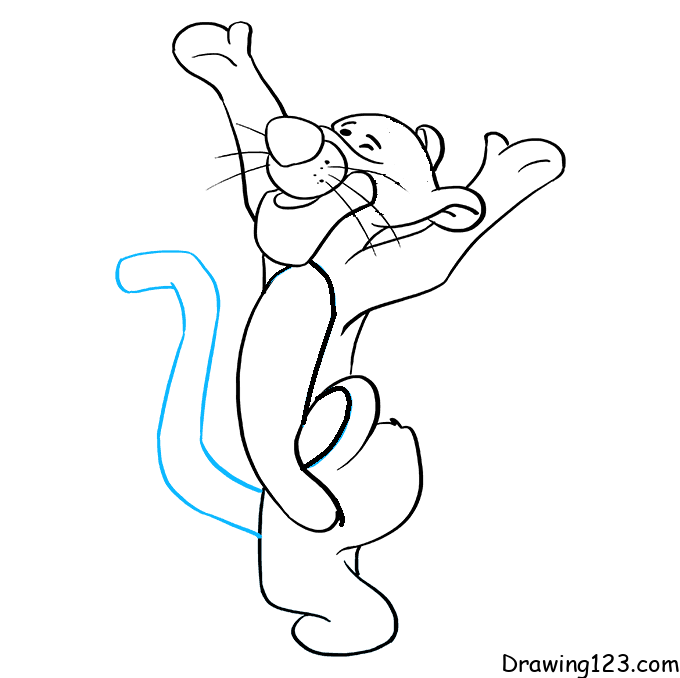
Step 9:
Next, draw a long tail
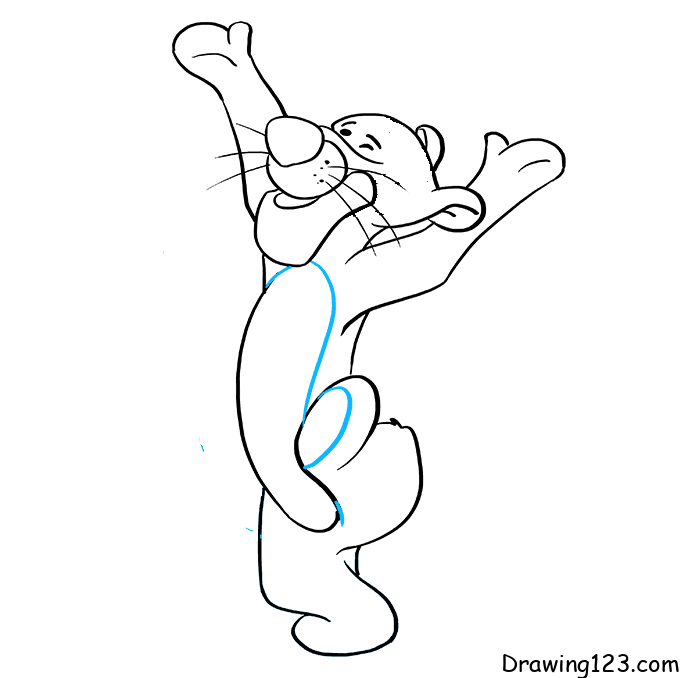
Step 10:
You draw stripes on the character’s body

Step 11:
Finally, color to complete the picture

Hopefully, through the tutorial on how to draw simple and cute Tigger character (in the story The House at Pooh corner) for kids, it will help you complete your favorite picture.