You can choose your favorite images to see detail drawing instructions:
You can choose your favorite images to see detail drawing instructions:
Hello!
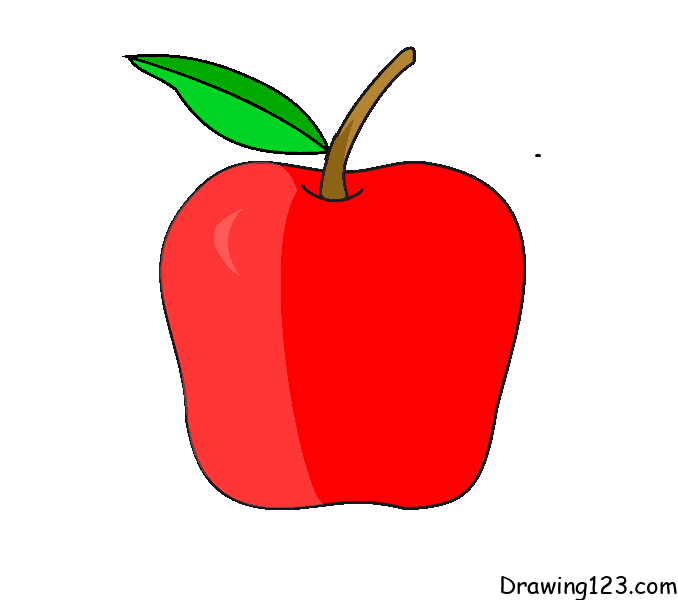
Today, drawing123.com will show you how to draw a simple apple
Let’s start!
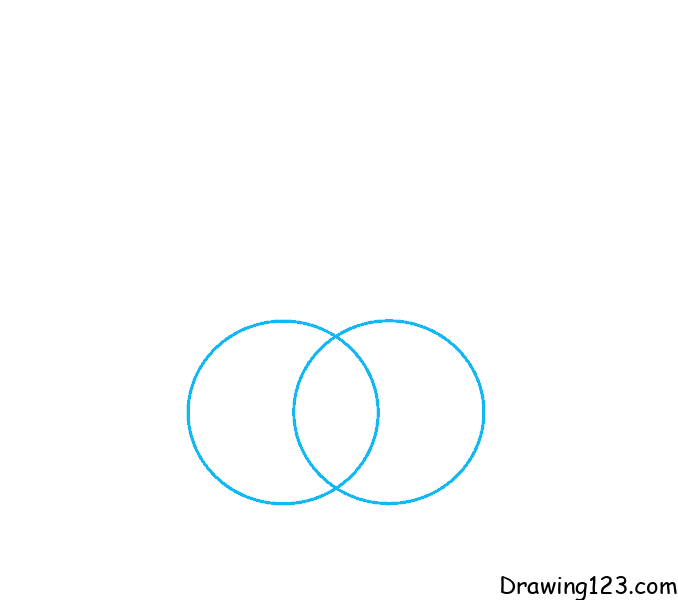
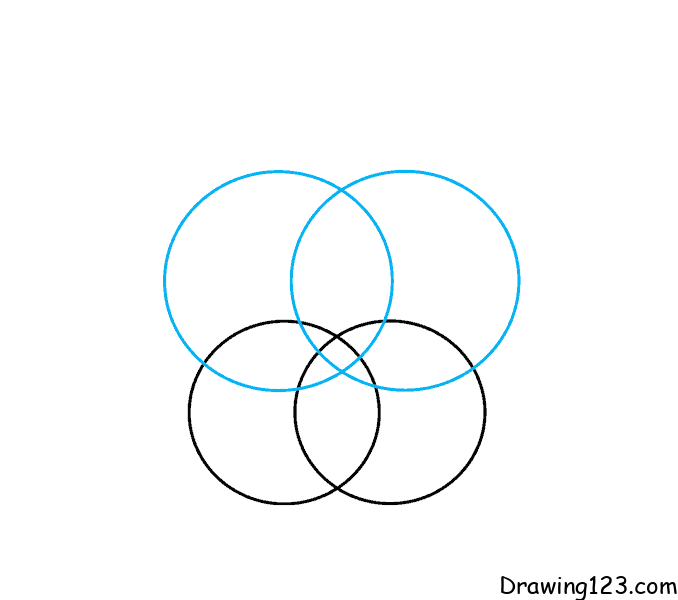
Step 1:
First, draw two slightly overlapping circles.
Step 2:
Next, draw two slightly larger overlapping circles on top of the first ones.
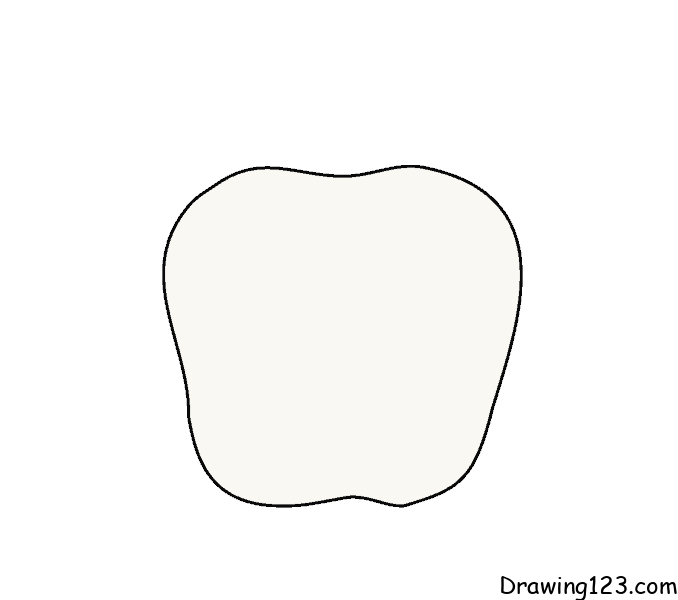
Step 3:
Draw four short lines to connect the edges of the circle.

Step 4:
Now, delete the lines inside. Your apple is starting to take its shape.
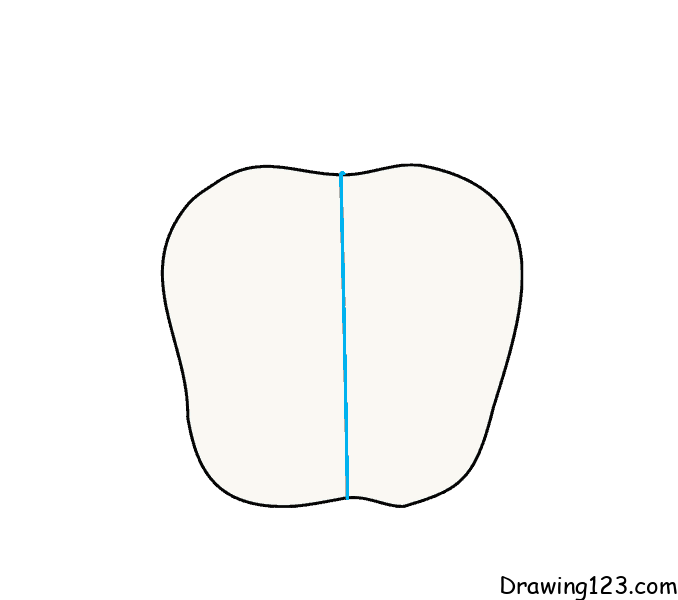
Step 5:
Make a vertical line through the center of the apple
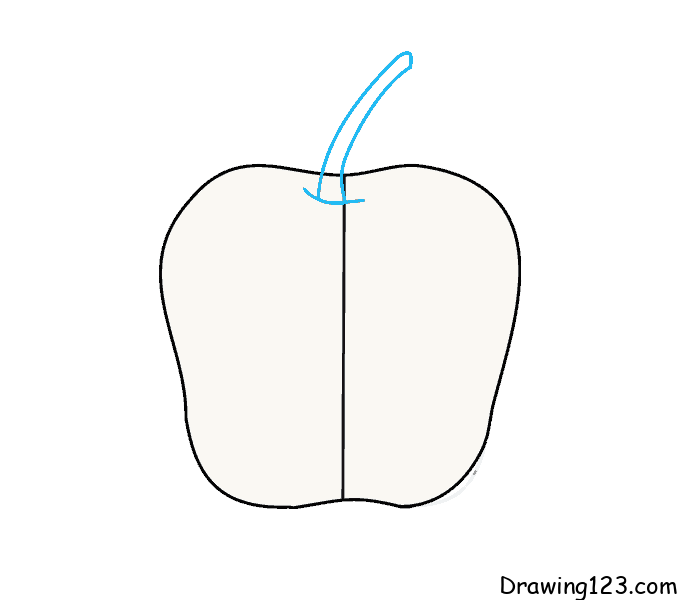
Step 6:
You draw a short, slightly curved line where the trunk meets the fruit. Draw the trunk as two parallel curves.
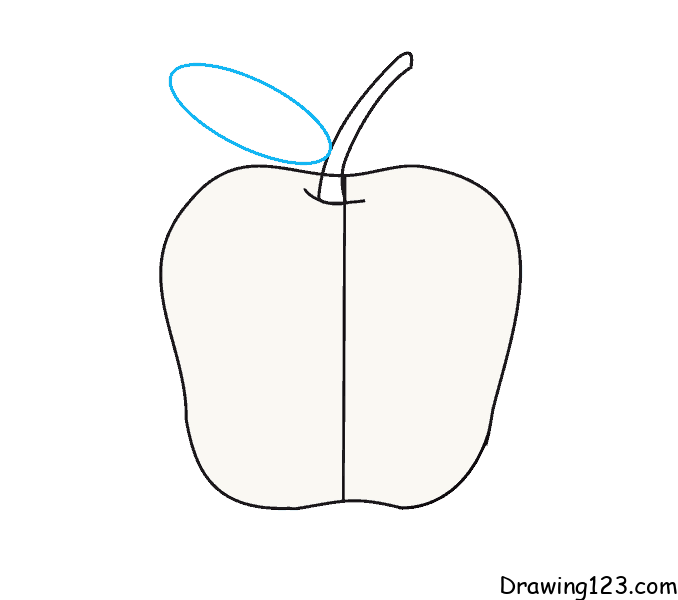
Step 7:
Next, you draw an oval leaf
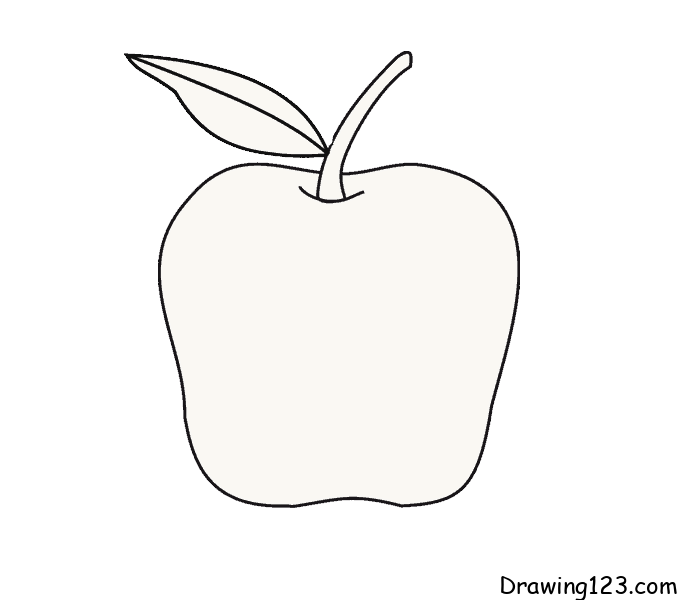
Step 8:
You draw a line in the leaf
Step 9:
Finally, don’t forget to color the apple

Hopefully, this simple apple drawing tutorial will help you have a beautiful apple picture